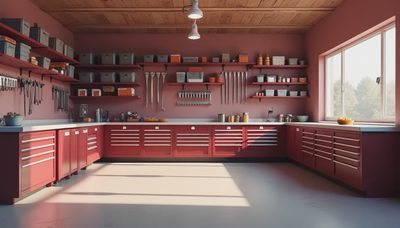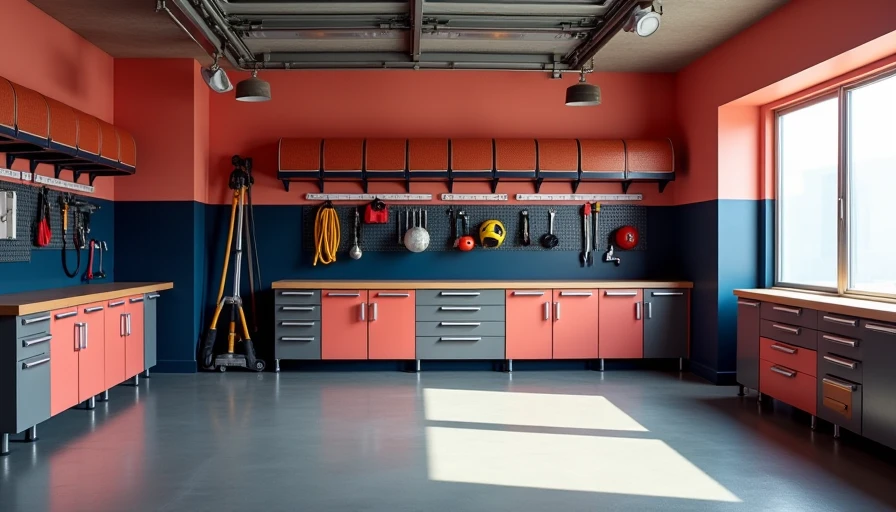
Good garage storage is not about making the room look like a catalog spread. It is about getting the mower out of the way, finding the 10 millimeter socket when you need it, and keeping a workbench clear enough to use. After working inside more than 40 attached garages, I have learned that the best garage storage starts with the work you actually do in the space. I have also built plenty of systems that looked smart on paper and became a nuisance by January.
The first mistake is buying cabinets before measuring the walls, ceiling height, door tracks, and parking clearances. In a typical two-car garage, you often have 20 to 24 inches of usable wall depth without sacrificing much floor space. That is enough for a row of cabinets, a pegboard zone, or a track-based system. It is not enough for deep kitchen cabinets with doors that swing into your shoulder every time you walk past.
Start with the garage zones
Before shopping, divide the garage into working zones. Put vehicle and seasonal equipment near the garage door if those items leave the house frequently. Keep hand tools close to the bench. Store paint, fertilizer, and chemicals in a contained cabinet away from children, ignition sources, and direct sunlight. Long materials such as trim, conduit, and fishing rods belong overhead or on a narrow vertical rack.
Measure the wall from the floor to the lowest obstruction, not just to the ceiling. Garage door openers, springs, windows, electrical panels, and attic access all steal usable space. Mark the parking footprint with painter's tape, then leave at least 30 inches for a comfortable walking path. If a cabinet forces you to squeeze between a vehicle and the wall, the cabinet is too deep or in the wrong location.
I prefer to sketch the layout on graph paper before buying anything. A 24-inch-deep cabinet bank can hold bulky tools, but a 12-inch wall system is better for everyday hand tools. The goal is not maximum capacity. The goal is putting the things you use most between knee and eye level, where they can be reached without a ladder.
Choose cabinets for the actual load
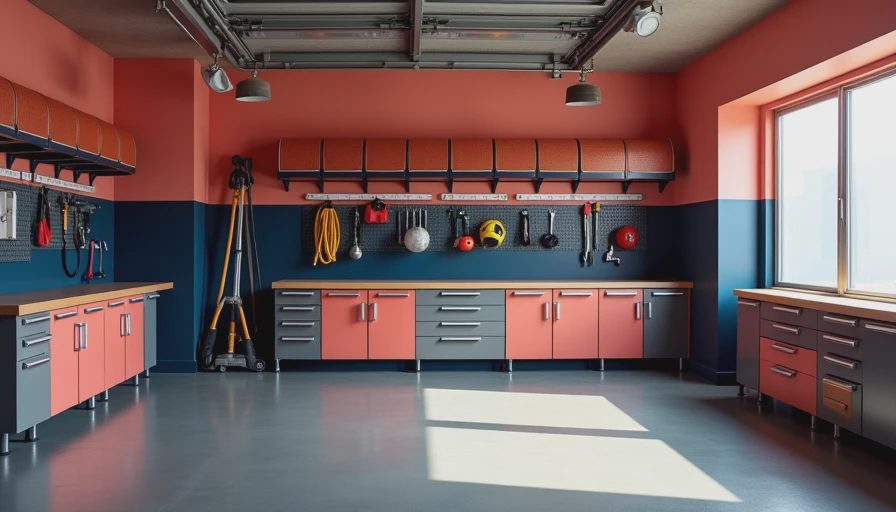
Steel cabinets are a strong choice for garage storage because they tolerate temperature swings, oil splashes, and rough handling. Brands such as NewAge Products and Gladiator offer modular cabinets in several price ranges, while Husky and Milwaukee sell practical options through big-box retailers. I have used several of these systems; the important difference is usually the hinge, drawer slide, and mounting method rather than the logo on the door.
For a serious shop, look for drawers rated around 100 to 150 pounds and cabinets with adjustable leveling feet. Those feet matter on a garage slab, which is rarely as flat as it looks. A cabinet that rocks when loaded with sockets and power tools will eventually loosen its fasteners or become aggravating to use.
Budget roughly $300 to $700 for a useful base cabinet, $600 to $1,500 for a larger modular cabinet run, and more for heavy-duty welded units. You do not need the most expensive option for lawn chemicals or holiday decorations. Spend the extra money where you will open drawers every day. A full-extension drawer with a decent ball-bearing slide is worth more than a shiny door.
Wall-mounted cabinets can improve garage storage, but anchor them into studs or install proper blocking first. Drywall anchors are not a plan for a cabinet holding a compressor, cast-iron plane, and five cordless tools. I have repaired a wall after an overloaded cabinet pulled out, and replacing damaged drywall cost more than using plywood backing during the original installation.
Use the walls before the floor
The floor is valuable because it is where vehicles, bicycles, snowblowers, and projects need to move. Wall storage keeps that floor flexible. A French cleat made from plywood is inexpensive and useful for hanging small shelves, clamps, and tool holders. Commercial slatwall panels are faster to install and offer many hooks, baskets, and shelves, but check the load rating of the accessories rather than assuming every hook is equal.
Pegboard still works when it is mounted correctly. Use spacers behind it so the hooks have room to lock in place, and use a strip of plywood or a solid frame around the perimeter. Cheap pegboard screwed directly to drywall tends to bow once you load it with pliers, drivers, and extension cords. For heavier tools, a steel panel or French cleat is safer.
For bins, choose a system that you can still buy five years from now. Red plastic parts bins from Akro-Mils are easy to label and useful for fasteners, electrical fittings, and plumbing parts. Clear totes are better for seasonal goods because you can see the contents without opening six lids. Do not stack heavy totes above shoulder height; a falling container can turn a simple organizing project into an emergency room visit.
Make the workbench area earn its space
A bench should be deep enough for the work you do and no deeper. My general range is 24 to 30 inches, with a height around 36 inches for general assembly. If you do detailed electronics or sit while working, a different height makes sense. Build the bench from a solid top, such as laminated maple, butcher block, or doubled 3/4-inch plywood. A hollow interior door looks cheap and stays cheap when you start pounding on it.
Put the most frequently used tools within one arm's reach. A small parts cabinet, outlet strip, task light, and magnetic tray do more for daily productivity than a giant drawer bank across the room. I keep a vise near the end of my bench so long workpieces can extend past the side without hitting the wall.
Lighting is part of garage storage planning because cabinets create shadows. Install bright, color-balanced LED shop lights over the bench and between vehicle bays. A 4-foot LED fixture often costs $25 to $60, and adding two fixtures is usually a better improvement than painting the walls another shade of white.

Do not ignore the ceiling
Overhead garage storage is useful for lightweight, infrequently handled items such as empty luggage, camping chairs, artificial trees, and seasonal decorations. Store those items in labeled bins on a rated ceiling rack, not loose on plywood where they can slide off. Keep the rack away from the garage door's travel path and the opener's service area.
Most ceiling racks project 12 to 24 inches below the ceiling. Measure the opened garage door before installation. On some homes, the door panels rise nearly flat and leave less clearance than expected. Also consider the height of your vehicle, roof racks, and hatchback door. I once installed a rack that worked perfectly until a client's SUV arrived with a rooftop cargo box.
Do not use ceiling racks for engines, full paint buckets, or dense boxes of tile. A rack rated for 600 pounds is not automatically safe if it is attached to thin ceiling material rather than structural framing. Use the manufacturer's fasteners, locate joists, and ask for help when lifting bulky loads overhead.
A practical buying and installation sequence
Start by removing everything from the walls and sorting it into three groups: used weekly, used seasonally, and not used in the last two years. The third group deserves a hard question before it occupies prime space. Measure, sketch, and mark utilities next. Then install lighting and electrical improvements before cabinets hide the walls.
Build the fixed foundation first: wall backing, ceiling racks, cabinets, and the bench. Add hooks and bins only after living with the layout for a few weeks. This prevents the common mistake of filling every hole before learning where you naturally set down tools.
For a modest garage, a realistic garage storage budget is $500 to $1,200 for shelves, bins, hooks, and a basic bench. A more complete garage storage build with steel cabinets, slatwall, lighting, and overhead racks can run $2,000 to $5,000, especially if you hire out electrical work or need wall repairs. The best return usually comes from clear walking paths and easy access, not from spending on matching finishes.
I painted my own garage floor before I had the storage figured out. Six months later, I dragged cabinets across it, chipped the coating, and tore out part of the work. Plan the walls first, protect the floor while building, and leave room for the projects that will inevitably appear. I have screwed this up so you do not have to.
Good garage storage should make the next job easier, not turn the room into a museum of containers. Start with measurements, put heavy loads on real structure, and buy the parts that match your tools and habits. Once the floor is clear and the bench stays usable, the garage starts earning its square footage.
Back to the bench.