A good tool guide should help you build a useful garage, not talk you into filling a rolling chest with equipment that gathers dust. After 22 years in residential remodeling and more than 40 garage projects, I have learned that the right setup starts with the work you actually plan to do. If your goal is a workbench, shelving, bicycle repair area, or occasional home maintenance, buy for that job first. I have screwed this up so you do not have to.
Start with the work, not the shopping list
Before buying anything, write down three jobs you expect to do during the next year. Maybe that is assembling cabinets, repairing lawn equipment, and hanging storage on the wall. Those jobs point toward a sensible first kit: a drill, driver bits, clamps, a level, a tape measure, a utility knife, and basic hand tools.
This tool guide is not a race to own the biggest set. A homeowner who buys a 300-piece kit often receives duplicate screwdrivers, thin pliers, and sockets that never fit the fasteners in the garage. A smaller 100-piece set from Husky, Tekton, or GearWrench usually gives better coverage. Spend the savings on a quality 18-volt drill and impact driver from Milwaukee, DeWalt, or Makita. The batteries become more valuable as your projects grow.
Measure your bench area before purchasing equipment. A 24-inch-deep bench needs about 36 inches of clear working space in front, and drawers should open without striking a parked car. I once installed a beautiful six-foot bench that blocked the side door when the drawers were extended. Six months later, I rebuilt it. Measure twice, then spend once.

The hand tools that earn their drawer space
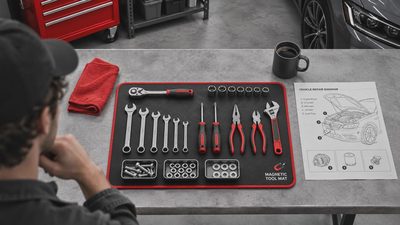
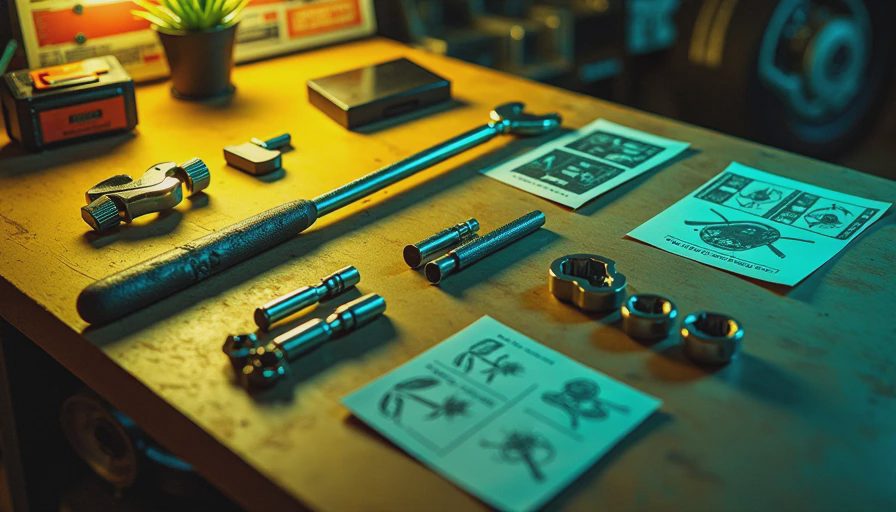
The hand tools in this tool guide are ordinary, but ordinary tools solve most garage problems. Start with a 16-foot tape measure, a four-foot level, a combination square, a torpedo level, and a sharp pencil. Add a claw hammer with a comfortable grip, slip-joint pliers, tongue-and-groove pliers, diagonal cutters, locking pliers, and a set of screwdrivers.
For sockets, a metric and SAE set covering roughly 1/4-inch through 3/4-inch and 6mm through 19mm handles common household and vehicle work. A 3/8-inch drive ratchet is the useful middle ground. Add a 1/2-inch breaker bar before buying a powered impact wrench; leverage removes stubborn lug nuts without depending on a charged battery.
Do not ignore fastener quality. A rounded Phillips screw wastes more time than a slightly expensive driver prevents. Wiha and Wera make excellent drivers, while a basic Husky set is perfectly serviceable for light work. Keep a magnetic parts tray near the bench. It costs about $8 to $15 and saves an astonishing number of washers from disappearing into floor cracks.
A good tool guide also includes consumables. Stock wood screws, construction screws, machine screws, zip ties, painter's tape, penetrating oil, thread locker, shop towels, and replacement utility blades. These inexpensive items are what usually stop a project at 8 p.m.
Choosing power tools without creating battery clutter
The best power tool system is the one you will keep using. Pick one battery platform and stay with it for most cordless equipment. DeWalt's 20V Max, Milwaukee's M18, Makita's 18V LXT, and Ryobi's 18V One+ lines all cover common homeowner tasks. Ryobi often offers the lowest entry price; Milwaukee and Makita generally provide a deeper professional range; DeWalt sits comfortably between them for many garage builds.
Buy a drill and impact driver as a pair if you build shelving or work with structural screws. The drill makes holes and drives delicate fasteners, while the impact driver handles long screws with less wrist strain. A compact circular saw is next. It cuts plywood, two-by-fours, and shelving faster than a handsaw, but use a straightedge and clamp it before cutting.
A random-orbit sander earns its place when refinishing a bench or preparing wood for paint. A jigsaw is more useful than a miter saw for many homeowners because it handles openings, curves, and small boards without demanding a permanent footprint. I own a miter saw, but I would not put it in a first purchase list unless you are repeatedly cutting trim or framing.
This tool guide recommends corded tools for equipment that stays put. A corded shop vacuum, angle grinder, or bench grinder can cost less and run longer than a cordless version. Put the outlet where the tool will live, and install a dedicated circuit for high-draw equipment through a qualified electrician when needed.
Storage, lighting, and safety are tools too
A garage tool guide that skips storage is incomplete. Open shelves are cheap and let you see supplies, but enclosed cabinets protect tools from dust and humidity. A 48-inch-wide steel cabinet often costs $150 to $400, while a wall-mounted French cleat system can be built from plywood for much less. Store heavy items low, keep sharp tools above child reach, and label bins by task rather than by vague categories such as “miscellaneous.”
Lighting changes how safely you work. One dim ceiling fixture creates shadows exactly where you need to see. Add linkable LED shop lights with a color temperature around 4000K to 5000K, then place an adjustable task light over the bench. A basic upgrade for a two-car garage may run $100 to $300 in fixtures and wiring, depending on the existing circuit.
Wear safety glasses for every cutting, drilling, and grinding job. Use hearing protection around saws and compressors, and wear a respirator rated for the material when sanding finishes or working with dusty products. Keep a small ABC fire extinguisher accessible, not buried behind storage tubs. Gloves help with rough lumber but can catch near rotating machinery, so remove them around drill presses, grinders, and saws.
A practical first-year buying plan
The final part of this tool guide is timing. In month one, buy measuring tools, screwdrivers, pliers, a hammer, a drill, a driver, bits, and safety glasses. This usually lands between $250 and $600 depending on brand and whether you buy batteries separately.
During months two through six, add clamps, a circular saw, a shop vacuum, a sander, and storage. Watch for combo-kit sales around spring home-improvement season, but compare the included batteries and charger before calling it a bargain. A kit with two small batteries may be less useful than a bare tool paired with one five-amp-hour battery.
After six months, review what you actually borrowed. If you borrowed a miter saw three times, buying one could make sense. If the borrowed tool stayed in its case, rent it again. I rented a drywall lift for a ceiling job rather than storing a $250 machine for the next decade. That is not being cheap; it is keeping the garage usable.
The setup I would build today
My current recommendation is a sturdy 24-inch-deep bench, a pegboard or cleat wall, two bright LED fixtures, a corded shop vacuum, and one cordless battery platform. Put the frequently used tools between waist and shoulder height, reserve lower shelves for heavy boxes, and leave one clear assembly surface. The best tool guide is the one that leaves room to work.
Buy slowly, keep receipts, and give every tool a home before bringing another one through the garage door. A $20 magnetic tray, a labeled screw bin, and a reliable work light can improve a project more than an expensive specialty tool. Build the setup around real jobs, maintain the batteries, and sharpen or replace worn accessories before blaming the equipment. Back to the bench.