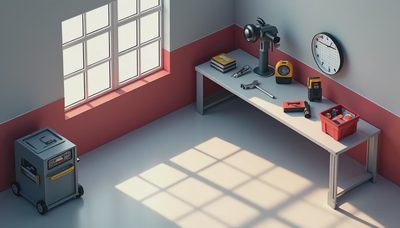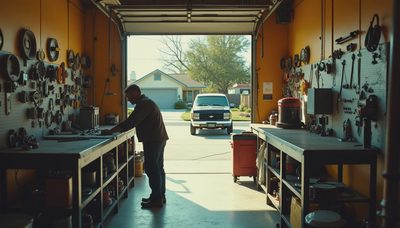
Tool storage is not about making your garage look like a catalog photo. It is about finding the right socket without moving three lawn chairs, keeping sharp edges away from children, and getting your truck back inside before the next storm. After working in more than 40 attached garages, I have learned that the best setup starts with the way you actually work, not with whatever cabinet system is on sale.
I rebuilt my own garage three times before settling on a layout that has survived Ohio winters, muddy spring projects, and a nephew who borrows tools without always returning them. The first version looked tidy but wasted wall space. The second had cheap particleboard cabinets that sagged under fasteners. I've screwed this up so you don't have to.
Start with the garage, not the catalog
Before buying anything, measure the garage as a working room. Mark the garage door tracks, opener, windows, electrical outlets, furnace or water heater, and the path needed to open vehicle doors. Leave at least 30 inches of clear walking space in front of cabinets, and plan for the hood of a car to extend past the front of a workbench if parking is still important.
Then divide your tools into three groups: daily-use hand tools, occasional power tools, and bulky seasonal equipment. A 24-inch-deep cabinet is useful for compressors and saws but wastes space for screwdrivers. Shallow 12-inch wall cabinets work better above a bench because they keep handles visible without putting your forehead in danger when you stand up.
Do not mount every shelf at the same height. I put frequently used items between waist and shoulder level, heavier cases below the bench, and rarely used specialty tools higher up. A step stool is safer than climbing on a five-gallon bucket, which is how a simple storage project becomes a trip to urgent care.

Wall storage: cabinets, pegboard, or cleats?
The best tool storage usually combines three systems rather than forcing one product to do everything. Metal cabinets protect tools from dust and curious hands. Pegboard keeps commonly used pliers, squares, and drivers visible. French cleats let you move holders as the shop changes.
For a homeowner's garage, I like a 24-inch-wide steel cabinet beside the bench, a 72-inch run of shallow upper cabinets, and a plywood French cleat below them. Husky and Gladiator both make widely available garage cabinets; the important detail is not the badge but the construction. Look for full-extension drawer slides, welded corners, adjustable feet, and a load rating that covers your actual collection. A drawer packed with sockets can easily weigh 50 pounds.
Pegboard is inexpensive, but the thin hardboard sold in many home centers bows when loaded with long clamps. I use 1/2-inch plywood painted before installation, with metal pegboard hooks screwed or locked in place. If you prefer a commercial panel, Wall Control steel panels are more durable and easier to wipe clean. Either way, outline tools with a paint marker only after the arrangement has survived a month of real use.
Build the bench around your work
A workbench is the anchor of practical tool storage. Mine is 30 inches deep, 38 inches high, and built from two layers of 3/4-inch plywood with a replaceable hardboard top. That height works for assembly and general repairs; if you do a lot of hand-planing, a slightly taller bench can save your back.
Install at least one dedicated outlet above the bench, with additional outlets at bench height so cords do not hang across the floor. A 20-amp circuit is useful for a shop vacuum or larger benchtop tool, but have electrical work completed to local code. Bright, shadow-free lighting matters just as much. Two 4-foot LED shop lights mounted parallel to the bench made more difference than the expensive cabinet I bought first.
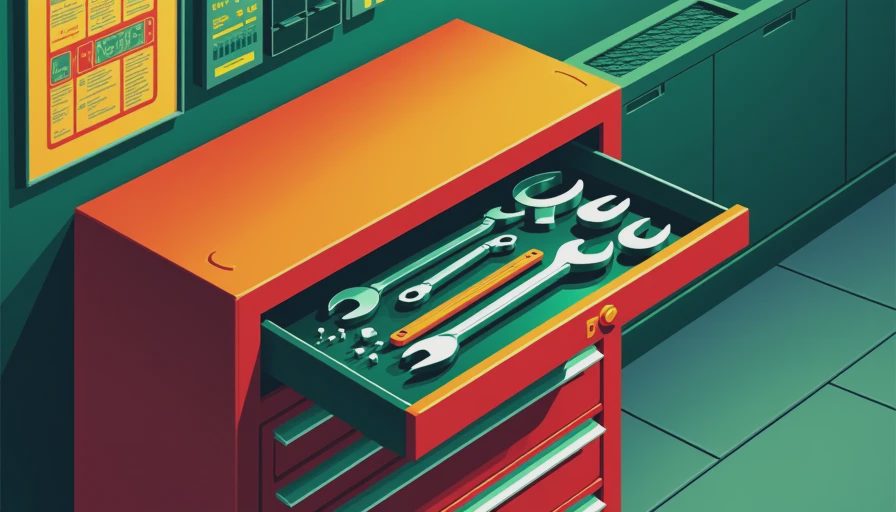
Put drawers under the bench for measuring tools, fasteners, and layout equipment. Use a shallow top drawer for pencils, blades, marking knives, and tape measures. Larger drawers should hold impact drivers and sanders in fitted foam or simple dividers. The goal is not museum-level presentation; it is knowing where the tool lands when you are halfway through a repair.
Make tool storage handle dirt and weight
Garages are hard on materials. Road salt, humidity, sawdust, and a wet mower can destroy a nice-looking setup. Keep cardboard boxes off the slab and use plastic bins with lids for seasonal items. For tools, steel cabinets and sealed plywood outperform bargain laminate when the garage is unconditioned.
Anchor tall cabinets and wall systems directly into studs or properly installed masonry anchors. Do not trust drywall alone for a cabinet filled with drills. A cabinet weighing 80 pounds empty can become a 300-pound wall load once packed. Store batteries away from extreme heat, keep fuel in approved containers, and leave ventilation around chargers rather than burying them in a closed drawer.
I also recommend a narrow 6-inch shelf near the bench for penetrating oil, thread locker, and cleaning supplies, with a raised lip to stop bottles sliding off. Put oily rags in a metal container with a self-closing lid. Good tool storage includes fire prevention, not just neat rows of equipment.
A practical layout for a two-car garage
Here is the arrangement I would use in a typical 22-by-22-foot garage. Put the main bench on the side wall nearest the electrical panel, leaving the center open for parking and larger projects. Place shallow cabinets above it and a locking base cabinet at one end for chemicals or expensive tools.
Use the back wall for seasonal equipment: mower, snowblower, folding ladders, and bins. A ceiling-mounted rack can hold lightweight holiday containers, but never hang heavy machinery overhead where a failed anchor can damage a vehicle or injure someone. On the opposite side, install narrow vertical storage for clamps, levels, and long-handled tools. Keep at least 18 inches clear of the garage door's moving path.
A realistic starter budget is $250 to $500 for a plywood bench and basic wall panels, $600 to $1,500 for dependable metal cabinets, and more than $2,000 for a full modular system. You do not need to buy it all at once. Build the bench, live with it through one season, then add cabinets where clutter actually accumulates.
The test before you spend more
For one week, place a piece of painter's tape on the wall for every tool category you reach for. Record what you use daily, what you carry across the garage, and what repeatedly ends up on the floor. That simple audit will expose a bad layout faster than a glossy product review.
Next, mock up cabinet depths with cardboard. Park the car, open both doors, walk from the house entry, and pull out the largest tool you own. If the mockup pinches the walkway, the finished cabinets will be worse. Leave room for future additions too; a bare 12-inch section beside the bench is more useful than filling every inch immediately.
Good tool storage should make the next project easier, not turn the garage into a display case. Start with safe access, strong mounting, adequate lighting, and a bench you will actually use. Buy the premium drawer slides where your hands go every day, save money on simple shelves, and let the layout earn its upgrades. Back to the bench.