Why Vises and Clamps Matter More Than You Think
You can have the nicest workbench in the world, but without proper vises and a way to store clamps, you’ll spend more time fighting your tools than actually building things.
After setting up dozens of garage workshops and using my own bench for years, I’ve learned which vise setups deliver and how to keep dozens of clamps organized and accessible.
I’ve screwed this up so you don’t have to.
Choosing the Right Vise
The Classic Woodworker’s Vise
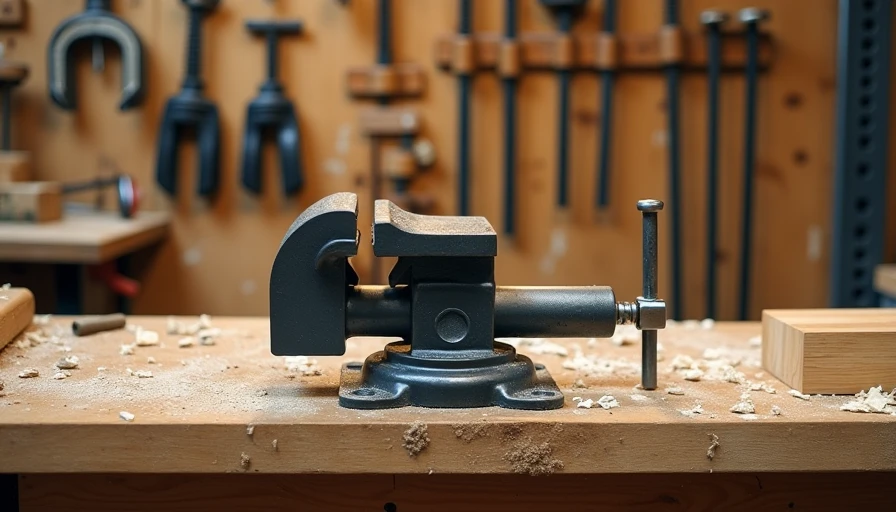
A heavy-duty 8" or larger face vise mounted on the front of the bench is still king for most hand tool work. Look for one with a quick-release mechanism.
End Vise
A tail vise or end vise on the right side of the bench opens up many more clamping options, especially when paired with bench dogs.
Combination Approach
Many of my clients do best with a heavy front vise plus a smaller quick-release vise on the end.
I currently run a big Wilton on the front and a smaller quick vise on the end. The combination handles 95% of my projects.
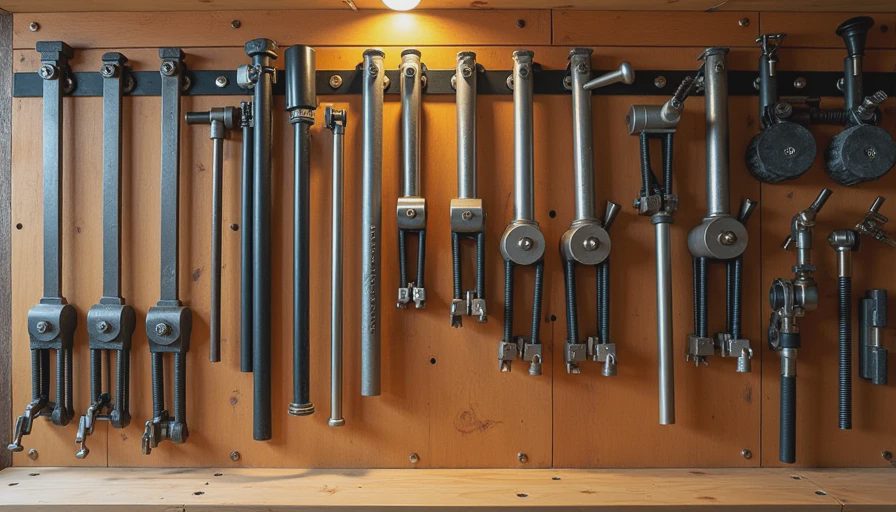
Bench Dog Systems
Don’t skip the bench dogs. A grid of 3/4" holes across your bench top combined with good quality dogs and holdfasts gives you incredible flexibility. Round dogs are easier to use; square dogs hold better under heavy pressure.
Clamp Storage Solutions That Actually Work
French Cleat System
My favorite for larger bar clamps and pipe clamps. Easy to reconfigure and very strong.
Wall-Mounted Racks
Simple 2x4 racks with slots work great for F-clamps and smaller one-hand clamps.
Mobile Cart
A dedicated clamp cart on wheels keeps everything mobile and organized.
Overhead or Ceiling Storage
For very long clamps or pipe clamps you don’t use daily.
My Current Setup
Heavy 8" face vise on the front left
Quick-release vise on the right end
Grid of bench dog holes
French cleat wall behind the bench for bar clamps
Dedicated 2x4 rack for pipe clamps and smaller clamps
Small mobile cart for frequently used F-clamps
This system keeps everything visible and within easy reach while I’m working.
Budget-Friendly Options
You don’t need $500 vises to get started. A good quality mid-range vise will serve most weekend woodworkers well for years. Same with clamps — buy good ones gradually rather than cheap sets that fail.
Pro Tips From the Shop Floor
Mount your main vise so the jaws are flush with the bench top
Leave space behind the vise for long workpieces
Organize clamps by size and type
Keep a few “sacrificial” clamps for glue-ups
Label storage locations if you have a lot of clamps
Common Mistakes
Mounting the vise too low or too high
Not enough bench dog holes
Letting clamps pile up on the floor
Buying too many specialized clamps instead of versatile ones
The Workflow Difference
Once you have a solid vise setup and logical clamp storage, your projects go much smoother. No more hunting for the right clamp or fighting with poor holding power.
It turns frustrating sessions into productive, enjoyable ones.
Building Your Ideal Setup
Start with one good vise and a basic clamp rack. Expand as your needs grow. Focus on versatility over quantity.
Your weekend woodworking sessions will improve dramatically with the right infrastructure.
Final Thoughts
Good vises and smart clamp storage are the unsung heroes of any garage workshop. Invest in them thoughtfully and they’ll serve you for decades.
I’ve screwed this up so you don’t have to. Get your holding power sorted.
Back to the bench.