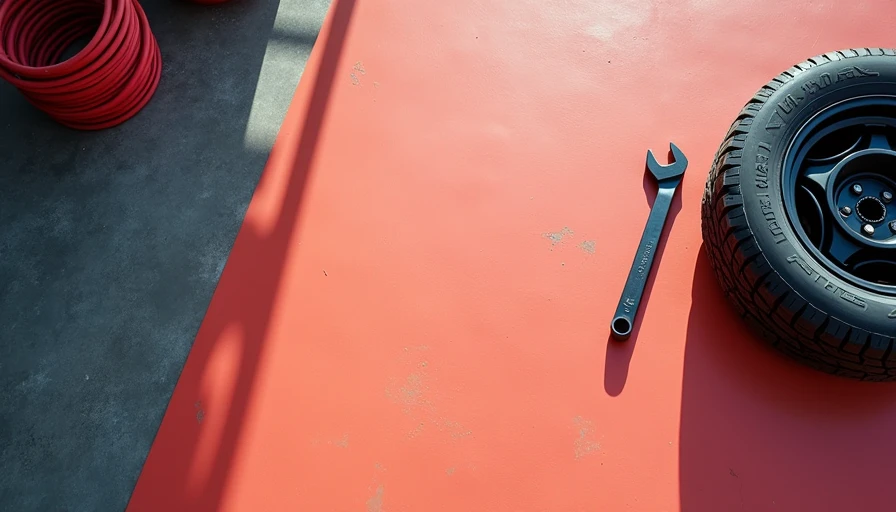
A garage workshop should make you want to open the door on a Saturday morning, not make you hunt through three plastic bins for a 10-millimeter socket. I have rebuilt my own garage three times and worked inside more than 40 attached garages as a remodeling contractor. The biggest lesson is simple: plan the work zones before buying cabinets. A useful garage workshop starts with traffic flow, durable surfaces, enough power, and storage that matches the tools you actually use.
Most homeowners begin with a shopping list. They price epoxy kits, rolling tool chests, slatwall panels, and LED fixtures. That is backward. First measure the garage, mark the vehicle doors and walking paths, and decide whether the space is mainly for woodworking, automotive work, home repairs, or a combination. A two-car garage can support a solid shop, but it still has to accept two vehicles, bicycles, lawn equipment, and seasonal storage if that is how your household uses it.
Start with the garage workshop floor
The floor takes more abuse than any other part of the room. Road salt, hot tires, dropped hammers, jack stands, oil, and winter moisture will expose a weak coating quickly. I painted my own concrete floor with a basic one-part product years ago. Six months later it was peeling near the garage door, and I spent a miserable weekend scraping it up.
For a working garage workshop, prepare the concrete before thinking about color. Clean oil with a suitable degreaser, repair cracks, and test for moisture. A professional polyurea or quality two-part epoxy system often costs roughly $4 to $10 per square foot installed, while a careful DIY coating can land closer to $1.50 to $4 per square foot in materials. The cheaper number is not a bargain if the slab is damp or poorly prepared.
Rubber tiles and mats are useful around a bench because they reduce fatigue and protect dropped parts. They are not a substitute for repairing a cracked or uneven slab. Use a thick, beveled mat where you stand, but leave enough room to roll a floor jack or shop cart without catching an edge.
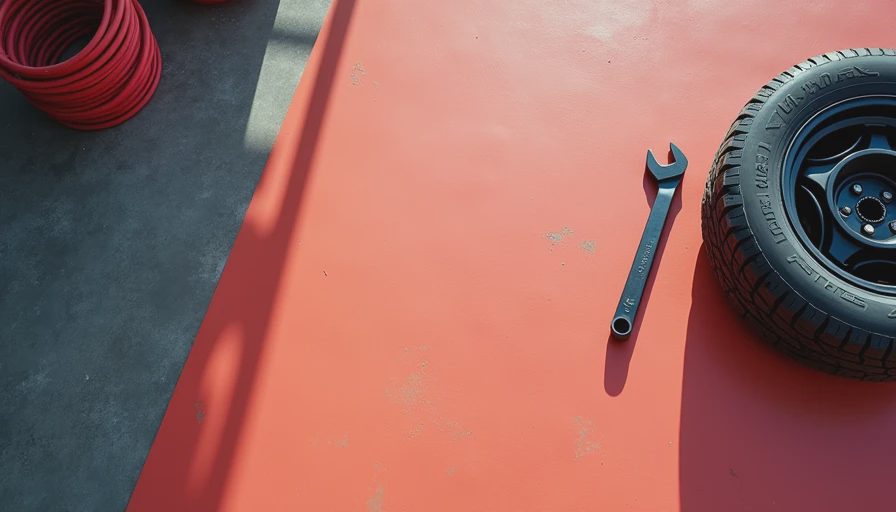
Lay out work zones before buying cabinets
A good garage workshop has distinct zones, even if they overlap. Put the main bench on a wall with convenient electrical access. Keep noisy or dusty equipment away from the entry door when possible, and leave a clear route from the house door to the driveway. That route matters when you are carrying lumber, a snow blower, or a heavy engine part.
Allow at least 36 inches of walking clearance in normal paths and more around a vehicle door. A workbench 24 to 30 inches deep is enough for most home repairs; deeper benches collect clutter unless you are regularly working on large assemblies. Before installing anything permanent, tape the bench, cabinets, and vehicle outlines on the floor. Live with that layout for a week. I have moved more than one planned bench after discovering that an open car door hit the corner every time.
In a garage workshop used for woodworking, position the table saw so long stock can pass through without striking the wall or parked vehicle. For automotive work, keep the jack, stands, drain pan, and frequently used sockets near the vehicle bay. The layout should reduce steps, not create a showroom arrangement that looks good only when nothing is happening.
Power and lighting are worth opening the walls for
Many older garages have one ceiling fixture and a single receptacle. That setup is frustrating and can become unsafe when extension cords feed a compressor, heater, grinder, and battery chargers. If you are finishing walls, have a qualified electrician plan dedicated circuits for large tools. A 120-volt circuit may handle many benchtop tools, while welders, large compressors, and some heaters can require 240 volts and different wiring.
Use several wall receptacles rather than relying on power strips. Place them about 48 inches above the floor if benches or cabinets will sit below them, and protect circuits with the required GFCI devices for the location. Local code and the electrical panel capacity determine what is allowed, so this is one place where guessing costs more than hiring help.
For lighting, use multiple LED fixtures instead of one bright bulb. In my garage workshop, four-foot linkable fixtures provide broad light across the bench, while a separate fixture covers the vehicle bay. Aim for even illumination with minimal shadows, and add an adjustable task light for fine work. A high color-rendering fixture makes it easier to see wiring colors, finish defects, and small cracks in metal.

Build storage around your real tool collection
Storage should follow frequency of use. Put daily tools between waist and shoulder height, occasional tools in cabinets, and seasonal equipment lower or higher. A shallow French cleat wall works well for hand tools because you can move holders as the collection changes. Heavy items belong in cabinets or on shelves rated for their actual load, not on decorative wall panels.
A 24-inch-deep rolling tool chest can consume valuable floor space, but it earns that space if you use it every week. For a lighter-duty garage workshop, a 12-inch-deep wall cabinet and a sturdy 30-inch-deep bench may provide more usable surface. Label bins by task rather than vague categories. “Brake bleeding,” “drywall repair,” and “electrical testing” are faster to understand than “miscellaneous.”
Keep flammable liquids in an approved cabinet or storage arrangement suited to your local requirements. Store propane cylinders, gasoline, and oily rags carefully, and do not place them beside a furnace or other ignition source. Good storage is not only tidy; it keeps hazardous materials controlled and makes cleanup possible.
Budget the project in phases
A practical garage workshop does not need a $15,000 renovation before you can use it. Start with lighting, electrical improvements, a sound bench, and basic storage. Depending on the garage condition and how much work you do yourself, that first phase might run $1,500 to $5,000. Flooring, insulation, drywall, cabinets, and specialty equipment can follow as money and time allow.
Spend first on work that is difficult to redo. Run wiring before closing walls, insulate before installing finished panels, and repair water intrusion before coating the floor. A premium tool chest will not fix poor lighting, and expensive cabinets will not compensate for a bench placed in the vehicle door swing.
I recommend keeping a 15 percent contingency for damaged concrete, extra wire, missing hardware, and the small purchases that multiply during a remodel. Buy the exact tools you need for the projects you perform, rather than filling every drawer because an empty drawer feels unfinished.
Mistakes that make a shop frustrating
The most common mistake is sacrificing every inch of floor space to storage. You still need room to assemble a cabinet, pull a mower out, or work safely around a vehicle. The second is skipping ventilation. Dust collection, an exhaust fan, or simply a planned way to exchange air matters when you paint, sand, weld, or use solvents.
Another problem is installing permanent cabinets before confirming stud locations and wall moisture. Fasten heavy storage into proper framing, not just drywall. Leave access to the electrical panel, water shutoffs, and garage door equipment. Finally, use a fire extinguisher that matches the hazards in the space and keep a clear path to the exit.
The best garage workshop is not the one with the most equipment. It is the one where the bench is clear, the light is good, the floor can take abuse, and every common tool has a sensible home. Build in that order and you will spend more time making things and less time repairing your renovation. Back to the bench.