A thread chaser is one of those inexpensive garage tools you do not appreciate until a bolt refuses to start after a repair. I keep several in the top drawer of my bench because cleaning damaged threads is usually smarter than immediately reaching for a tap. A thread chaser removes rust, paint, dirt, and light deformation while preserving the original thread profile. For homeowners working on lawn equipment, bicycles, cars, or shop fixtures, that difference matters.
I learned this the slow way on an old snowblower. I forced a rusty bolt into an aluminum housing, cross-threaded the first few turns, and spent an afternoon repairing damage that a $10 tool could have prevented. I've screwed this up so you don't have to. The right approach is simple: inspect the fastener, clean the exposed threads, use the correct size, and let the tool do the work.
What a thread chaser actually does
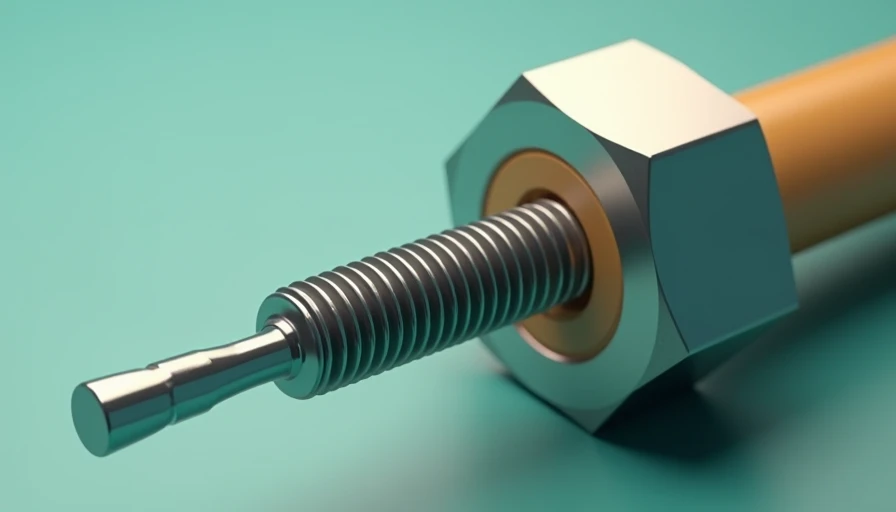
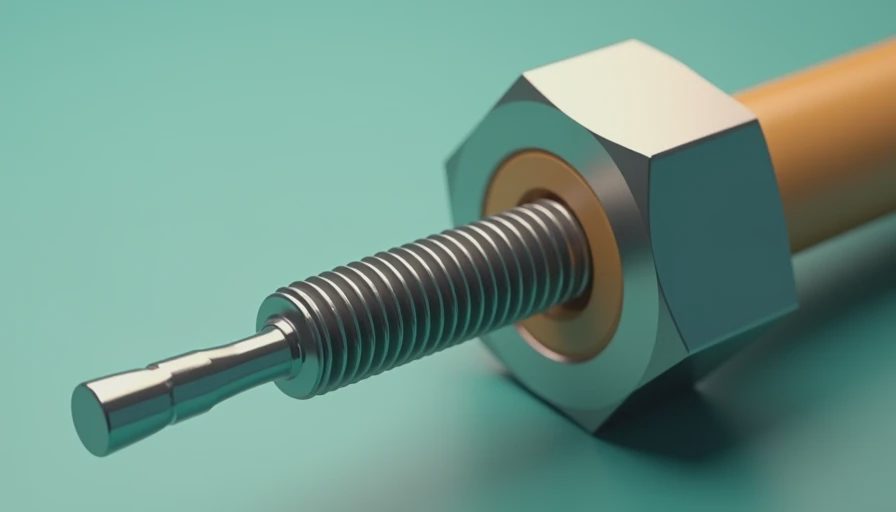
A thread chaser is designed to restore and clean existing threads rather than cut a completely new thread. Its flutes or ridges follow the original path, pushing grime and small burrs out of the way. That makes it useful after removing a rusty bolt, replacing a brake component, or cleaning a threaded hole that has collected years of grease.
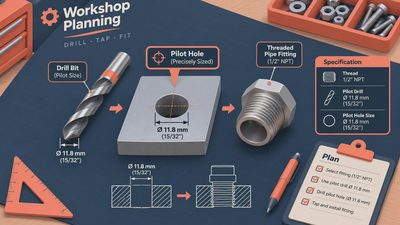
A cutting tap removes more metal and creates a sharper new thread. That is useful when threads are missing or badly damaged, but it is not the first choice for a slightly rough hole. A thread chaser is gentler, especially in soft aluminum, cast material, and older hardware where there is not much metal to spare.
Do not expect miracles. If half the thread is gone, the hole is stretched, or the fastener has been driven in at an angle, chasing will not make it structurally sound. In those cases, you may need a thread insert, replacement part, or professional repair.
Choosing the right type for your bench
The first choice is between a thread chaser for internal threads and one for external threads. Internal versions clean holes and often resemble a tap. External versions clean bolts, studs, and threaded rod. A complete set usually includes both, with common SAE sizes and metric sizes separated so you do not confuse a 3/8-inch tool with a nearby metric equivalent.
For a typical US home garage, I would start with a set covering metric sizes from M6 through M12 and SAE sizes from 1/4 inch through 1/2 inch. Those sizes handle many automotive brackets, mower hardware, vise parts, and general repair jobs. A quality set may cost $25 to $70. Cheap sets can work, but inspect the machining before buying; rough flutes and inconsistent sizing defeat the purpose.
Brands such as Lisle, GearWrench, and Irwin offer practical automotive and workshop options. I have used a Lisle-style thread chaser set for years, but the brand matters less than accurate sizing, clean edges, and a handle that lets you keep the tool square.
How to chase a damaged bolt or hole
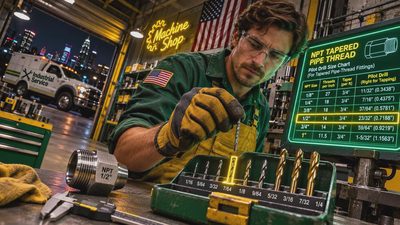
Start by brushing away loose rust and wiping off oil. A brass wire brush is less aggressive than a steel brush and is a good choice around aluminum parts. Match the tool to the fastener by checking the diameter and pitch, not just the outside diameter. An M8 x 1.25 tool and an M8 x 1.0 tool are not interchangeable.
Apply a small amount of cutting oil or penetrating oil. Place the tool straight into the hole or onto the bolt, then turn it by hand. You should feel steady resistance, not a sudden hard stop. Turn forward about half a turn, then back off slightly to break loose debris. Continue slowly, cleaning the flutes every few turns.
When using a thread chaser on a bolt, start from the cleanest end of the threads. If the first thread is smashed, dress it lightly with a small file before starting. Never use an impact driver to force the tool. A tap wrench provides control, and a standard adjustable wrench can work in a pinch if you keep your hands slow and deliberate.
Common mistakes that cost more than the tool
The most common mistake is guessing the size. A tool that feels close can damage the remaining thread before you notice. Keep a thread pitch gauge beside your sockets, or test the bolt against a known good nut. If it does not turn smoothly by hand, stop and verify the size.
Another mistake is chasing dirty threads without cleaning the opening. Rust chips can pack into the bottom of a blind hole and create a false hard stop. Blow out debris with compressed air only after wearing eye protection, then use a brush and solvent where appropriate. Never point compressed air at your skin.
I also see people confuse restoration with repair. A thread chaser can clean contamination and straighten minor damage, but it cannot replace missing metal. On a suspension, brake, steering, or engine-mounting fastener, use sound judgment. If the bolt will not seat fully, the hole feels loose, or the fastener spins without tightening, stop before putting the vehicle back in service.
A practical garage setup
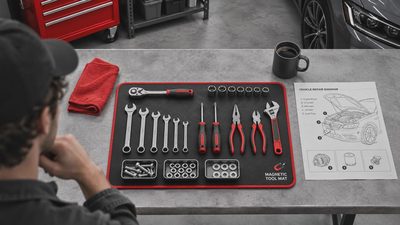
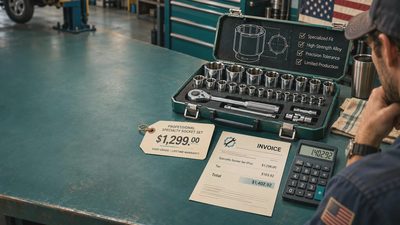
Store the set in a labeled case rather than loose in a coffee can. Separate metric and SAE tools, and mark frequently used sizes with a paint pen. Keep a small wire brush, cutting oil, shop towels, a pitch gauge, and a tap wrench in the same drawer. That turns a frustrating repair into a five-minute cleanup instead of a trip to the hardware store.
For home projects, a basic thread chaser costs less than one replacement bracket or stripped bolt repair. It is especially useful when renovating a garage workbench, mounting a vise, restoring an old hand tool, or servicing equipment that lives in a damp shed. I use mine most often on hardware that looks too good to replace but too dirty to trust.
After chasing, wash or wipe the part, run the original bolt in by hand, and confirm that it reaches its normal depth. Apply the manufacturer-specified lubricant or threadlocker only when appropriate. A clean thread gives a more reliable torque reading; it does not automatically justify tightening beyond the stated specification.
When to buy a thread chaser
Buy one before you need it, not after a bolt has already started cross-threading. A compact metric-and-SAE set takes little room and usually pays for itself on the first stubborn repair. Choose a thread chaser when the original threads are mostly present but dirty, rusty, or lightly burred. Choose a cutting tap or insert system when the threads are genuinely gone.
My rule at the bench is simple: clean first, measure twice, and never force a fastener that should turn by hand. That habit protects expensive aluminum housings, prevents avoidable stripped holes, and keeps small garage jobs from becoming weekend-ending repairs. Put the set beside your sockets, label it clearly, and it will earn its drawer space. Back to the bench.