The Problem With Fixed Workbenches
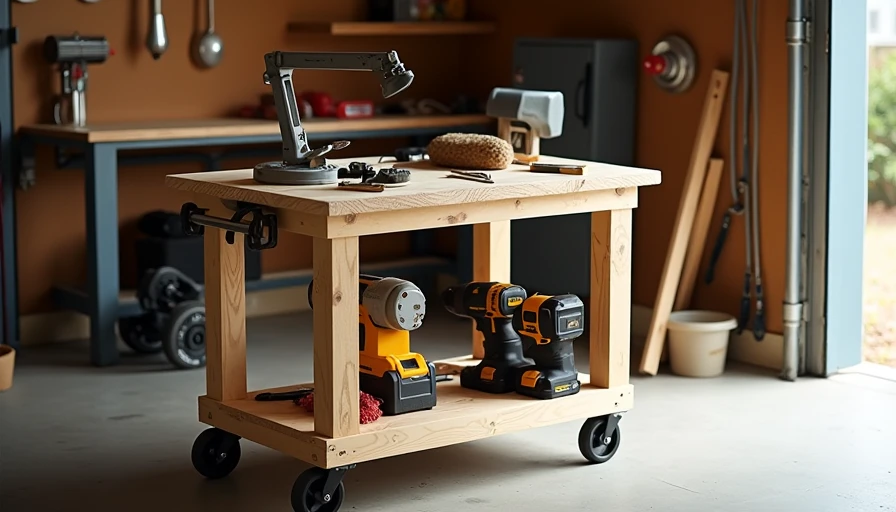
Your main workbench is great, but sometimes you need a second surface that can move around the garage or even outside. After years of tripping over temporary setups, I finally built a proper mobile work cart that has become one of my most-used shop accessories.
This design is sturdy, surprisingly spacious, and rolls smoothly even when fully loaded. Best of all, you can build it in a weekend with basic tools.
I’ve screwed this up so you don’t have to.
Why This Design Works
Compact footprint but large work surface (24" x 48")
Heavy-duty casters that lock securely
Lower shelf for storage
Optional power strip mount
Easy to customize
Total material cost: around $110–$130 depending on lumber prices.
Free Plans and Cut List
Materials Needed:
6 pieces of 8-foot 2x4s
One sheet of 3/4" plywood (or two 2x4 sheets)
4 heavy-duty locking casters (at least 4" wheels)
Wood screws (2.5" and 3")
Wood glue
Optional: paint or sealant
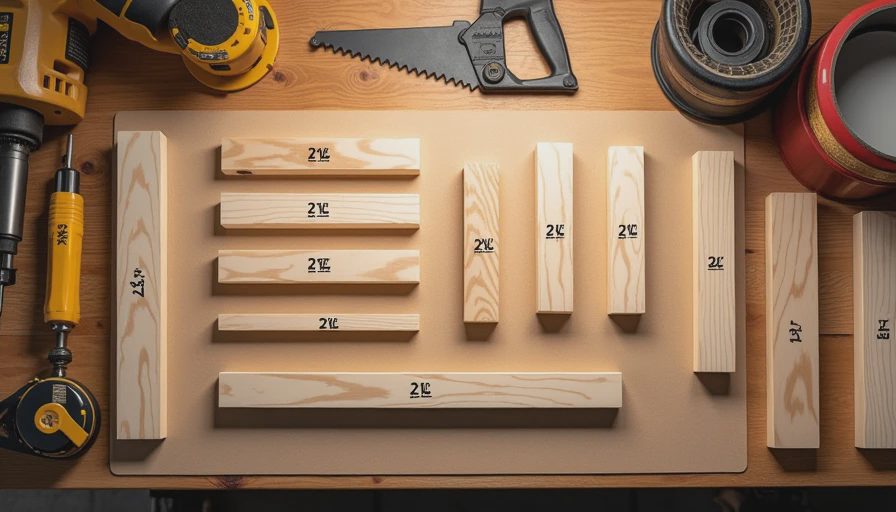
Cut List:
Legs: 4 pieces @ 34" (2x4)
Long stretchers: 4 pieces @ 45" (2x4)
Short stretchers: 4 pieces @ 21" (2x4)
Top: 1 piece 24" x 48" plywood
Shelf: 1 piece 22" x 46" plywood
Step-by-Step Build Instructions
1. Build the Two End Frames
Construct two rectangular frames using the legs and short stretchers. Use glue and screws for strong joints. These form the ends of your cart.
2. Connect the Frames
Attach the long stretchers to create the basic box structure. I recommend pocket holes or simple butt joints reinforced with screws.
3. Add the Top and Shelf
Cut your plywood pieces to size. Attach the top securely from below. Install the lower shelf about 12" off the ground for stability and storage.
4. Mount the Casters
Flip the cart over and attach the heavy-duty locking casters. Make sure they’re square and securely fastened.
5. Finishing
Sand everything smooth, round over edges, and apply a durable finish. I used polyurethane on the top for extra protection.
Assembly Tips and Tricks
Check for square at every step — this ensures smooth rolling
Pre-drill all screw holes to prevent splitting
Use construction adhesive on the plywood joints for extra rigidity
Test the cart’s movement before final tightening
Consider adding a lip around the top to prevent tools from rolling off
Real-World Performance
I’ve been using my mobile cart for over four years now. It holds my miter saw, serves as an assembly table, and even acts as extra seating when friends come over for projects. The casters roll smoothly over minor floor imperfections, and the locking mechanism keeps it rock solid when needed.
Customization Ideas
Add drawers or shelves underneath
Mount a power strip along one side
Build it taller for use as an outfeed table
Add pegboard on the ends for tool storage
Make multiple carts for different purposes
Safety and Stability Notes
Always lock the casters when using the cart as a work surface. Don’t overload it beyond 300-400 lbs. Keep the center of gravity low for best stability.
Why You Need This Cart
A mobile work surface gives you flexibility that a fixed bench can’t match. Move it near your main bench for big glue-ups, roll it outside for painting, or use it as temporary storage when cleaning the garage.
It’s one of those shop projects that pays for itself immediately in convenience.
Downloadable Plans Note
(Imagine detailed diagrams here — top view, side view, and 3D assembly. The dimensions above are complete enough to build from, but feel free to adjust based on your needs and available materials.)
Final Thoughts
This mobile work cart proves you don’t need fancy tools or expensive materials to add serious functionality to your garage workshop. Simple, strong, and mobile — exactly what most weekend warriors need.
Build one this weekend. Your back (and your main workbench) will thank you.
I’ve screwed this up so you don’t have to.
Back to the bench.