Why Most Garage Lighting Sucks
Walk into the average garage and you’ll find a single bare bulb or cheap fluorescent shop light hanging from the ceiling. It creates dark shadows, poor visibility, and makes working on anything a chore.
After 18 years of remodeling, I’ve learned that proper lighting is one of the highest-impact upgrades you can make. Good light makes your garage feel bigger, safer, and far more usable.
I’ve screwed this up so you don’t have to.
Understanding the Basics
Lumens measure total light output. More isn’t always better — you need the right amount in the right places.
Color Temperature (measured in Kelvin) determines the “warmth” or “coolness” of the light.
CRI (Color Rendering Index) tells you how accurately colors appear. Higher is better for detailed work.
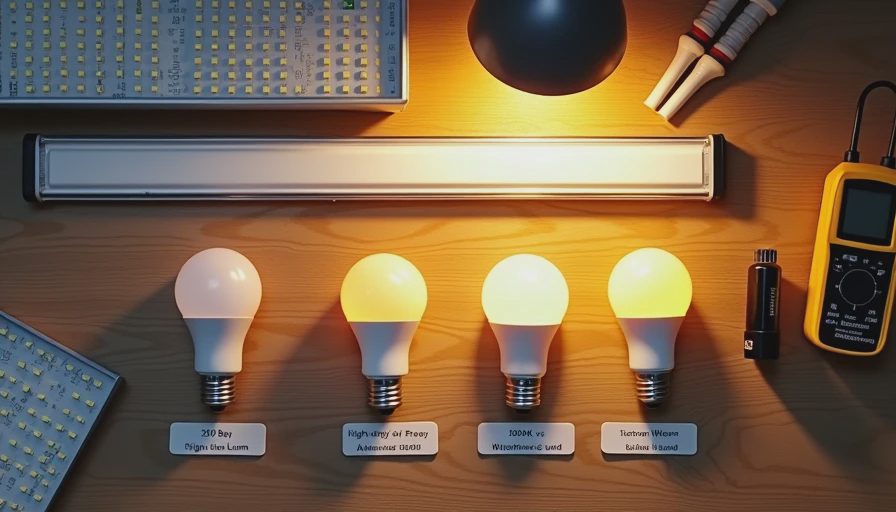
My Recommended Specs for Garage Workshops
Total Light Output: Aim for 50-100 lumens per square foot depending on use. A standard two-car garage needs roughly 10,000–20,000 total lumens for serious work.
Color Temperature: 5000K–6500K (bright daylight white). This keeps you alert and makes it easier to see details. Avoid warm 3000K lights — they make the space feel dim and dingy.
CRI: Minimum 80, ideally 90+ for color-critical tasks like painting or woodworking.
Fixture Strategy That Works
I recommend a layered approach:
1. Main Overhead Lighting
4–6 LED high bay or wraparound fixtures for even coverage. Position them to minimize shadows on your workbench.
2. Task Lighting
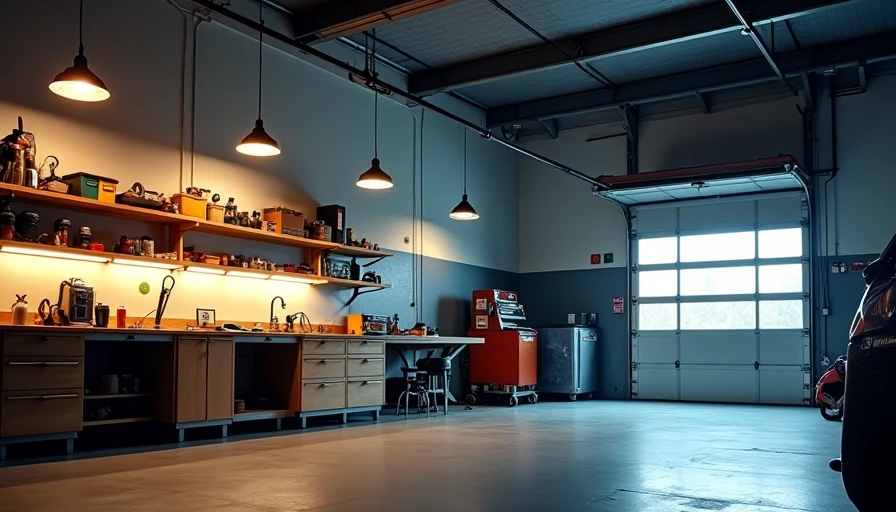
Under-cabinet or adjustable arm lights over the main workbench. Motion-activated lights are fantastic.
3. Wall-Mounted Lights
Vertical surfaces need light too. I often add strip lights or sconces on side walls.
4. Portable Work Lights
For those times when you need extra illumination on a specific project.
Real Install Examples
In my own garage (one-car with workbench), I installed:
Four 4-foot LED wraparound fixtures (total ~16,000 lumens)
Two under-cabinet LED strips over the bench
Motion sensor flood light near the door
The difference was night and day. I can now see fine details without squinting, and the space feels much larger.
One client who converted his garage to a home gym wanted bright, even light. We used six high-output LED panels. He says it transformed his workouts.
Cost Breakdown
Basic Upgrade: $150–$400 (replace existing fixtures with better LEDs)
Solid Workshop Setup: $600–$1,200
Premium Full System: $1,500–$3,000 (including smart controls and extra task lighting)
LEDs pay for themselves quickly through energy savings and longevity.
Pro Tips From the Field
Use dimmable fixtures so you can adjust for different tasks
Place lights parallel to your workbench, not perpendicular
Consider smart lighting with app control and scheduling
Seal all fixtures against dust and moisture
Add a few outlets with USB ports for convenience
Common Lighting Mistakes
Relying on a single central light
Using cool white bulbs that are too harsh
Insufficient task lighting
Poor placement creating glare or shadows
Cheap fixtures that fail quickly
The Impact on Your Workshop
Good lighting reduces eye strain, improves safety, and makes you more productive. Many clients tell me that proper lighting was the upgrade that finally made them excited to use their garage.
It’s often more impactful than new storage or flooring.
Planning Your Lighting Layout
Before buying anything:
Sketch your garage layout
Mark major work areas
Plan fixture locations to eliminate shadows
Calculate total lumens needed
Check existing wiring capacity
Final Recommendation
For most homeowners, start with quality 5000K LED fixtures providing at least 50 lumens per square foot, then add task lighting where you work most. The investment is relatively small but the improvement in usability is massive.
Don’t settle for dim, depressing garage lighting. Your projects — and your eyes — deserve better.
I’ve screwed this up so you don’t have to. Light up that garage properly.
Back to the bench.