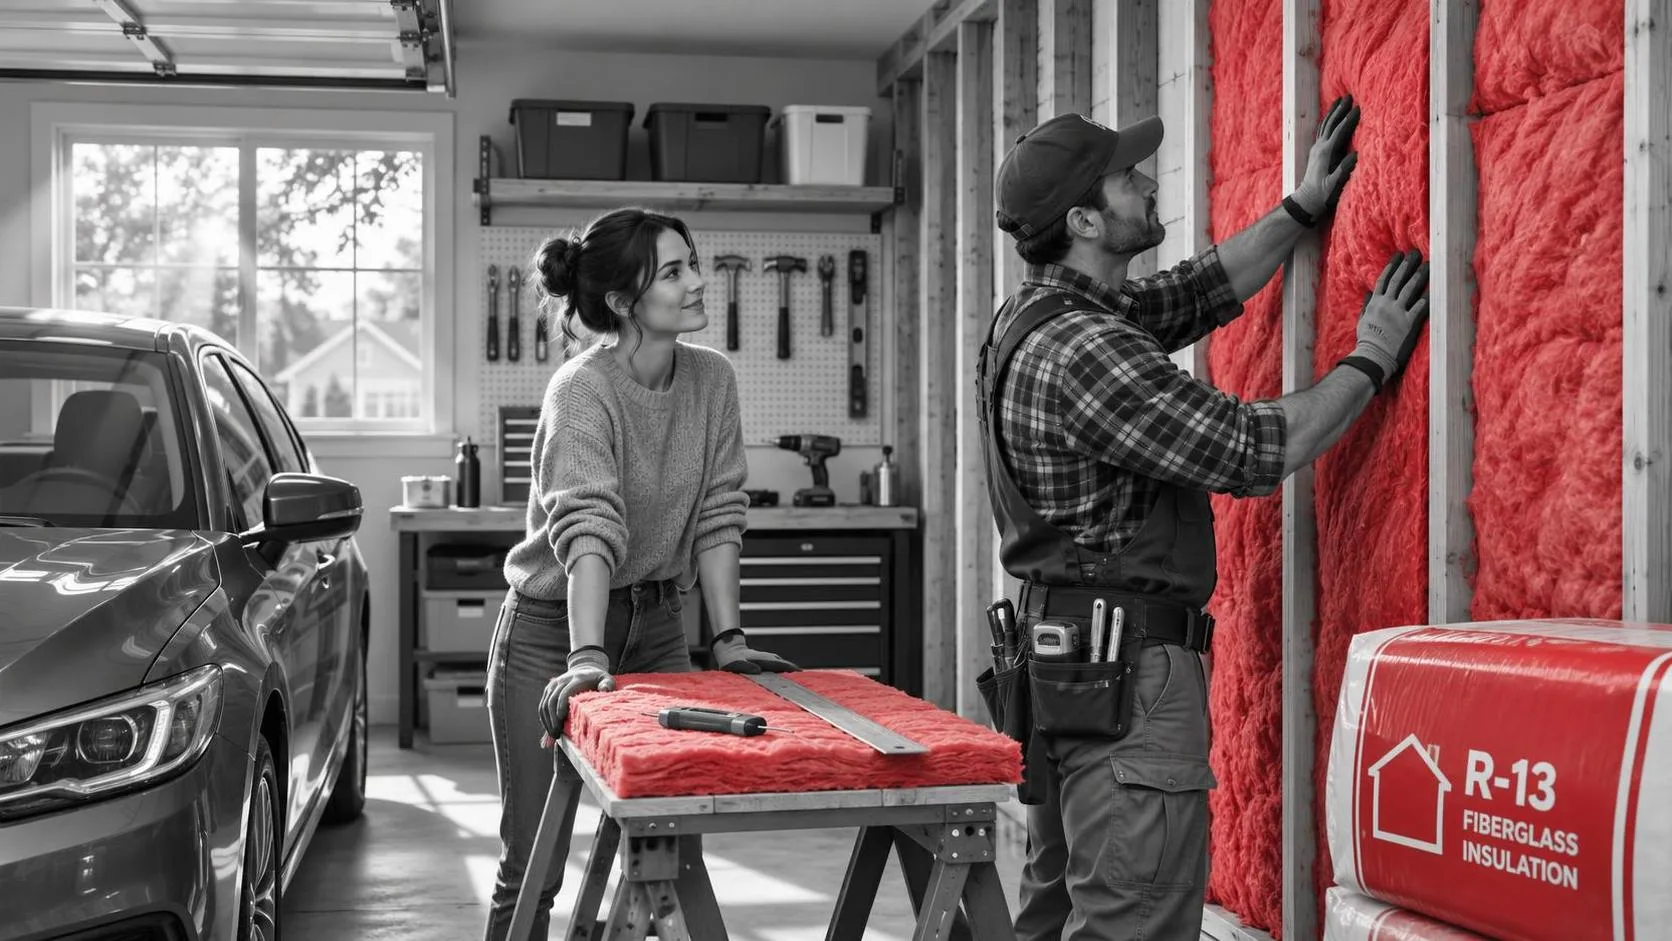
Garage insulation is one of those projects that sounds simple until you stand in front of an open wall and realize there are gaps, wires, vents, and a garage door to deal with. Done correctly, it can make an attached garage more comfortable, quieter, and easier to heat or cool. Done badly, it gives you damp fiberglass, hidden air leaks, and a finished wall that has to be torn back out.
I have insulated more attached garages than I can count, including my own in central Ohio. The biggest mistake is treating the project like a bedroom remodel. A garage has temperature swings, vehicle fumes, moisture, unconditioned doors, and different fire-safety requirements. The goal is not simply to stuff insulation into every cavity. The goal is to control heat flow and air movement without creating a safety problem.
Decide What the Garage Needs to Do
Start with the use of the space. A garage that only stores two cars does not need the same build as a heated workshop with a workbench, compressor, and refrigerator. If you are making the space more comfortable for projects, garage insulation in the exterior walls and ceiling usually gives the best return. If the room will be heated regularly, air sealing becomes just as important as the insulation itself.
An attached garage deserves extra attention because one wall, ceiling, or door may border living space. Sealing the shared wall can reduce cold drafts and limit garage odors moving into the house. It does not replace a properly rated separation assembly, however. Do not remove required fire-rated drywall, cover vents incorrectly, or leave penetrations around plumbing and wiring unsealed.
For a basic workshop, I would usually prioritize the shared wall, exterior walls, and ceiling below living space. The concrete slab is a different project. Insulating beneath an existing slab is rarely practical, so use a good threshold seal, weatherstripping, and a floor surface that is comfortable underfoot instead of expecting wall insulation to solve every cold-floor problem.
Choose the Right Insulation Material
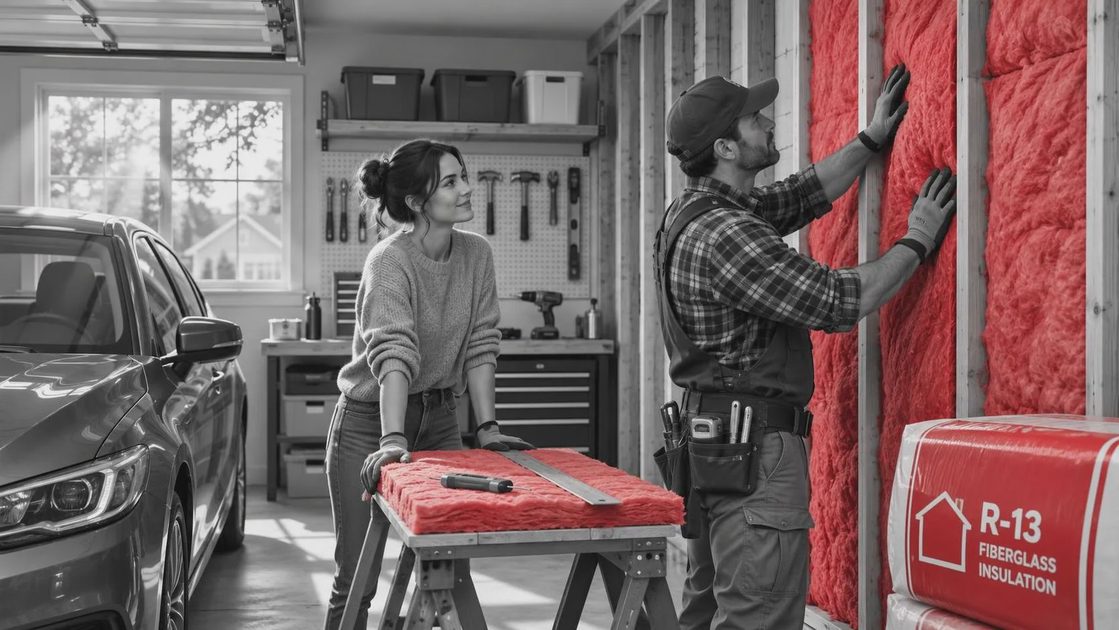
Fiberglass batts are the familiar budget option. R-13 or R-15 batts fit common 2-by-4 wall cavities, while R-19 or R-21 products are used in deeper 2-by-6 framing. They are affordable, widely available, and easy for a careful homeowner to install. The downside is that a batt performs poorly when compressed, slumped, or cut around outlets with large gaps.
Rigid foam board can add useful continuous insulation over studs, where the framing itself creates a thermal bridge. Polyisocyanurate and extruded polystyrene are common choices, but they must be installed according to local requirements and covered where a thermal or ignition barrier is required. Foam board is not a substitute for careful fire protection in a garage.
Spray foam seals irregular cavities well, especially around rim joists and complicated corners. Closed-cell foam also resists moisture, but professional installation can cost several dollars per square foot of surface area. I do not recommend buying a small kit and spraying an entire ceiling without understanding expansion, ventilation, and cleanup. A bad foam job is expensive to remove.
For many garages, the sensible combination is fiberglass batts in clean wall cavities, rigid foam or spray foam at problem areas, and thorough caulking before drywall. That approach keeps garage insulation costs under control while addressing the places where drafts actually start.
Air-Seal Before You Close the Walls
Insulation slows heat transfer; it does not automatically stop air. Before installing batts, seal cracks at the sill plate, top plates, corners, and sheathing joints. Use compatible caulk for small gaps and low-expansion foam around larger penetrations. Pay close attention to the rim joist above the foundation. That strip can leak enough cold air to make an otherwise insulated garage feel like a refrigerator.
Cut batts around electrical boxes rather than crushing them behind the insulation. Split the batt so the box sits inside the material, and keep insulation clear of fixtures that are not rated for contact. Seal wire and pipe penetrations with an appropriate fire-rated product where required. If you are unsure about a shared wall or ceiling assembly, ask the building department or a qualified contractor before covering it.
The garage door is usually the weakest part of the envelope. A thin factory door can have an effective R-value far below the surrounding walls. A quality garage-door insulation kit with faced panels, perimeter weatherstripping, and a bottom seal can improve comfort, but it will not turn the garage into a conditioned room. Check the opener and spring balance after adding weight; an unbalanced door can damage the opener or become unsafe.

What Garage Insulation Costs
Material prices depend on the garage size and the amount of framing already exposed. For a typical two-car garage, fiberglass batts might run roughly $300 to $800, while drywall, fasteners, caulk, foam, tape, and trim can add $700 to $1,800. A contractor-installed package involving garage insulation, air sealing, and drywall commonly lands around $3,000 to $8,000, with access, ceiling height, and electrical work pushing the number higher.
Spray foam can move the project well beyond that range, especially if the ceiling has difficult geometry. It makes more sense when there are many irregular cavities or when preserving interior space matters. If your walls are already drywalled, do not assume drilling and blowing insulation is automatically cheaper. Technicians need to find every cavity, and missed sections can leave cold stripes across the finished wall.
I would spend money first on air sealing, door weatherstripping, and the shared wall. Fancy high-R-value material in a leaky assembly is not a smart upgrade. A well-fitted R-15 batt with sealed edges can outperform a more expensive product installed with visible gaps.
Avoid Moisture and Code Problems
A garage needs ventilation and moisture awareness. Never cover an active leak with insulation. Fix roof, siding, foundation, or plumbing leaks first, then let the framing dry. In a humid climate, an incorrectly placed vapor retarder can trap moisture inside a wall. Local climate and code rules determine whether a vapor-retarder facing is appropriate, so do not automatically install faced batts on every surface.
Do not insulate around a gas water heater or furnace without understanding required clearances and combustion-air provisions. Keep insulation away from flues and heat-producing equipment. A garage also needs proper carbon monoxide protection inside the home; insulation does not make vehicle exhaust harmless. Never run a vehicle in the garage, even with the overhead door open.
Before drywall, photograph every wall. Mark outlet locations, water lines, and blocking with measurements from the floor and corner. That five-minute record will save you from drilling into a cable when you later mount cabinets or a French cleat.
My Practical Garage Insulation Sequence
I would tackle the job in this order:
- Inspect for leaks, pests, mold, damaged framing, and unsafe wiring.
- Decide whether the ceiling, shared wall, exterior walls, and door all need work.
- Seal rim joists, plates, corners, and utility penetrations.
- Install the correct insulation without compressing or leaving voids.
- Add required fire-rated and thermal protection before closing anything.
- Weatherstrip the overhead door and service door.
- Photograph the work, then install drywall and finish the joints.
- Test the space through a hot and cold season before adding expensive cabinets or heating equipment.
That last step matters. My first garage project felt great in October, but by January I found an unsealed corner behind the stairs and a door bottom that leaked daylight. I had screwed this up so you do not have to. Fixing those details made a bigger difference than upgrading the wall batts.
For most homeowners, good garage insulation is a measured upgrade rather than a reason to chase the highest advertised R-value. Seal the leaks, protect the shared wall, handle the door, and use materials suited to the cavity and climate. Then you can build the workbench, storage, or gym without fighting the weather every time you open the door.
Back to the bench.