Garage recessed lighting is one of those upgrades that looks simple until you are standing on a ladder, staring at ceiling joists, and realizing the existing wiring is nowhere near where you need it. I have worked in more than 40 attached garages, and the difference between a gloomy storage room and a useful workshop usually starts overhead. The right layout gives you clear light over the workbench, car doors, storage shelves, and floor without hanging fixtures where they can get bumped.
I have also made the cheap version of this mistake. In my own garage, I installed too few lights, used a warm residential color, and ended up with shadows across every project. Six months later, I added another row and replaced several lamps. I have screwed this up so you do not have to.
Start With the Garage Ceiling, Not the Fixtures
Before buying anything, measure the garage and inspect the ceiling. A standard two-car garage often measures roughly 20 by 20 feet, while a deeper 24-by-24-foot space needs a different plan. Mark the garage door tracks, opener, attic access, exposed ductwork, storage racks, and any low framing. Those obstacles determine where recessed housings can actually fit.
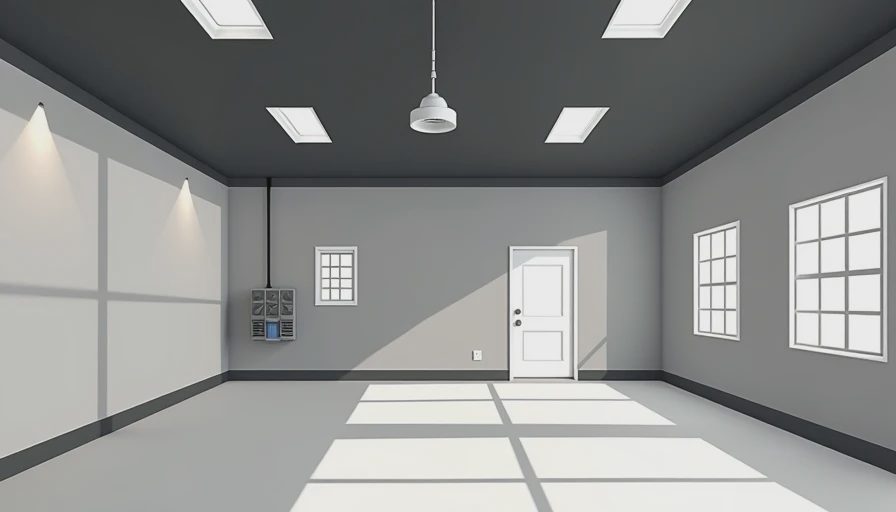
For most two-car garages, garage recessed lighting works well in two or three rows running from the garage door toward the back wall. A common starting point is four to six feet between fixtures, with the outside row about two to three feet from the walls. That spacing is not a law; it is a practical way to reduce dark edges while avoiding a ceiling full of holes.
Draw the layout on paper first. Put one light over the workbench, one near the main vehicle door area, and enough fixtures between them to prevent your body from casting a shadow across the project. If you regularly work with a car hood open, place lights so the engine bay is illuminated from both sides instead of directly behind your head.
Choose the Right Housing and Light Output
The fixture itself matters less than the specifications printed on the box. For an unfinished garage ceiling, a surface-mounted LED disk can be easier than a traditional recessed can. If you want a clean flush appearance, choose a remodel-rated or new-construction housing that matches the ceiling access and framing conditions.
Look for IC-rated housings if insulation could touch the fixture. IC means insulation contact, and it is important when the ceiling separates the garage from a finished room or attic insulation. Also look for a damp-location rating if the garage experiences condensation, snow melt, or large temperature swings. A garage is not usually a wet location, but it is harder on electronics than a conditioned hallway.
For general garage recessed lighting, I prefer LED fixtures producing about 800 to 1,200 lumens each. A 4-inch light often produces a narrower beam and works well over a bench or doorway. A 6-inch light spreads illumination more broadly and is a better choice for general ceiling coverage. In a 400-square-foot garage, eight 1,000-lumen fixtures can provide a substantial improvement without making the space feel like an operating room.
Color temperature is another practical choice. I usually install 4000K neutral white in garages because it keeps metal, wiring, paint, and tool markings easy to see. A 5000K daylight lamp is brighter and crisp-looking, but it can feel harsh when every surface is concrete and white drywall. I would avoid 2700K warm white unless the garage doubles as a casual lounge.
Plan Circuits and Switching Before Cutting Holes
A good lighting layout still fails if every fixture is controlled by one switch at the entry door. Divide the garage into zones. One switch can control the front half, another the workbench and back wall, and a third can operate task lighting. This lets you light the area you are using without turning on every fixture at midnight.
With garage recessed lighting, the electrical planning deserves more attention than the trim color. Existing garage outlets are commonly on circuits that already serve freezers, refrigerators, door openers, or power tools. Do not casually add a large lighting run to an overloaded circuit. A licensed electrician can verify the circuit, cable path, box requirements, and local code rules, especially if the ceiling is finished.
Never bury a splice above drywall without an accessible junction box. Use proper cable clamps, approved boxes, and connectors rated for the cable type. Turn off the breaker, confirm the circuit is dead with a tester, and do not assume the switch box is safe just because the light is off. If you are not comfortable identifying wires, hire the electrical work out and handle the layout and ceiling repair yourself.
Avoid Shadows at the Workbench
The brightest ceiling can still be a poor workshop light if it puts your back between the fixture and the project. Garage recessed lighting should support task lighting rather than replace it. Over my bench, I use ceiling fixtures for general illumination and a dedicated linear LED fixture mounted beneath the upper shelf. That combination puts light on the work surface and reduces shadows from my hands.
For a bench between 24 and 30 inches deep, place the task fixture near the front edge of the shelf or wall cabinet. A 4000K LED strip or linear fixture with a diffuser works well, and a separate switch keeps it useful when the rest of the garage is dark. If you do automotive work, add side lighting near the front and rear of the vehicle. Overhead lights alone will leave the wheel wells, rocker panels, and engine sides in shadow.
Paint color also affects the result. Bright white walls and a light gray floor reflect more light than unfinished plywood and dark rubber mats. You do not need glossy surfaces, but a washable satin wall coating can make the same fixture package feel noticeably brighter.
Installation Cost and a Sensible Upgrade Path
If the ceiling is open and the wiring path is straightforward, materials for garage recessed lighting can run about $20 to $60 per fixture, plus cable, boxes, switches, and trim. A complete eight-light DIY material package often lands around $250 to $600, depending on the brand and controls. Hiring an electrician can add several hundred dollars or more when drywall access, attic work, or a new circuit is involved.
Do not buy the cheapest unbranded kit simply because it includes a dozen lights. Look for a reputable electrical brand, a clear warranty, replaceable trim options, and a color temperature that will still be available when one fixture fails. Halo, Juno, Lithonia, and Commercial Electric all offer common residential options, but read the specifications rather than buying by logo alone.
If the budget is tight, install the wiring and boxes for the final layout first, then add fixtures in stages. Start with the workbench and vehicle area. You can complete the back wall later without tearing open the ceiling again. That staged approach is far better than installing four lights in the center and discovering that the shelves remain dark.
My Recommended Garage Lighting Checklist
Measure the room, sketch the joists, and mark every obstruction before shopping. Decide whether the ceiling needs IC-rated housings and whether damp-location approval makes sense. Aim for neutral white light around 4000K, then select fixture output based on beam spread and ceiling height.
Plan at least two switch zones in a two-car garage. Keep the workbench on its own control, and add under-shelf task lighting if you use hand tools, sharpen blades, wire projects, or inspect automotive parts. Check the existing circuit before connecting new fixtures, and leave junction boxes accessible.
Finally, test one fixture at the intended height before cutting all the openings. I have saved myself from a bad layout by holding a temporary light in place and walking around the garage with the door closed. That five-minute test showed exactly where the shadows landed. It is a small step, but it is cheaper than patching eight unnecessary holes.
The best garage recessed lighting is not the fixture with the most impressive packaging. It is a complete layout that puts useful light where your hands, tools, shelves, and vehicles actually are. Take the time to map the ceiling, separate the switches, and plan task lighting at the bench. Do that, and the garage becomes a place you can work in instead of a dark box you only enter to find something. Back to the bench.