The Bench That Refuses to Die
When I decided to get serious about my own garage workshop, I didn’t want to drop a grand on a fancy workbench. I needed something sturdy, practical, and built with my own hands. So I went old-school: 2x4s, plywood, and basic hardware.
Seven years later, that same bench has survived countless projects, taken abuse from power tools and heavy vises, and still stands rock solid. It’s not pretty, but it works better than anything I’ve bought.
I’ve screwed this up so you don’t have to — and this time, I actually got it right.
Why Most Store-Bought Benches Disappoint
I’ve installed plenty of expensive workbenches in client garages. Many arrive wobbly, have tiny work surfaces, or fail under real shop loads. The cheap ones flex when you clamp something. The expensive ones look nice but still can’t match a well-built 2x4 bench for pure utility.
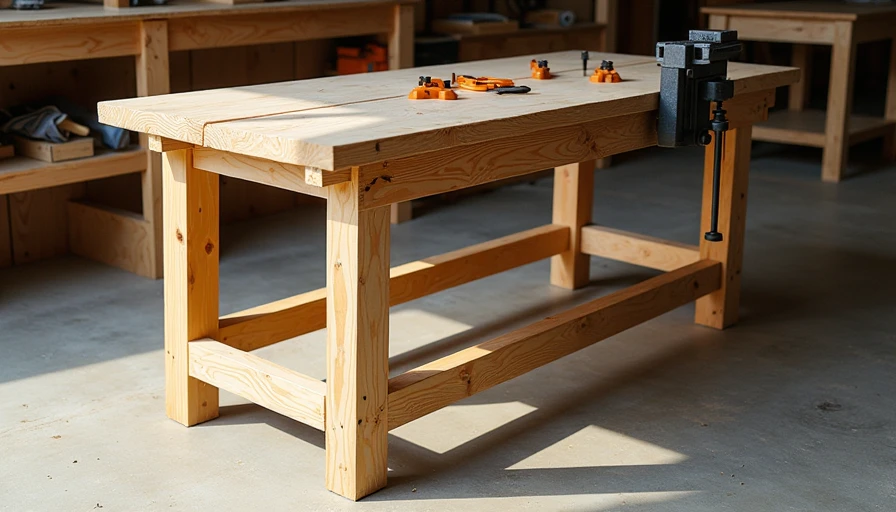
My bench? It’s 8 feet long, 28 inches deep, and rock solid. I can stand on it. I’ve clamped massive glue-ups without it budging. And it cost me about $150 in materials back when lumber was cheaper.
Materials and Exact Build Specs
Here’s exactly what I used:
12 pieces of 8-foot 2x4s (construction grade)
One sheet of 3/4" plywood for the top
3" construction screws and lag bolts
Wood glue
Basic hardware (optional drawer slides if you want storage)
Total cost at the time: around $150. Today it might be closer to $220 depending on lumber prices, but still an incredible value.
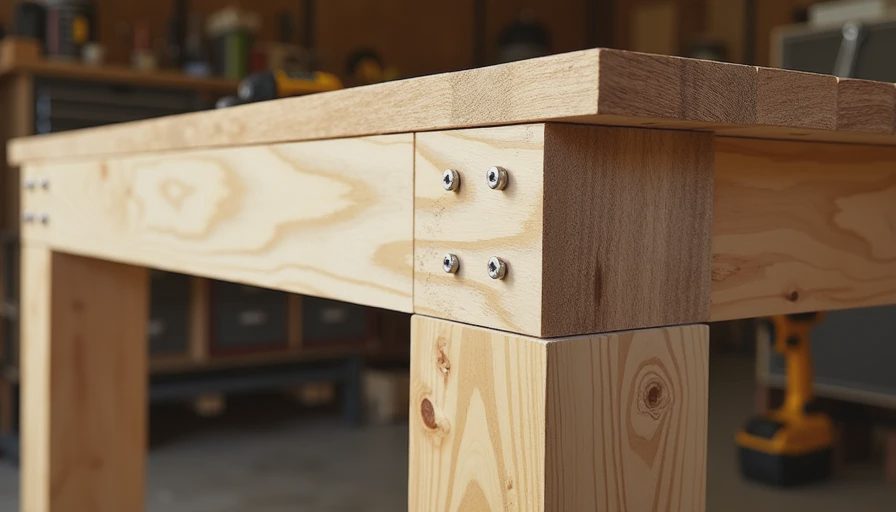
The design is simple: two sturdy leg assemblies connected by stretchers, with a thick plywood top. Nothing fancy, everything overbuilt.
Step-by-Step Build Process
Leg Assemblies
I started by building two end frames. Each leg is made from doubled 2x4s for maximum strength. The cross bracing prevents racking. This took about two hours and created a foundation that feels like a skyscraper.
Connecting the Base
Long stretchers run along the length at the top and bottom. I used lag bolts into the legs for rock-solid connections. Pro tip: pre-drill everything to avoid splitting.
The Top
The 3/4" plywood top gets screwed down from below. I added a second layer of plywood on the front half for extra thickness where I do most clamping. Total top thickness in the main work area is 1.5".
Finishing Touches
I rounded the edges with a router to avoid splinters, then hit everything with a couple coats of boiled linseed oil. The top got a few coats of polyurethane for durability.
Total build time: one very full weekend.
Seven Years of Real-World Testing
This bench has seen it all:
Hundreds of woodworking projects
Engine work on my truck
Heavy vise work (I mounted a 6" Wilton that weighs 60+ pounds)
Countless glue-ups and assemblies
Kids using it as a fort base (yes, really)
The top has dents and stains, but it’s still dead flat in the main area. The legs show zero wobble. The joints are as tight as day one.
I’ve built several variations for clients since then, tweaking the design based on what I learned.
Key Lessons Learned
Overbuild the base. Your bench is only as good as its foundation. Those doubled legs and solid stretchers make all the difference.
Thickness matters. A single sheet of plywood sags under heavy weight. Doubling it in the main area was one of my best decisions.
Plan for vises and holdfasts. I left space for a face vise and have dog holes drilled in strategic locations. Makes workholding incredibly versatile.
Mobility consideration. Mine is stationary and bolted to the wall for extra rigidity. If you need mobility, add heavy-duty casters with locks.
Improvements I’d Make Today
If I built it again, I’d:
Use pressure-treated lumber for the base (better rot resistance in garages)
Add a full shelf underneath for storage
Incorporate a hardwood strip along the front edge for better clamping
Build it 30-32" deep instead of 28"
But even without those upgrades, the original is still going strong.
Why This Design Beats Expensive Alternatives
Cost: A fraction of commercial benches
Strength: Can handle loads that destroy lighter benches
Repairability: Easy to fix or modify
Customization: Add vises, shelves, or tool holders wherever you want
Satisfaction: Nothing beats using something you built yourself
I’ve seen $800 “heavy duty” benches flex and wobble. My $150 2x4 special just sits there quietly getting the job done.
Building Your Own Version
Don’t overthink it. Start simple. Use decent lumber, screw everything securely, and make it bigger than you think you need. You can always add fancy features later.
I’ve helped many homeowners build variations — some 6 feet, some 10 feet, some with built-in cabinets. The core principles remain the same.
The Bigger Workshop Picture
A solid workbench is the heart of any garage shop. Once you have a reliable surface to work on, everything else — tool storage, dust collection, lighting — becomes more enjoyable.
My 2x4 bench taught me that expensive doesn’t always mean better. Sometimes the simplest solution, built right, is the one that lasts.
Final Words From the Bench
Seven years later, I’m still using that same workbench every week. It’s earned its keep many times over.
If you’re thinking about building your first real shop bench, start here. Simple, strong, and cheap. You won’t regret it.
I’ve screwed this up so you don’t have to.
Back to the bench.