Why Overhead Storage Matters
Your garage ceiling is prime real estate that most homeowners completely ignore. After filling wall and floor storage in dozens of remodels, I started experimenting with overhead solutions to maximize space.
I bought and tested several popular overhead rack systems — loading them with everything from plastic bins to heavy lumber until something gave. Some performed admirably. Others failed in spectacular (and scary) fashion.
I’ve screwed this up so you don’t have to.
The Testing Setup
I installed four different overhead rack systems in my workshop area using proper blocking into ceiling joists. Then I started adding weight systematically:
Empty plastic storage bins
Bins filled with tools and hardware
Heavy lumber and sheet goods
Eventually concrete blocks for maximum load testing
I documented deflection, joint stress, and failure points. Here’s what I learned after weeks of testing.
Popular Systems Head-to-Head
Wire Grid Racks
These are the most common and affordable. The lighter versions started sagging noticeably at around 200-250 lbs per 4x8 section. The heavy-duty steel versions handled 400+ lbs before significant deflection. Connection points to the ceiling are the weak link on cheaper models.
Rail and Ladder Style Racks
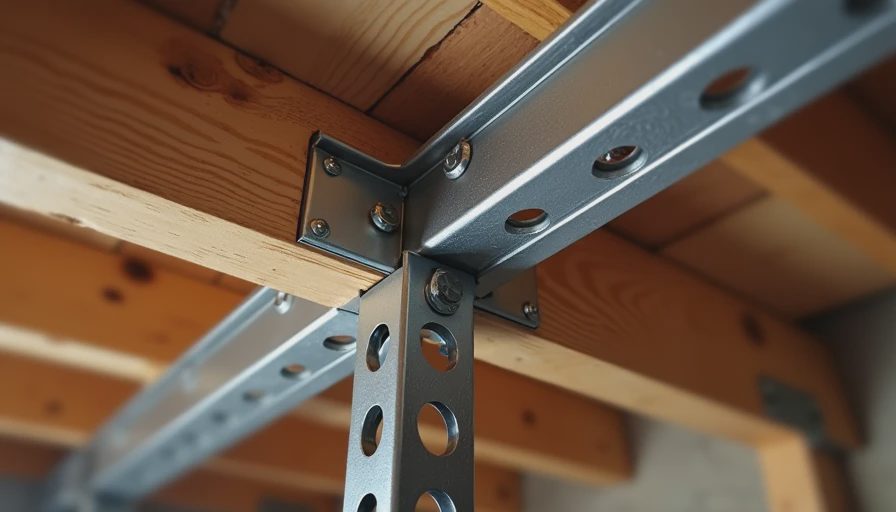
These use steel rails mounted to joists with cross pieces. They performed very well, with minimal deflection up to 600 lbs when properly installed. The modular design makes loading and unloading easier than grid styles.
DIY 2x4 and Plywood Platforms
Built my own using doubled 2x4 joist hangers and 3/4" plywood. These were the strongest by far. I loaded one section to over 800 lbs with no visible deflection. Custom sizing is a big advantage.
Premium Brand Systems
The expensive aluminum or heavy powder-coated steel systems lived up to their claims — excellent weight capacity and clean looks. But you pay a premium for that performance.
Critical Installation Rules
No matter what system you choose, installation quality determines success or failure:
Always mount into solid wood — ceiling joists or added blocking. Never trust drywall or just the bottom chord of trusses without proper reinforcement.
Use appropriate hardware — lag bolts or structural screws rated for the load.
Space supports correctly — most systems recommend attachment every 48" or less.
Check for deflection regularly — a little is normal, but progressive sagging means overload.
Distribute weight evenly — don’t pile everything in the center.
I watched one cheap system fail when the installer skipped proper blocking. The entire rack came down with a crash. Luckily no one was underneath.
Real Weight Limits vs Marketing Claims
Most manufacturers are optimistic with their ratings. In my testing, safe working loads were usually 60-75% of advertised maximums for long-term storage.
For peace of mind, I recommend staying well under published limits, especially if you live in an area with seismic activity or extreme temperature swings that affect material performance.
Smart Ways to Use Overhead Space
Seasonal items (holiday decorations, camping gear)
Lumber and long materials
Rarely used power tools and equipment
Guest furniture or luggage
Paint and finishing supplies (in sealed containers)
Keep heavy items lower if possible. Reserve the highest storage for lighter, bulky things.
Safety Considerations
Overhead storage isn’t risk-free. I always recommend:
Sturdy access ladder or steps
Good lighting so you can see what you’re grabbing
Clear labeling on bins
Regular inspection of mounting points
Keeping walkways underneath clear of stored items
My Current Overhead Setup
After testing, I ended up with a hybrid system: heavy-duty rail racks in the main area combined with custom 2x4 platforms over less accessible areas. It’s been holding steady for over two years with a mix of tools, bins, and materials.
The extra storage transformed how I use my garage.
Pro Tips From the Job Site
Consider adding plywood or OSB on top of wire racks for more stable bin placement
Use clear plastic bins so you can see contents without pulling them down
Leave access space between racks for easy retrieval
Think about lighting placement around (not under) the racks
Factor in garage door opener clearance
The Bigger Picture for Your Garage
Overhead storage completes the organization puzzle. Combined with good wall systems and a solid floor, you can turn even a small garage into a highly functional space.
Don’t waste that vertical real estate. Done right, overhead racks give you back valuable floor space for working and parking.
Final Recommendations
For most homeowners, I suggest starting with quality heavy-duty steel or aluminum rail systems properly installed into blocking. If you’re handy, custom 2x4 platforms offer incredible strength at lower cost.
Test your setup gradually and never exceed safe loads. A falling rack full of tools is no joke.
I’ve screwed this up so you don’t have to. Now go claim that ceiling space.
Back to the bench.