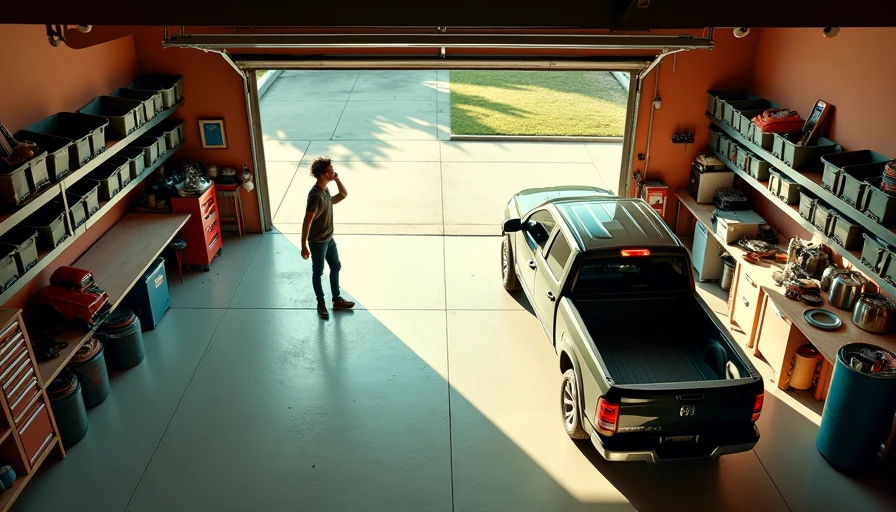
Ceiling racks are one of the few garage upgrades that create storage without stealing floor space. That matters when your attached garage has to hold a vehicle, mower, bicycles, tools, holiday decorations, and the occasional sheet of plywood. I have installed plenty of overhead systems over the years, and I have also watched homeowners hang them from drywall, overload them with paint, and wonder why the whole assembly started sagging. I've screwed this up so you don't have to.
The basic idea is simple: a steel platform hangs from the ceiling framing, leaving room below for a car or work area. The hard part is not assembling the rack. It is finding solid attachment points, allowing for the garage door, and deciding what belongs overhead in the first place. A good setup can cost roughly $150 to $400 per rack, depending on size and brand, and can make a two-car garage feel noticeably larger.
Start With the Garage Ceiling, Not the Product Page
Before comparing brands, measure the ceiling height, garage door tracks, opener, lights, and the tallest vehicle you park inside. In a standard eight-foot garage, an overhead platform can make the space feel cramped if it hangs too low. I usually want at least six inches of clearance above the garage door tracks and enough room for the tallest vehicle's roof, including a roof box if you use one.
Locate the ceiling joists with a stud finder, small exploratory holes, or measurements from exposed framing. Many attached garages have engineered roof trusses rather than conventional joists. That changes where you can fasten hardware and how much load you should place in a single area. Never assume drywall anchors are suitable for a loaded storage platform. They are not.
Ceiling racks work best when their footprint is planned around actual storage totes. Measure your bins before buying a 4-by-8-foot platform. A rack that looks generous on the box may waste space if your containers are narrow or if the garage door opener blocks one corner. Leave access around the platform so you can remove one bin without unloading everything else.
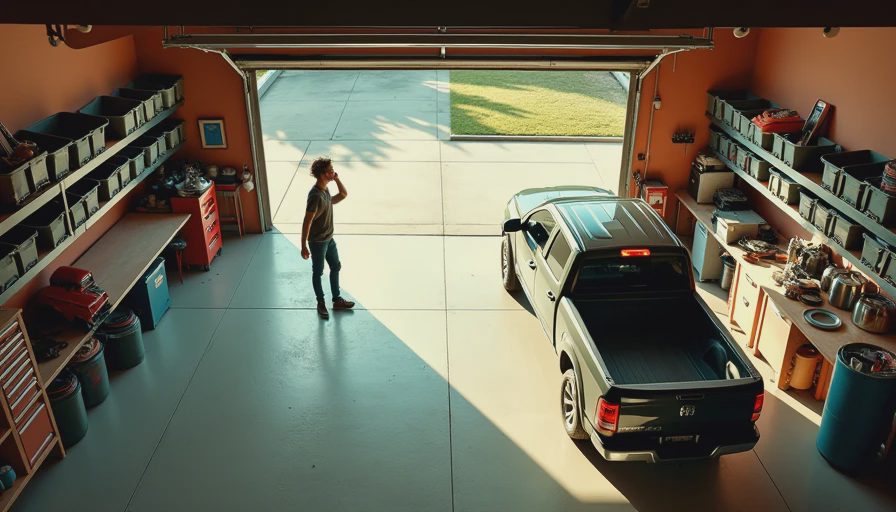
Choosing a Rack That Will Survive Real Use
Most ceiling racks use powder-coated steel frames with wire or solid-panel platforms. Wire decking is lighter and allows a little visibility, while solid decking is better for small items that could fall through. I prefer a platform with a raised lip or integrated edge because a plastic tote sliding off the rack can damage a vehicle, break a light fixture, or hurt someone standing below.
Pay attention to the stated weight rating, but read the installation notes beside it. A rating of 600 pounds does not mean you should pile 600 pounds onto a single corner. The load needs to be distributed across the platform, and the fasteners need to connect to appropriate framing. In my own garage, I keep bulky but light items overhead: empty coolers, camping chairs, seasonal decorations, and bins of trim. Dense materials such as tile, full paint cans, and boxes of books stay low.
Brands such as Fleximounts, HyLoft, SafeRacks, and NewAge Products offer common residential options, usually with adjustable drops and platforms around 2-by-4 or 4-by-8 feet. I would rather see a smaller, properly secured rack than a giant platform squeezed against a wall and overloaded because it seems to have room.
Installation Details That Prevent Expensive Mistakes
Use a ladder that lets you work with both hands, and have another person help hold the frame during installation. A socket wrench, tape measure, stud finder, level, drill, and long-rated lag screws are the normal starting tools. Follow the included hardware instructions, but verify that the fasteners match the framing you actually found. If the ceiling has trusses, avoid cutting or drilling structural members without understanding the design.
The most common mistake I see is fastening one side into a joist and the other side into nothing substantial. The rack may look level for a week, then slowly tilt as the load shifts. Mark every attachment point, predrill where the instructions call for it, and tighten hardware firmly without stripping the wood. After installation, apply your weight gradually. Put in a few empty totes, inspect the frame, then add contents while watching for movement.
Ceiling racks should not interfere with the garage door's travel or emergency release cord. Open and close the door manually before parking a vehicle underneath. Also check sprinkler heads, attic access, smoke alarms, and pull-down stairs. A storage solution that blocks maintenance access will eventually become a problem.
What Belongs Overhead and What Does Not
Overhead space is ideal for items used a few times per year. Christmas decorations, suitcases, folding tables, spare camping equipment, artificial trees, and lightweight sports gear are good candidates. Label every container on two sides, because the label facing the driveway will be useless when the bin is pushed toward the back wall.
Avoid storing gasoline, propane cylinders, ammunition, corrosive chemicals, or anything that could leak above a vehicle. I also keep heavy automotive parts, large batteries, and full toolboxes at waist height or lower. Weight is only part of the issue; a leaking container or dropped object is much harder to manage from a ladder.
Use matching clear totes when possible. A row of identical 27-gallon containers is easier to stack, label, and remove than a collection of mystery boxes. Leave a little unused capacity on each platform. That space is useful when you need to shift a bin to reach another one, and it prevents the natural tendency to cram every available inch.

Layout Ideas for Workshops, Gyms, and Family Garages
For a workshop, place ceiling racks over the parking side or along the rear third of the garage, not directly above the main bench. You want the bench area open for long boards, cabinet assembly, and safe movement. A pair of 2-by-4-foot racks can hold seasonal bins while preserving a clear path from the house door to the workbench.
For a home gym, measure the barbell, pull-up station, and overhead movement before committing to a platform. Storage above a treadmill can work, but racks above a lifting area are a poor choice if a dropped item could land on someone. For a family garage, reserve one rack for infrequent seasonal gear and keep daily-use bicycles, strollers, and sports bags on wall hooks or a low rail.
Ceiling racks also pair well with wall storage. Put bulky seasonal items overhead, hand tools on a French cleat or pegboard, and cleaning supplies in a lockable cabinet. That division keeps the ladder trips occasional instead of turning every garage visit into a search mission.
A Practical Inspection Routine
Twice a year, inspect the platform, corner brackets, bolts, lag heads, and surrounding drywall. Look for rust, bent metal, pulled fasteners, or a new gap between the rack and ceiling. Open the garage door and walk around the vehicle to confirm clearance. Seasonal temperature changes can expose a marginal installation, especially in an unheated garage where framing moves slightly with humidity.
Recheck the contents, too. If a rack has gradually collected engine parts, bags of soil, and leftover flooring, remove the dense items and weigh the remaining load more realistically. A bathroom scale can help estimate individual containers. Replace cracked totes before they split at shoulder height.
A properly planned system does not need to be fancy. Spend money on strong attachment hardware, a sensible layout, and containers that fit. Save money by installing one rack first and living with it through a full season before adding another. That is how I rebuilt my own garage: one overhead platform, several months of observation, then a second rack in the spot that actually made sense. Back to the bench.