Wall-mounted storage is one of the fastest ways to make an attached garage usable again. It gets bins, tools, bikes, ladders, and seasonal equipment off the floor without stealing the parking space you still need. I have organized more than 40 garages, and the same mistake shows up in nearly all of them: homeowners buy cabinets or hooks before deciding what the wall has to carry. I've screwed this up so you don't have to. The wall, fasteners, and layout come before the shopping list.
Start with the wall, not the product
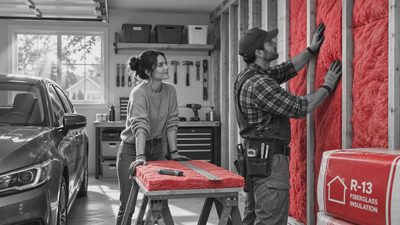
Before installing anything, find the framing. In most garages, studs are 16 inches on center, but drywall seams, outlets, and previous repairs can make assumptions unreliable. Use a stud finder, confirm each location with a small drill bit, and mark the centers with painter's tape. If the wall is unfinished, this job is easier because you can see the framing directly.
A typical plastic utility hook might hold 10 to 25 pounds, while a heavy steel rail system can support much more when it is fastened into several studs. The stated capacity usually assumes proper installation, not a screw driven into half-inch drywall. A five-gallon bucket full of hardware can weigh 40 pounds by itself. Add three buckets to a rail and the load becomes serious.
Leave clearance around the garage door tracks, electrical panels, water shutoffs, and furnace equipment. I like at least 30 inches of working space in front of an electrical panel, and I never hang a tall cabinet where it could interfere with an overhead door or its emergency release.
Pick wall-mounted storage for the job
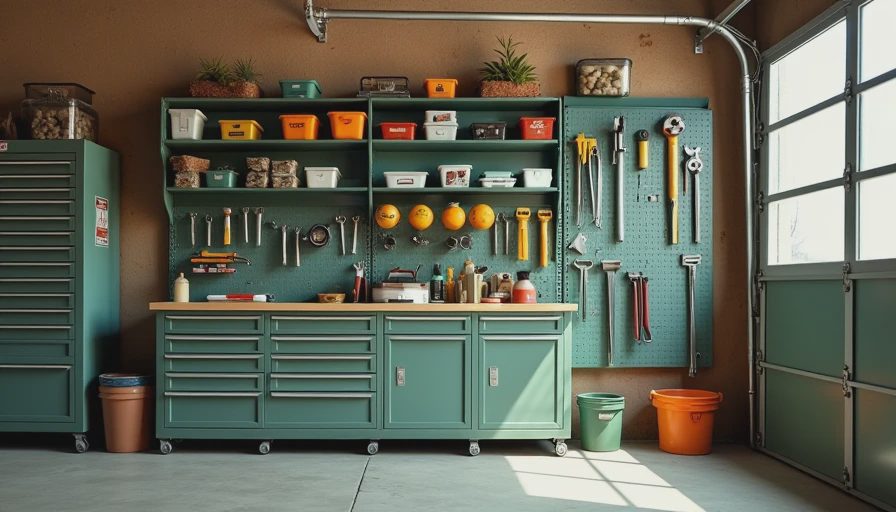
Wall-mounted storage works best when each item has a specific job. For hand tools, a steel pegboard or slatwall gives quick access and makes missing tools obvious. For loose fasteners, paint, and car-care supplies, enclosed cabinets are better because they block dust and keep children from grabbing chemicals. For bulky items, use dedicated hooks rather than trying to force everything into a cabinet.
Gladiator GearWall, Rubbermaid FastTrack, and StoreWALL are familiar options, but their strengths differ. Slatwall panels give a finished appearance and let you reposition hooks. Metal rail systems are often less expensive and easier to modify. A basic DIY plywood system can cost roughly $75 to $200 for one wall, while a more polished commercial setup can run $300 to $1,000 depending on coverage and accessories.
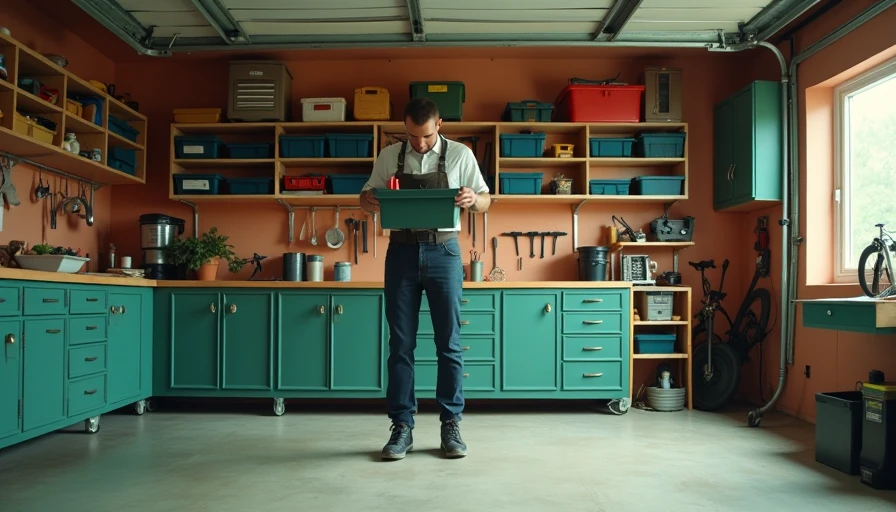
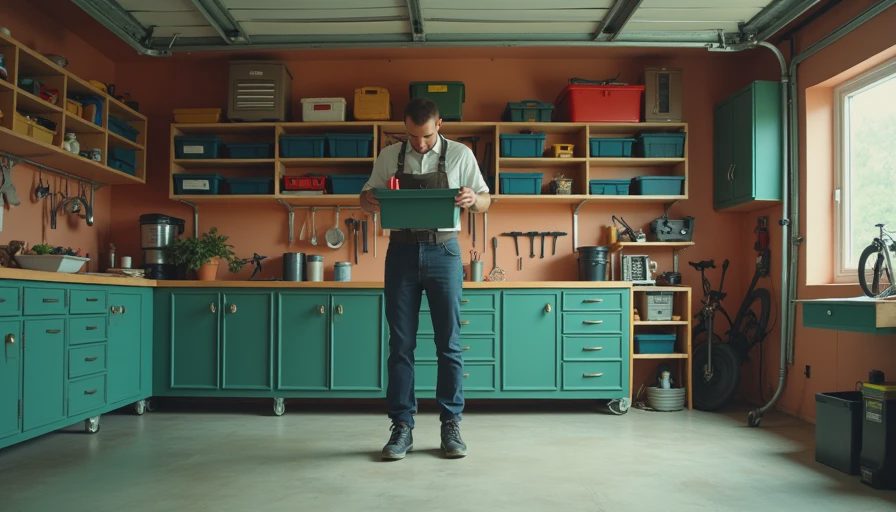
Do not buy a complete kit just because the box shows a perfect garage. Count the actual items first. Two bicycles, a mower handle, four shovels, a pressure washer hose, and six storage totes need different supports. The right setup leaves some empty space for the next tool you acquire.
Build a strong DIY system
For a budget-friendly wall-mounted storage project, I often use three-quarter-inch plywood strips mounted horizontally across the studs. Rip the plywood into 8- to 10-inch-wide bands, round the front edges, and fasten each band with structural screws at every stud. You can then hang cleats, hooks, small cabinets, and custom brackets wherever they make sense.
Use construction screws or approved structural screws rather than drywall screws. A 3-inch screw is common when passing through plywood and drywall into a standard stud, but account for the thickness of every layer. Pre-drill near plywood ends to prevent splitting. If your garage has concrete block walls, use masonry anchors rated for the load instead of pretending the wall behaves like wood framing.
I built an early version from cheap one-by material and skipped the layout step. Six months later, the hooks had migrated, the boards had twisted, and my ladders blocked the workbench. The replacement used painted plywood, consistent spacing, and labeled zones. It cost more, but it has survived several winters and a full garage cleanout.
Keep heavy items low and useful items visible
Good wall-mounted storage follows the same rule as a good workbench: heavy things stay low, frequently used things stay between waist and shoulder height, and rarely used items go high. Put lawn chemicals in a locked cabinet or high enclosure. Hang a leaf blower where its cord and battery are easy to inspect. Store extension cords on wide hooks so they do not develop sharp kinks.
For bicycles, measure the handlebar width and tire diameter before buying hooks. A bike that technically fits can still block a car door or create a shoulder-level hazard. I prefer hanging bikes vertically on sturdy hooks when wall space is narrow, but horizontal racks are easier for many homeowners to load. Either way, install into framing and add a secondary strap if a falling bike could hit a vehicle.
A narrow strip beside the garage entry door is valuable real estate. It can hold keys, dog leashes, helmets, a flashlight, and the small items that otherwise land on the hood of your car. This is where wall-mounted storage earns its keep every day, not just during a Saturday cleanup.
Make the layout easy to change
Your garage will change. A new cordless tool platform, a child-sized bike, or a second vehicle can make a fixed arrangement obsolete. That is why adjustable wall-mounted storage usually beats rows of permanently screwed-in hooks. Leave a few spare slots, install a mounting board above the bench, and avoid placing cabinets so close together that one cannot be removed without dismantling the whole wall.
Label bins by category rather than by vague promises. “Car wash,” “winter gear,” “plumbing parts,” and “sanding supplies” are useful labels. “Miscellaneous” is how a clean wall becomes a junk wall again. Clear bins help with small parts, but opaque bins protect light-sensitive products and hide visual clutter. Keep a simple inventory on your phone for specialty items you use only twice a year.
If you rent or cannot open the drywall, use freestanding shelves for heavy loads and reserve the wall for light hooks. Adhesive strips have a place for a tape measure or small brush, not a loaded tool bag over your car.
A practical installation sequence
Start by measuring the wall, then mark the car doors, walking path, and garage door movement with painter's tape. Photograph the wall before covering it so you remember where wiring and plumbing run. Install the main rail, plywood backer, or cabinet track first. Check it with a level, even if the floor slopes toward the garage door.
Load the system gradually. Hang the empty cabinet, then add the heaviest item while watching for movement or fastener pullout. Test each hook by hand before trusting it with a mower, ladder, or full tote. Keep at least one clear section of wall for future changes instead of filling every inch on day one.
Finally, stand in the driveway and look inward. Can you reach the hose without moving three bins? Can you open the car door? Can another person walk through while you carry a box? If not, the layout is not finished. A garage should support the work you do there, not make every task an obstacle course.
Wall-mounted storage is not about making the garage look like a showroom. It is about giving every heavy, awkward, and frequently used object a safe home while protecting your floor space. Spend the first hour measuring studs and traffic paths, and spend the money on strong fasteners before decorative accessories. That approach has worked in my own Ohio garage through humid summers, freezing winters, and plenty of last-minute projects. Back to the bench.