The best lighting for a garage workshop is not one bright bulb hanging in the middle of the ceiling. That setup leaves your workbench in shadow, makes small parts hard to see, and turns every project into a squinting exercise. After wiring and rebuilding more than 40 attached garages, I have learned that good shop lighting comes from even coverage, sensible color temperature, and fixtures placed where the work actually happens.
I also learned this the hard way. My first workshop had two cheap LED bulbs in porcelain sockets. The center of the floor was bright enough, but the bench, tool wall, and corners stayed dim. Six months later, I added linear fixtures and stopped losing drill bits in the shadows. I've screwed this up so you don't have to.
How much light does a garage workshop need?
For a typical two-car garage, plan on roughly 50 to 75 lumens per square foot for general workshop lighting. A 400-square-foot garage therefore needs approximately 20,000 to 30,000 total lumens spread across the ceiling. That does not mean buying one 30,000-lumen fixture. It means using several fixtures so the light reaches the floor, bench, shelves, and vertical surfaces evenly.
A practical starting layout is four to six LED shop lights in a two-car garage. Four 4-foot fixtures producing around 4,000 lumens each provide 16,000 lumens, which can work for parking and light assembly. Six fixtures bring you closer to 24,000 lumens and make a noticeable difference for woodworking, mechanical repairs, and finishing work.
Your bench deserves additional light. I like a dedicated 4-foot fixture directly above or slightly in front of the work surface, plus an adjustable task lamp for close inspection. General lighting handles the room; task lighting handles the tiny washer, pencil line, or solder joint in front of you.
Choose the right LED color and quality
For the best lighting for a garage workshop, I usually choose LED fixtures rated between 4,000K and 5,000K. A 4,000K lamp has a neutral white appearance that feels comfortable for long projects. A 5,000K lamp looks cooler and crisper, which many people prefer when reading tape marks, inspecting paint, or sorting hardware.
I would avoid very warm 2,700K or 3,000K bulbs in the main work area. They are pleasant in a living room, but they can make a garage feel yellow and muddy. Extremely blue light can feel harsh, particularly in an unfinished garage with white walls and a reflective floor. If you are uncertain, 4,000K is the safe middle ground.
Pay attention to color rendering index, or CRI. A fixture with a CRI of 80 is adequate for ordinary work, while 90 or higher is better for paint matching, wiring colors, automotive detailing, and finish carpentry. You do not need premium museum lighting, but bargain fixtures with poor color rendering can make red, brown, and orange wires look frustratingly similar.
Look for LED fixtures with a diffuser, solid construction, and a reasonable warranty. Integrated LED shop lights from brands such as Lithonia Lighting, Feit Electric, and Commercial Electric are common options. I care less about a flashy package claim than whether the fixture has survived a cold Ohio winter, a dusty sanding session, and a garage door opened in January.
Fixture placement matters more than raw brightness
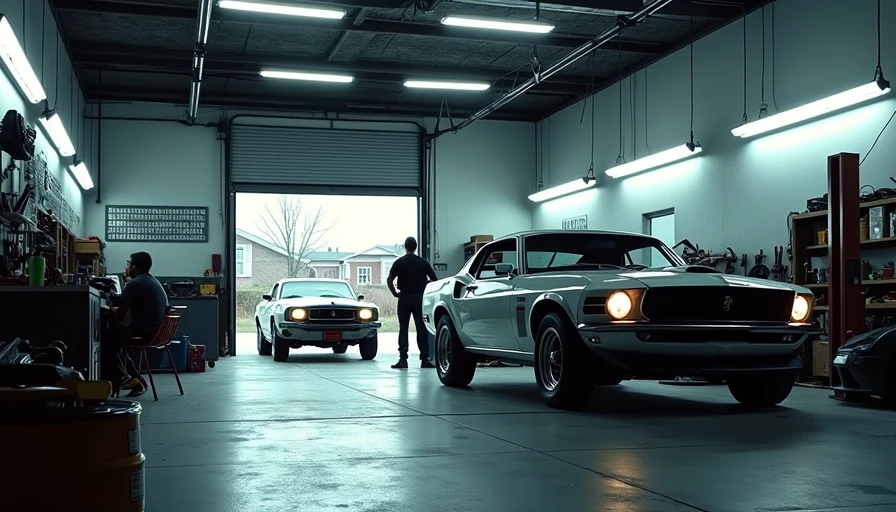
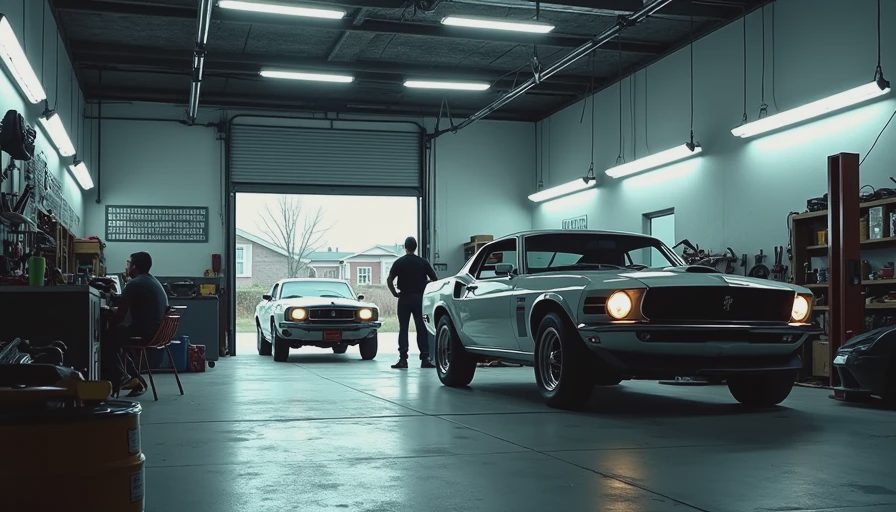
The best lighting for a garage workshop should be arranged in rows that follow the work zones. In a two-car garage, mount two rows running from the garage door toward the back wall. Keep each row several feet from the side walls, then space fixtures so their light overlaps rather than leaving dark gaps between them.
Place a fixture over the main bench, but do not put it directly behind your head. Light behind you creates a strong shadow across the project. Mounting the fixture slightly forward of the bench lets the light fall onto your hands and the workpiece. For a wall-mounted pegboard, add a shallow fixture above the board or use an under-cabinet LED bar below an upper shelf.
Ceiling height changes the layout. An 8-foot ceiling usually works well with surface-mounted shop lights. In a 10- or 12-foot garage, you may need higher-output fixtures or suspended lights hung on aircraft cable. Keep them high enough to avoid bumping lumber and low enough to deliver useful light at the bench.
Do not forget the corners. A dark corner behind a rolling tool chest is where loose fasteners, leaks, and damaged cords hide. One extra fixture near storage often does more for the room than upgrading every existing bulb to a brighter model.

Hardwired, plug-in, or linked fixtures?
Plug-in LED shop lights are the easiest route for a garage that is already finished. Many can be linked together with short connecting cables, allowing one wall switch to control a row. This is a good weekend project, especially if you rent, do not want to open drywall, or are testing a layout before committing.
Hardwired fixtures give the cleanest result. I prefer separate switches for general lighting and the bench area. That way, I can turn on the work zone without lighting the entire garage while checking one measurement. Have a qualified electrician handle new circuits, junction boxes, conduit, and switch installation. Garages often have concrete, exposed framing, stored fuel, and other conditions that make sloppy electrical work a bad bargain.
If your garage has an automatic door opener, keep the lighting plan clear of its rail and motor. Also consider motion sensors near the entry door. They are useful when carrying groceries or walking in with both hands full, but I would not use a sensor as the only control in a workshop. It is irritating when the lights shut off while you are concentrating on a cut.
A practical shopping and installation checklist
Start by measuring the garage and marking the bench, cabinets, vehicle parking area, and storage walls. Then use this sequence:
- Count the fixtures needed for even coverage, not just the brightest possible center.
- Select 4,000K or 5,000K LEDs with CRI 80 or better; choose CRI 90 for paint and detailed finish work.
- Confirm the fixture's lumen output, length, mounting method, and operating temperature range.
- Mark rows on the ceiling before drilling, checking clearance for the garage door tracks.
- Install the main room lighting first, then add task lighting over the bench and tool wall.
- Stand at the bench and look toward the ceiling. If your head blocks the light, move the fixture forward.
- Test the room at night, when daylight cannot hide a dark corner.
A two-car garage lighting upgrade commonly costs about $150 to $500 for fixtures and hardware if you do a plug-in installation. Professional wiring can add several hundred dollars depending on access, circuit capacity, and local labor rates. Spending another $30 on a useful task fixture is usually smarter than doubling the price of every ceiling light.
What I would install in my own garage
For a normal two-car workshop, I would use six linkable 4-foot LED fixtures, around 4,000 lumens each, in two ceiling rows. I would choose 4,000K light for a comfortable neutral appearance, add one CRI 90 task lamp at the bench, and put the work area on its own switch. A small motion sensor would cover the entry path, not the entire shop.
That arrangement is the best lighting for a garage workshop because it gives you broad coverage without forcing every project under one harsh spotlight. It makes the floor safer to navigate, the bench easier to use, and the tool wall less frustrating to search. Start with placement, then choose brightness. Back to the bench.