
A high efficiency garage heater can turn a cold concrete box into a usable workshop, gym, or winter storage area without sending every dollar up the flue. I have worked in more attached garages than I can count, and I have also made the classic mistakes: undersized heaters, bad thermostat locations, and one extension cord that should never have been part of the plan. The right heater starts with the garage, not the product shelf.
Before buying, measure the space, look at insulation, and decide whether you want fast spot heat or steady room temperature. A two-car garage with insulated walls behaves very differently from a drafty detached shop with an uninsulated overhead door. A $250 heater in the wrong space can perform worse than a properly installed $700 unit.
Start with the garage envelope
Heat loss is the first number that matters. A typical two-car garage covers roughly 400 to 600 square feet. If the ceiling is open, the walls are bare, and the garage door leaks daylight around its edges, you are paying to heat the neighborhood. Seal the bottom door gasket, add weather stripping, and close obvious gaps before comparing equipment.
For a garage I plan to heat regularly, I like R-13 or R-15 insulation in accessible 2-by-4 walls, some ceiling insulation, and a reasonably tight garage door. You do not need to finish the room like a basement, but air sealing around the door frame can make a noticeable difference. I painted my own floor before fixing the door seals. Six months later, the floor coating was peeling and the room still felt like a refrigerator. I have screwed this up so you do not have to.
A high efficiency garage heater still cannot overcome a wide-open door or a ceiling full of uninsulated roof sheathing. Spend $50 to $150 on seals and caulk first. That money often improves comfort more than jumping from a basic 5,000-watt electric heater to a premium model.

Electric, gas, or infrared heat
Electric unit heaters are the simplest choice for many attached garages. A 4,000- to 7,500-watt ceiling-mounted unit can warm a modest workspace quickly, and models from Fahrenheat, King Electric, and Dr. Infrared Heater are commonly available. Installation usually requires a dedicated 240-volt circuit, so budget approximately $300 to $800 for electrical work if the panel is nearby. Electric heat has no combustion gases, no fuel storage, and little maintenance, but local electricity rates determine the operating cost.
Natural gas and propane heaters can deliver strong output at a lower fuel cost in some regions. Modine Hot Dawg units are popular in workshops because they hang from the ceiling, blow warm air across the room, and come in sizes suited to residential garages. A gas installation needs approved venting, gas piping, combustion-air planning, and carbon monoxide protection. That is not a weekend experiment with leftover black pipe. Hire a qualified installer and follow local permit requirements.
Infrared heaters work differently. Instead of heating all the air immediately, they warm people, benches, tools, and nearby surfaces. A 1,500- to 3,000-watt infrared panel or tube can be excellent over a workbench, especially when you open the garage door often. It is not always the best sole heat source for a large room, because the air at the far end may remain cold.
Match capacity to how you work
The best high efficiency garage heater depends on usage. If you only work for an hour on Saturday, fast radiant heat aimed at the bench makes sense. If you spend six hours rebuilding a motorcycle, steady forced-air heat and a wall thermostat will feel better. If the garage doubles as a home gym, avoid placing a hot surface where a towel, box, or resistance band can touch it.
For a lightly insulated 400-square-foot garage, a rough starting point is around 10,000 to 20,000 BTU per hour, depending on climate and air leakage. A well-insulated space may need less, while a tall or drafty garage may need more. Electric heaters are often listed in watts rather than BTUs; 1,000 watts produces about 3,412 BTUs per hour. Do not treat that conversion as a complete sizing calculation, but it helps compare products.
Oversizing creates its own problems. The heater cycles frequently, the room temperature swings, and the blower can stir dust across fresh finishes. Undersizing is worse: the unit runs constantly while the slab stays cold. A heating contractor can calculate the load, but even a careful measurement of ceiling height, door size, insulation, and winter design temperature will put you ahead of guessing.
Installation details that matter
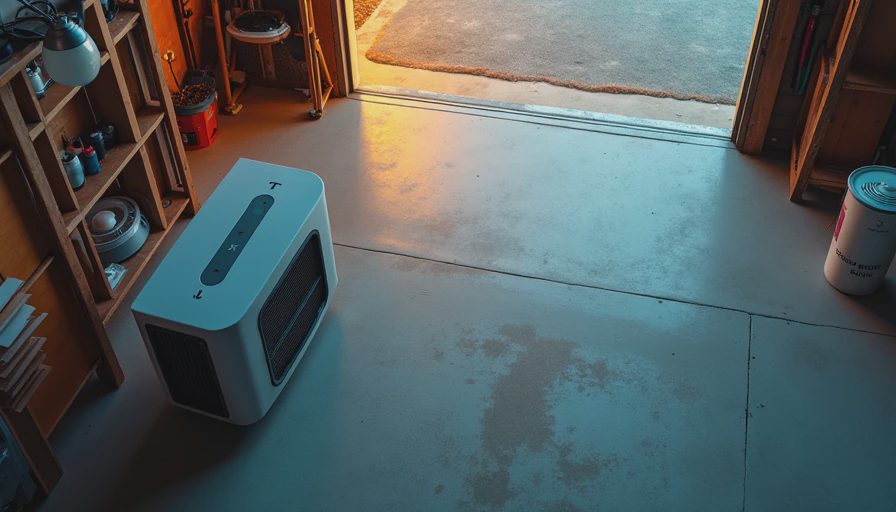
Mount a high efficiency garage heater where the discharge air can travel across the room, not directly into a corner. Ceiling mounting saves wall space and keeps the unit away from sawdust piles, but leave the manufacturer’s required clearances around the cabinet and outlet. Keep heaters away from gasoline cans, paint thinner, oily rags, cardboard, and stored lumber.
For electric equipment, use the correct breaker, wire size, disconnect, and junction boxes. A 240-volt heater is not a plug-in appliance unless it was specifically designed that way. Do not bury a cord under the garage door or run a heater from a household extension cord. That shortcut creates heat at the connection and can damage equipment or wiring.
Gas equipment needs a vent termination positioned correctly outside the building. Install carbon monoxide alarms near the entry to the house and test them regularly. Never use a portable propane construction heater in an attached garage while a vehicle is inside. Moisture, fumes, and carbon monoxide are a bad combination, particularly when the connecting door leads directly into living space.
Controls, noise, and running cost
A good thermostat is nearly as important as the heater. Put it on an interior wall, away from the discharge stream, exterior door, and direct sun. Set the garage to 45 or 50 degrees when you are away, then raise it before a project. That approach is more sensible than keeping an attached garage at living-room temperature all winter.
Noise also matters. Budget electric blowers can sound like a shop vacuum, while some Modine and King units are quieter once mounted securely. Read the sound complaints, not just the efficiency label. For a workbench, infrared heat avoids blower noise altogether.
To estimate operating cost, multiply the heater’s kilowatts by hours used and your utility rate. A 5-kilowatt electric unit running for two hours uses 10 kilowatt-hours. At 16 cents per kilowatt-hour, that session costs about $1.60 before cycling reduces the actual total. Gas costs require fuel pricing and runtime, but the same usage log will tell you whether your insulation work is paying off.
My practical buying recommendation
For most insulated attached garages, I would choose a properly sized electric unit heater when the panel has room for a dedicated circuit and installation is straightforward. It is clean, dependable, and easy to control. For frequent winter shop use where natural gas is already available, a ceiling-mounted Modine-style unit deserves a serious look. For occasional bench work, a wall-mounted infrared heater can deliver comfort without heating every cubic foot.
A high efficiency garage heater is not a substitute for sealing the building, sizing the circuit, or keeping combustibles clear. Buy the heater after those decisions, not before them. Get two installation quotes, ask what permits are included, and confirm replacement parts are available. The cheapest box on the shelf is rarely the cheapest heat over five winters.
My own shop stays warmer now because I fixed the leaks, insulated the ceiling, and mounted the heater where the air crosses the bench. That sequence cost less than replacing an undersized unit and made the garage useful from November through March. Do the envelope work, choose the heat pattern that matches your projects, and you will spend more time building than shivering. Back to the bench.