Air tools changed the way I work in a garage. When I first started remodeling, I treated them like specialty equipment for professional shops. Then I set up a decent compressor in my own attached garage and wondered why I had waited so long. The right air tools save your wrists, speed up repetitive work, and make jobs such as tire service, sanding, and fastening much less frustrating.
That does not mean every homeowner needs a giant compressor and a wall of pneumatic equipment. I have seen people buy a $900 compressor before buying a useful hose reel, then discover the whole setup is too loud for their neighborhood and too weak for their chosen sander. I've screwed this up so you don't have to. Start with the work you actually do, then build around it.
What air tools make sense for a home garage
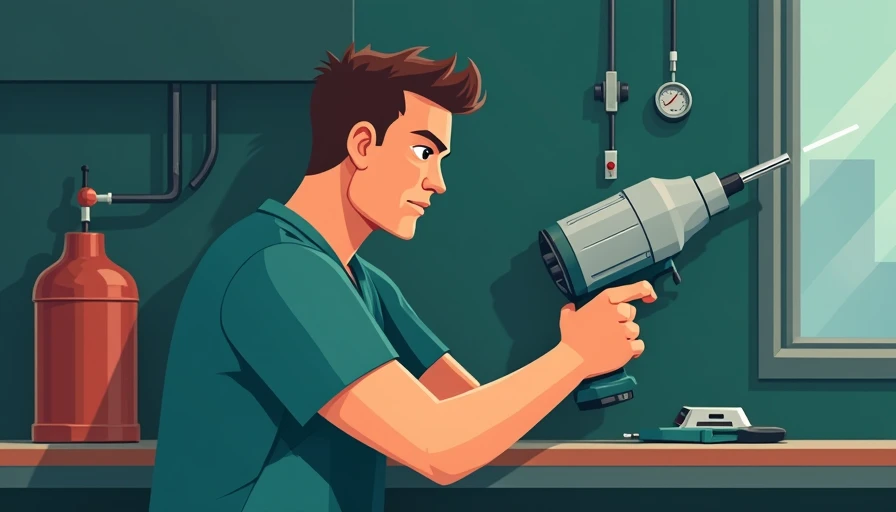
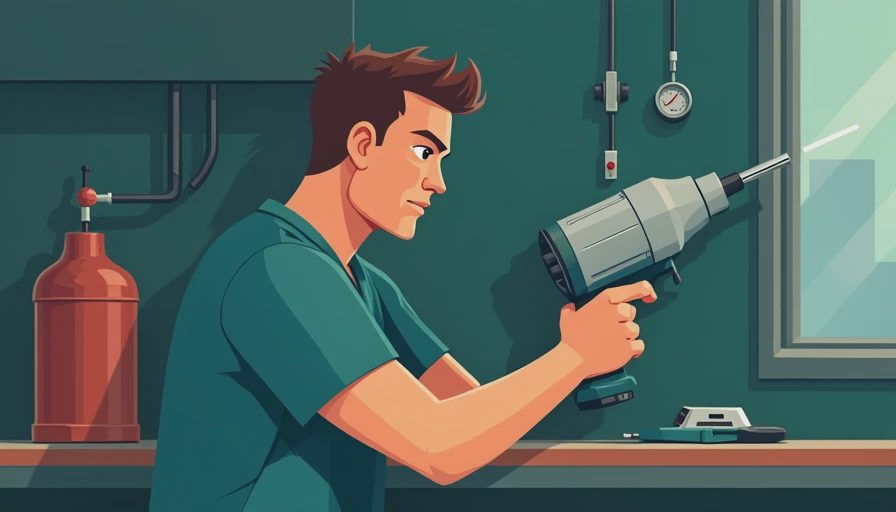
For most homeowners, the best first purchase is an impact wrench. A 1/2-inch drive model handles lug nuts, suspension hardware, and stubborn bolts that would otherwise require a long breaker bar. A midrange tool from Ingersoll Rand, Astro Pneumatic, or Chicago Pneumatic can be a solid long-term choice. I still keep a 1/2-inch Ingersoll Rand impact wrench that has been in my shop for years, but it is not the only sensible option.
An air ratchet is useful when you are working in tighter spaces, although it is slower and less powerful than an impact wrench. A blow gun is inexpensive and earns its place immediately for clearing dust from benches, cleaning sawdust from tools, and drying parts. Just remember that compressed air can drive chips into your eyes or skin, so never point it at yourself or another person.
A tire inflator with a readable gauge is another practical addition. It makes checking pressure before a road trip easy and saves repeated trips to a gas station. For occasional nailers, trim work, and small brad projects, air tools can also be a better value than buying several battery platforms.
Choosing the right compressor
Compressor sizing is where many garage setups go wrong. The tank size gets all the attention, but cubic feet per minute, or CFM, matters more when a tool runs continuously. A 6-gallon pancake compressor can power a brad nailer, blow gun, and short bursts from an impact wrench. It will struggle with a die grinder, paint sprayer, or dual-action sander.
For a general home workshop, I like a 20- to 30-gallon vertical compressor rated around 5 to 7 CFM at 90 PSI. That is a useful middle ground for air tools without taking over the entire garage. Expect to spend roughly $350 to $700 for a decent unit, depending on motor size, pump design, and whether you choose an oil-lubricated model. A 60-gallon compressor is better for serious bodywork or continuous sanding, but it needs more floor space, a suitable circuit, and a plan for noise.
Do not run a compressor on a long, lightweight extension cord. Voltage drop makes the motor work harder and can shorten its life. Put the unit near an outlet, leave room around the motor for cooling, and drain the tank after use. Water collects inside every compressor, especially during humid weather, and that moisture eventually travels into your hose unless you remove it.
Hose, fittings, and air delivery
A cheap hose can make expensive air tools perform badly. For most garage work, a 3/8-inch inside-diameter hybrid hose is a good starting point. It stays flexible in cold weather and delivers enough air for impacts and inflators. If you plan to run a high-demand grinder or sander, use a 1/2-inch hose and minimize restrictive fittings.
I prefer quality industrial interchange couplers rather than mixing several fitting styles. Milton M-style fittings are common in American workshops, but consistency matters more than the logo. Use thread sealant made for pneumatic fittings, keep the connection clean, and avoid wrapping tape over the first thread where it can break loose and enter a valve.
A wall-mounted reel is convenient, but a retractable reel is not automatically better. Some inexpensive reels kink the hose or recoil hard enough to damage a car. A manual 25- or 50-foot hose costs less and is easier to replace. Add a regulator and water separator near the work area, especially if you will spray finishes or use precision air tools.
A practical setup for common projects
For tire rotation and brake work, pair a 20-gallon compressor with a 1/2-inch impact wrench, torque wrench, tire inflator, and short blow gun. Use the impact to remove fasteners, but install lug nuts by hand and finish with a calibrated torque wrench. An impact is not a substitute for correct torque, no matter how experienced you are.
For woodworking, a small compressor and brad nailer will cover trim, cabinet backs, and light assembly. A narrow-crown stapler can help with upholstery or shop fixtures. If your main project is framing, a larger compressor with enough recovery capacity will prevent long pauses between fasteners.
For metal restoration, air tools can be excellent for wire brushing, cleaning, and surface preparation. An angle grinder is generally faster for heavy rust, while an air die grinder gives better control in tight corners. Neither should be treated casually. Wear eye protection, hearing protection, and a proper face shield when the work can throw sparks or fragments.
Safety and maintenance I do every time
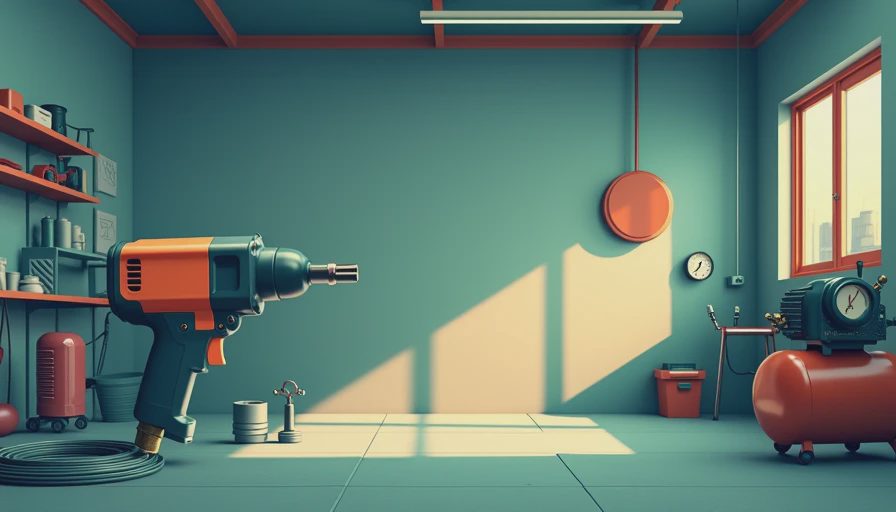
Inspect the hose before connecting anything. Replace it if you find cuts, bulges, or damaged couplers. Never carry a compressor by its hose, and never use compressed air to clean clothing or blow dust from your hair. A few seconds of careless air pressure can cause a serious injury.
Oil the tool only when the manufacturer calls for it. Some newer air tools use special lubrication instructions, while certain paint and finishing equipment must remain oil-free. A few drops of pneumatic tool oil in a conventional impact wrench before use can reduce wear, but excess oil can contaminate a workpiece.
Drain the tank regularly, check fittings for leaks, and listen for a compressor that cycles more often than usual. A small leak at a coupler can make the motor run repeatedly, wasting electricity and reducing available pressure. I use soapy water on suspicious connections; bubbles show exactly where the problem is.
What I would buy first
If I were starting over, I would buy the compressor, a quality 3/8-inch hose, a blow gun, a tire inflator, and a 1/2-inch impact wrench in that order. That core setup covers vehicle maintenance, cleanup, and many repair jobs without filling a shelf with tools that rarely leave their cases. Add an air ratchet only after you have a project that needs it.
Battery tools have improved dramatically, and they are often more convenient for quick driveway repairs. Air tools still win when you need long run time, low tool weight, or repeated fastening during a larger job. The tradeoff is the compressor, hose, noise, and maintenance. In a finished garage, place the compressor away from the workbench, add vibration pads, and consider a simple enclosure with ventilation.
Buy the tools that match your actual projects, not the tools that look impressive in a catalog. A modest compressor used every month is more valuable than a massive unit buried behind storage bins. Set up the air line carefully, learn the pressure requirements, and your garage will work faster without becoming louder or more complicated than necessary.
Back to the bench.