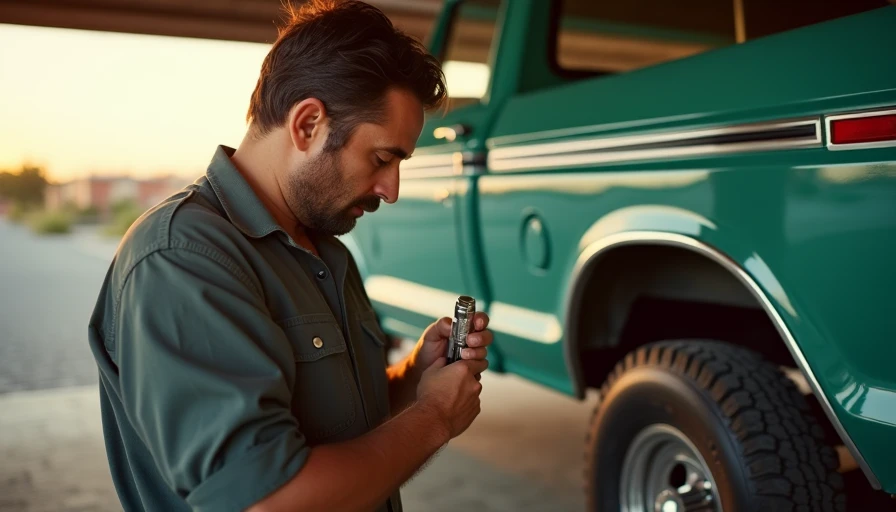
A click torque wrench is one of those tools that looks unnecessary until you round off a fastener or discover a wheel lug was never tightened evenly. In a home garage, it gives you a repeatable way to tighten bolts without relying on feel. I keep one on the bench for wheel work, suspension repairs, engine brackets, and anything with a specified torque value. I've screwed this up so you don't have to: buy the right size, set it correctly, and store it unloaded.
What a click torque wrench actually does
A click torque wrench uses a spring-loaded mechanism inside the handle. You adjust the handle to a torque value, lock the setting, and pull smoothly. When the fastener reaches that setting, the wrench gives a noticeable click and briefly releases tension. That signal tells you to stop pulling. It is not a general-purpose breaker bar, and it is not designed to tell you whether a rusty bolt will survive removal.
Torque is twisting force, usually measured in pound-feet in an American garage. A specification of 80 lb-ft means the fastener should be tightened to that amount under the stated conditions. The wrench does not know whether the threads are dirty, stretched, cross-threaded, or lubricated. It only measures the turning force at the handle, so clean threads and correct procedures still matter.
Most home mechanics need a 3/8-inch drive covering roughly 20 to 100 lb-ft and a 1/2-inch drive covering approximately 50 to 250 lb-ft. A 1/4-inch model can be useful for small engine or interior fasteners, but it is not a substitute for a wheel-service wrench. Buying one giant wrench for every job usually creates poor accuracy at the low end.
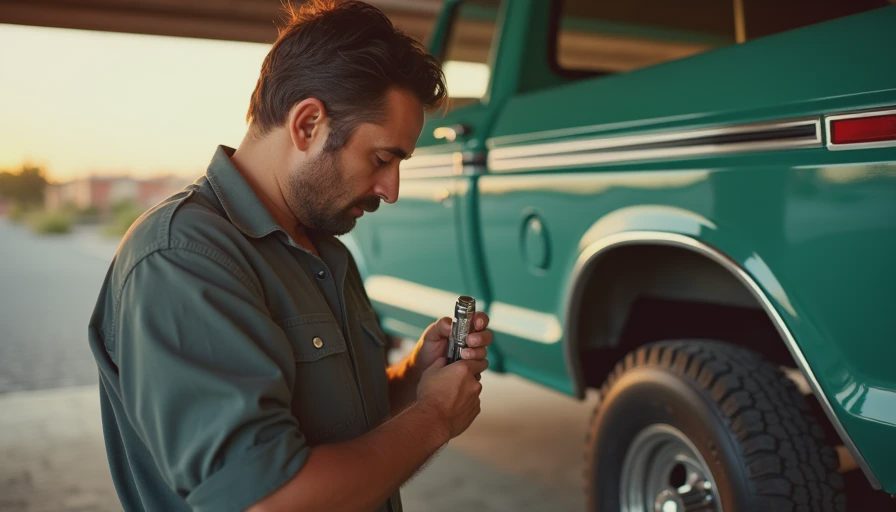
Choosing the right click torque wrench
The best click torque wrench is not automatically the most expensive one. First match the range to the work you actually do. For brake calipers, spark plugs, drain plugs, and smaller suspension hardware, a 3/8-inch Tekton or GearWrench model is practical. For wheel lugs and larger chassis bolts, a 1/2-inch wrench such as the Craftsman CMMT99434 or a comparable CDI model gives you more useful range.
Look for a clearly marked scale, a locking collar, a reversible ratchet head, and a handle that remains comfortable when you are wearing work gloves. A 24-inch handle gives leverage, but it also makes low settings awkward. For most attached-garage work, a 1/2-inch wrench around 18 to 24 inches long is manageable without turning every job into a wrestling match.
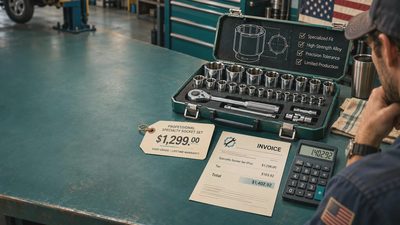
Prices commonly run from about $40 for a basic home-use tool to $150 or more for a well-finished professional model. You do not need a $300 laboratory instrument to install lug nuts on a family SUV, but the cheapest unmarked marketplace tool is a gamble. I would rather buy a midrange wrench from a company that publishes a calibration process than replace damaged wheel studs later.
How to use it without losing accuracy
Start by finding the vehicle manufacturer's torque specification. The owner's manual, service manual, or a reputable repair database is better than a random forum reply. Confirm whether the specification is for dry threads, whether a tightening sequence is required, and whether the fastener is torque-to-yield. Do not substitute a similar-looking bolt just because it fits.
Set the click torque wrench while looking straight at the scale. If the main handle reads 70 and the smaller micrometer scale adds 8, the setting is 78 lb-ft. Lock the collar before pulling. Place the socket fully on the fastener, keep the wrench square, and apply steady pressure near the center of the grip. Stop immediately at the click; pulling through multiple clicks can overshoot the setting.
For wheel lugs, snug each nut in a star or crisscross pattern, lower the vehicle until the tire cannot rotate, then torque in the same pattern. After driving a short distance, inspect the lugs if the wheel was removed for repair. Do not use a pipe extension to increase leverage, and do not use the wrench to break loose stubborn fasteners. That abuse can damage the mechanism and erase the confidence you bought the tool to provide.
Common mistakes I see at home garages
The first mistake is using a click torque wrench as a ratchet. A wrench set to 100 lb-ft is not a safe way to loosen a rusted exhaust bolt. Use a breaker bar for removal, then clean and inspect the threads before installation. The second mistake is setting the tool to its lowest printed value and leaving it there. Most spring-type wrenches should be returned to the lowest marked setting after use, not below it.
Another problem is guessing units. Pound-feet, pound-inches, and newton-meters are very different. If a manual says 120 inch-pounds, that equals 10 pound-feet, not 120 pound-feet. A unit mistake can strip a small aluminum housing in seconds. Before touching the fastener, write the target value on a scrap of tape or read it aloud.
Do not add a universal adapter, long crowfoot, or extension without understanding how it affects the effective length. A straight extension generally does not change the reading, but an offset crowfoot can change applied torque depending on its orientation. For a first project, use a regular socket directly on the wrench and remove one variable.

Calibration, storage, and service life
A click torque wrench is a measuring instrument, even if it lives beside your greasy sockets. Keep it dry, wipe off oil, and store it in its case. Do not leave it sitting in a hot car all summer or bouncing loose in a toolbox drawer. Temperature, impact, and a compressed spring can all contribute to drift over time.
For occasional home use, calibration every few years is a sensible baseline, with earlier testing after a drop or obvious abuse. Professional shops test more often because their tools see daily use. A calibration certificate is useful when buying new, but it does not guarantee the tool will remain accurate forever. If the click feels weak, inconsistent, or absent, stop using it on critical fasteners.
Many automotive parts stores and tool service companies can arrange testing, although costs vary by tool and location. A basic service may cost $40 to $80, which is reasonable for a quality wrench that costs $100 or more. If testing costs nearly as much as replacement, keep the old wrench for noncritical shop work and buy a dependable replacement for wheels and suspension.
My practical setup for a home workshop
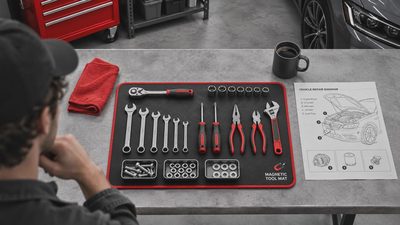
I keep two click torque wrench tools rather than forcing one tool to cover everything. The 3/8-inch wrench handles plugs, brackets, and smaller engine work. The 1/2-inch wrench handles wheel lugs and larger chassis hardware. A short breaker bar sits beside them, so nobody is tempted to use the measuring tool for removal.
I also keep six-point sockets in the common sizes, a paint marker, thread cleaner, and a service manual on the same shelf. That setup costs less than one avoidable repair and makes the process slower in the right way. Before a vehicle leaves the garage, I confirm the torque setting, tightening pattern, and final click on every fastener I touched.
A good click torque wrench will not turn a rushed repair into a professional one. It will, however, remove guesswork from one of the most important parts of assembly. Buy a useful range, use it only for tightening, store it unloaded, and treat the click as a stop signal. That is how I set up a garage tool that earns its drawer space season after season. Back to the bench.