When someone asks me about an epoxy outdoor patio, the first thing I tell them is that the floor prep matters more than the product. I've torn out plenty of failed coatings from patios and garages over 20 years of remodeling, and almost every one of them failed because the concrete wasn't ready. A quality epoxy coating can turn a tired, dusty slab into a seamless surface that sheds rain, resists stains, and looks sharp for a decade — but only if you do the work before you open the bucket. That means cleaning, grinding, patching cracks, and checking moisture. I remember one patio in Dublin where the homeowners had bought a premium epoxy kit, watched every video, and still had it flake off before winter. That was a $600 lesson. Prep is not glamorous, but it's the difference between a floor that lasts ten years and one you're chipping up in eighteen months.
Why Most Epoxy Outdoor Patios Fail
The number one mistake is using a garage-floor epoxy meant for indoors. Standard aromatic epoxy turns yellow after a few months of direct sun. It looks bad, and the surface gets chalky and brittle. The second mistake is skipping the grind. Epoxy needs a rough, clean profile to bite into. If you pour it over a smooth or oily surface, it will peel in big sheets. I once coated a client's patio without checking moisture vapor, and the coating blistered within six weeks. That was a $900 do-over. Every epoxy outdoor patio failure I've seen comes down to product selection or surface prep.
The Prep Work That Decides Everything
Start by clearing the patio and sweeping it clean. Then rent a walk-behind grinder with a diamond cup wheel from Home Depot or Sunbelt Rentals. A 7-inch grinder costs about $80 per half day, and it will take off old sealer, paint, and laitance in one pass. Go over the whole slab until it feels like 120-grit sandpaper. After grinding, vacuum every bit of dust out of the pores.
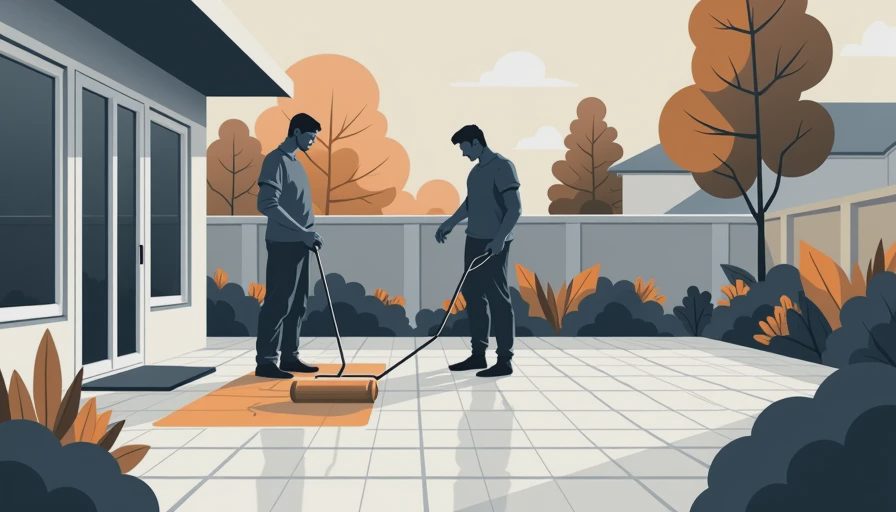
If you see cracks, fill them with a crack-resistant epoxy patching compound. If there's a low spot, mix up a floor patch and screed it flat. Finally, do the plastic-sheet moisture test: tape a 2x2 piece of plastic to the concrete overnight. If water droplets form underneath, you have a vapor problem. That slab needs a moisture-tolerant coating, not a budget epoxy. This prep takes a full day, and that's normal. I've seen contractors spray down the slab and call it prepped, then blame the product when the coating fails. The concrete has to be dry, clean, and open. Let it dry at least 24 hours before you coat.
Pick the Right Epoxy System (and the Right Topcoat)
For an epoxy outdoor patio that lives in direct sun, the product formula matters. Standard garage epoxy uses resins that lose color and chalk up outside. You have two solid options. Buy a two-part 100% solids epoxy made for exterior slabs, like ArmorPoxy's exterior system, or use a polyaspartic topcoat over a standard epoxy base. Polyaspartic is more UV-stable and cures fast, but it costs $150 to $250 per gallon. Or go with a water-based acrylic concrete paint if you want a cheap refresh — just know it won't hold up like true epoxy. I used a Legacy Industrial HP 100% solids kit on a patio and followed it with a UV-stable clear coat. The total material cost was around $320 for a 500-square-foot patio. That's the honest price of doing it right. Also think about texture. Add silica sand or a grip additive to the topcoat so the surface isn't slick when wet. A wet epoxy patio can be like an ice rink.

How to Apply It Without a Single Bubble or Blemish
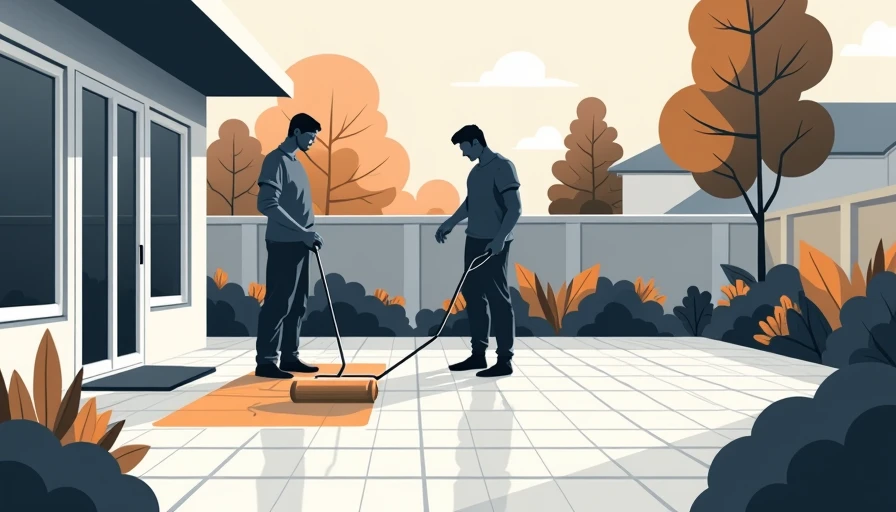
Plan the pour for a dry day with temps between 60 and 85 degrees. If it's humid or chilly, the cure slows and you get blush — a foggy film that won't bond. Mix the epoxy exactly to the ratio on the label. Pour it in a serpentine line along the far edge, then spread it with a squeegee or a long-handled roller. Back-roll the same area to push out bubbles and even out the coverage. Work in small sections you can finish in 20 minutes. Before you start, cut in the edges with a brush. Once the whole slab is coated, wait 12 hours before light foot traffic and 72 hours before putting furniture back. If a bubble shows up, pop it with a chip brush and roll over it again.
What It Costs and How Long It Lasts
A DIY epoxy outdoor patio runs $2.50 to $4.50 per square foot in materials, depending on the system. A 400-square-foot slab is usually in the $1,200 to $1,800 range if you hire it out. That installed price includes grinding, patching, primer, and two coats. Expect the coating to last eight to twelve years if the slab stays dry and gets a fresh topcoat every few years. A polyaspartic topcoat can push that past fifteen years, but it's expensive. If you skip prep, you'll be lucky to get two seasons. I've seen too many homeowners spend $200 on a cheap kit and then $1,000 on removal.
A Few Final Rules Before You Buy
Before you commit to an epoxy outdoor patio, do the tape test. Press a piece of duct tape onto the clean concrete, then rip it off fast. If any old sealer or dust comes off, you haven't prepped enough. Then check the weather forecast for a three-day window with no rain and mild temps. Buy from a supplier that lists the exact coverage rate, and let the product warm to room temperature before mixing. Cold epoxy spreads like cold honey and cures unevenly. Do it right the first time, and you'll have a patio you actually want to use. Back to the bench.