If you've been looking into garage floor coatings, you've probably seen epoxy resin paint touted as the budget-friendly DIY option. I've used it on more than a dozen garage floors—both my own and clients'—and I've seen it hold up beautifully and fail spectacularly. The difference between a lasting finish and a peeling mess comes down to prep, product choice, and application. In this article, I'm breaking down what epoxy resin paint really is, how to apply it so it lasts, and when you might be better off with a different coating.
What Epoxy Resin Paint Actually Is (and Isn't)
Let's clear up a common confusion. True epoxy is a two-part system: a resin and a hardener that you mix right before application. It chemically bonds to the concrete, creating a hard, durable surface. What most hardware stores sell as "epoxy paint" is often a one-part acrylic modified with some epoxy—it's easier to apply but won't bond nearly as well. I've learned that real two-part epoxy resin paint costs more but pays off in longevity. For a standard two-car garage (about 400–500 sq. ft.), you're looking at $150–$250 for a quality kit like Rust-Oleum EpoxyShield or Legacy Industrial. The cheap one-part stuff? I've ripped up floors that started peeling in six months.
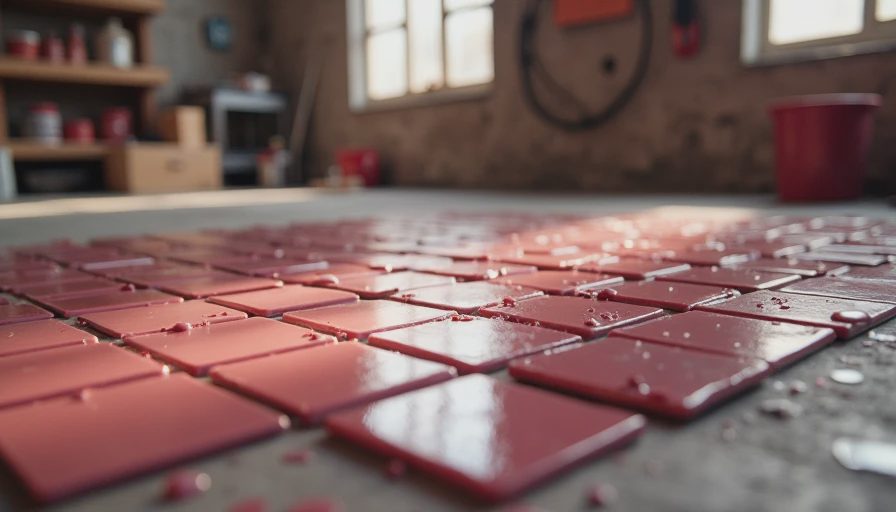
Why Most Epoxy Floor Jobs Fail (and How to Prevent It)
Over the years, I've torn out a lot of bad epoxy jobs—including my own first attempt. The number one culprit is moisture in the concrete. If your slab wasn't properly cured or has a vapor barrier issue, the epoxy won't stick. I always do a plastic sheet test: tape a 2x2 foot piece of plastic to the floor for 24 hours. If there's condensation underneath, you've got moisture vapor drive—that floor will peel regardless of how well you paint. Another common mistake is skipping the diamond grinding. You need to open the pores of the concrete, not just degrease it. I rent a concrete grinder from Sunbelt for about $75/day. It's dusty work but non-negotiable.
Prep: The Step Most People Skip
I can't overstate this: 90% of a successful epoxy resin paint job is the prep. After grinding, you need to fill cracks and spalls with a concrete patching compound, then etch the surface if it's smooth. I use a diluted muriatic acid solution (follow the safety gear—goggles, gloves, respirator). Then you power wash and let it dry for at least 48 hours. On one job, I was in a hurry and only let it dry 24 hours. The epoxy bubbled within a month. Now I always plan for a full weekend of prep, then the coating on Sunday. It's boring work, but it's the difference between a floor that lasts a decade and one that needs redoing in a year.
Application: My Process After 20+ Garage Floors
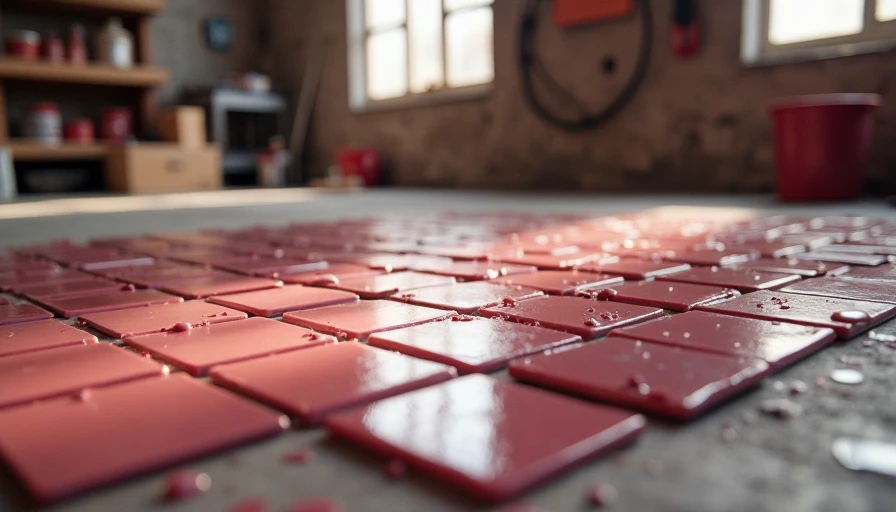
Once the concrete is bone-dry and clean, it's time to mix and apply. I always do a primer coat of the same epoxy resin paint—thinned per the manufacturer's instructions—to seal the concrete and ensure adhesion. Then two full coats of the epoxy, applied with a 9-inch roller with a 3/8-inch nap. I add non-slip additive (like aluminum oxide or silica sand) to the final coat because wet epoxy is slippery as ice. Between coats, I wait the recoat time exactly—usually 12-24 hours—and I lightly sand any dust nibs with 120-grit paper. Full cure takes about 7 days. Don't park a car on it before then. I've seen people ruin their finish by driving on it too soon.

Cost vs. Longevity: Is It Worth the Labor?
Let's talk numbers. A good two-part epoxy resin paint kit for a two-car garage runs about $200. Add a grinder rental ($75), patch compound ($20), rollers and brushes ($30), and non-slip additive ($15). Total material cost: around $340. Your labor: a solid weekend of work. If you pay a pro to do polyaspartic, you're looking at $3–$7 per square foot—that's $1,200–$3,000 for a 400 sq. ft. garage. So DIY epoxy saves serious money. But the catch is that epoxy's UV sensitivity means it will yellow if the garage has windows or if you leave the door open. Polyaspartic won't yellow and cures faster, but it's pricier. For most attached garages without direct sun, epoxy resin paint is a solid investment that can last 5–8 years with good prep.
Alternatives: When to Go with Polyaspartic or Vinyl Flakes Instead
Epoxy isn't the only game in town. If your garage sees heavy use— like a shop with dropped tools or a home gym with dropped weights—you might want polyaspartic, which is more impact-resistant and cures in hours. Vinyl flake coatings (like the ones from Garage Flooring LLC) look great and hide dirt, but they're typically installed by pros. I've used both, and honestly, for most homeowners who just park cars and store boxes, epoxy resin paint is plenty. But if you're parking a 6,000-pound SUV every day and want showroom looks, polyaspartic is worth the upgrade. Just know that with any coating, the prep is the same—you can't bypass that step.
Final Thoughts
I've screwed up epoxy resin paint enough times to know what works. It's not the absolute toughest coating out there, but for the price, it's hard to beat—if you do the prep right. My advice: buy a quality two-part kit, spend the time on grinding and drying, and don't rush the cure. Your garage floor will look good for years, and you'll have saved yourself a few hundred dollars compared to pro coatings. Back to the bench.