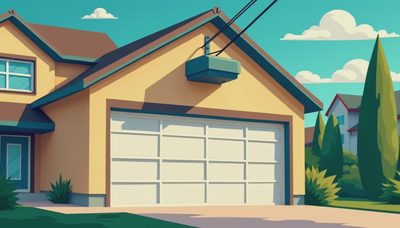
If you're tired of squinting at a table saw or tripping over the snow blower, your garage lighting layout is the problem. I've walked into 40-plus attached garages as a remodel contractor, and every dark, useless garage has one thing in common: lighting treated as an afterthought. A single porcelain socket dangling from an open ceiling won't get you past 6 o'clock in January. It's a safety hazard and a productivity killer.
Here's the good news: you don't need an electrical engineering degree to design a garage lighting layout that works. You need the right fixture types, placement, and color temperature. I've made almost every mistake you can make in this room, and I've had to rip out my own work twice. This guide is the version I'd hand to a client before they pick up a drill.
Why Your Garage Lighting Layout Matters More Than You Think
A garage is the only room where you're doing three jobs at once: parking a two-ton vehicle, repairing a lawnmower, and finding a 10mm socket that rolled under the workbench. A poor garage lighting layout leaves you working in your own shadow every time you lean over an engine. I've measured garages putting out less than 30 lumens per square foot. A decent workshop should run 70 to 100 lumens per square foot at the work surface. With modern LED strips, that's easy and affordable. When I redo a client's garage, I change the lighting before the floor goes down. It's the cheapest transformation you'll get for a couple hundred dollars in fixtures. But I've also seen homeowners buy expensive LED four-foot fixtures and screw them into the same spots the old bulbs hung, scattering light off a car hood instead of onto the bench. The difference isn't how many bulbs you buy; it's where they land.

The Three Zones of a Garage Lighting Layout
I break every successful garage lighting layout into three zones. The first is ambient ceiling light, which fills the room and needs to be bright enough to park by. The second is task lighting aimed at the workbench and tool chest. The third is fill light for shelves and dark corners. A common mistake is to rely on just one zone. I've been in garages with beautiful LED panels on the ceiling, and the homeowner still can't see the cutting line because he's standing between the light and the work. A separate swing-arm LED work light at the front of the bench solves that. You don't need a $400 drafting lamp. A good four-foot strip under the upper cabinet costs about sixty bucks and pays for itself in saved frustration.
Recessed, Surface, or Linear LED: What I Actually Recommend
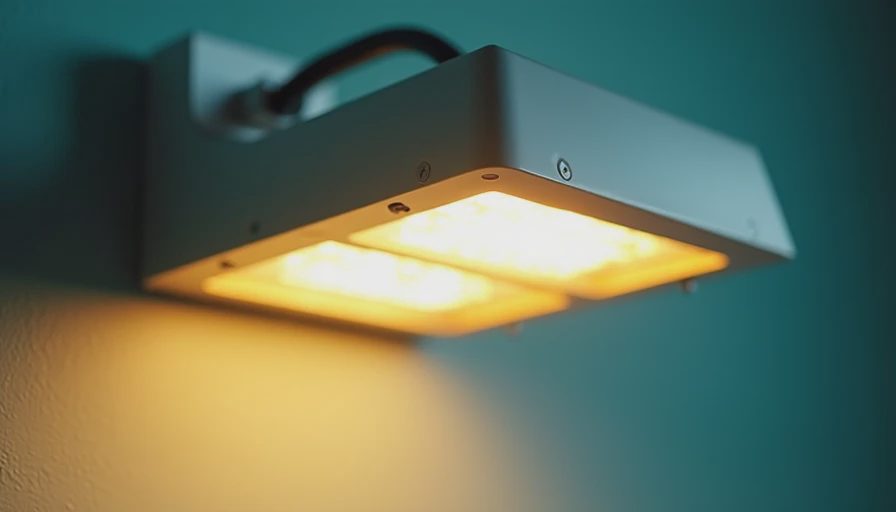
When someone asks me about a garage lighting layout, fixture type is the first question. Skip recessed fixtures unless you're finishing the garage like a living room. They cast a narrower beam and cost more to install. Surface-mounted wraparound fixtures are cheap, but the plastic yellow and trap dust. My go-to is the four-foot LED strip light that mounts flush to the joists. Brands like Lithonia and Hyperikon put out four to five thousand lumens and cost around $30 each. For a typical two-car garage, I install eight to twelve of these in four rows, running parallel to the car length so you don't get shadows down the sides. Draw your garage to scale first, mark the workbench and toolboxes, and run the rows front to back. Mount them high enough to clear the overhead door, and bump the row over the bench a few inches toward the wall to hit the work surface instead of your back.
Color Temperature and Switches: The Details That Matter
For a working garage, choose 5000K bulbs. A 3000K bulb feels warm and cozy, but it's terrible for spotting a dark scratch in metal. 5000K is a cool, neutral daylight that makes colors read accurately and gives you the best contrast for wiring and sanding. Keep all bulbs the same color temperature, or your eyes will play tricks. Run separate switches for the overhead rows and the workbench task lights. That way you can grab a tool without firing up all eight rows. Add a motion sensor on the main lights so you never walk into a dark garage. I've wired plenty of garages with Lutron Caseta switches so you can turn the lights on from your phone. That one feature beats every other smart home gadget I've installed. Also, install a GFCI circuit in an unfinished garage because the receptacles need it.
Common Mistakes and My Bottom Line
The biggest mistake I've had to tear out is a single light bar above the garage door opener. It lights up the back of the car and leaves the workbench in darkness. The second is spacing fixtures too far apart, turning the garage into a stripe show with dark valleys. Third is ignoring the ceiling finish. If you install a shiny epoxy floor before you plan the lighting, the reflections bounce up and make the fixtures look dimmer. Always put a switch at both entry points if you have a man door and an overhead door. Walking twenty feet through the dark carrying a drill is a rookie move. The best garage lighting layout I've built has bright 5000K LEDs, rows that kill shadows, a dedicated task light at the bench, and sensible switches. It's a weekend project, and the fixture cost for a two-car garage runs between $300 and $500. Less than a new cordless drill kit, and it changes every single thing you do in that room.
I've screwed this up so you don't have to. Back to the bench.