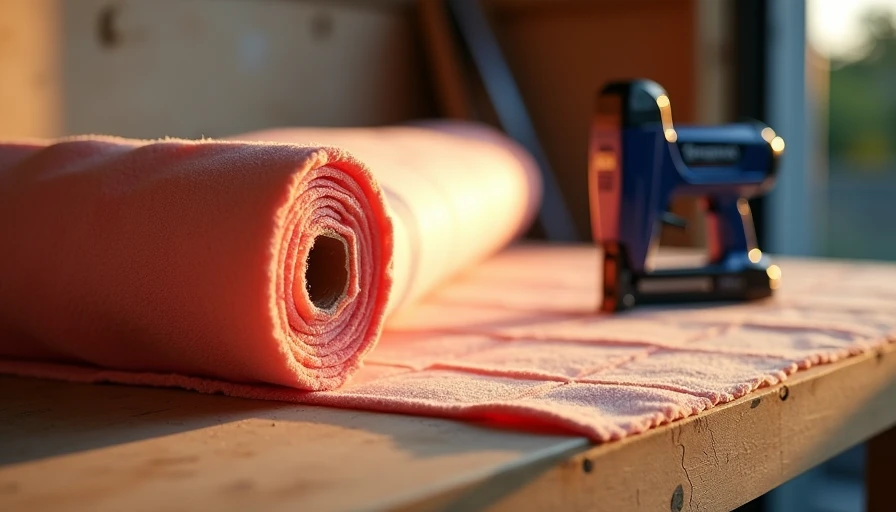
If your garage feels like a walk-in refrigerator in January and an oven by July, insulating garage walls is one of the smartest upgrades you can make. I’ve torn into enough attached garages to know the difference between a space that just holds cars and one that actually works as a shop, gym, or storage room. Done right, this job cuts drafts, quiets the room, and makes the whole place feel less like an afterthought. Done wrong, you trap moisture, miss the air leaks, and end up spending money twice.
The part a lot of homeowners miss is that insulation is only one piece of the wall system. You need the right air seal, the right material for the job, and a finish that matches how you actually use the garage. If you’re planning on hanging cabinets, adding a workbench, or keeping paint and glue in there all winter, this upgrade pays off fast. I’ve screwed this up so you don’t have to.
Start with the wall itself
Before insulating garage walls, I look at three things: framing, moisture, and what the garage shares with the house. If the studs are open and the wall is easy to reach, you have options. If there’s old drywall already there, or the wall backs up to a living space, the details matter more. Attached garages often leak air through gaps at the top plate, around outlets, and where the slab meets the framing. That’s where comfort gets lost, not just through the fluffy stuff in the cavity.
On a typical 2-car garage, the framing can be uneven, especially in homes from the 1980s and 1990s. I’ve found studs bowed out enough that fiberglass batts buckle, which leaves gaps and weak spots. If the wall is still open, take ten extra minutes to seal penetrations with caulk or spray foam before you close it up. A $5 tube of caulk does more for comfort than a whole bag of insulation if the wall is full of air leaks.
For an attached garage, I also think about the garage door, attic above the space, and any rim joists around the perimeter. If the ceiling above the garage is wide open to attic air, wall insulation alone won’t carry the load. Treat the whole shell like a system.
Pick the material that fits the garage
For insulating garage walls, fiberglass batts are still the budget workhorse. They’re cheap, easy to install, and usually run about $0.70 to $1.50 per square foot for material depending on thickness and R-value. If the wall cavities are standard and you’re finishing over drywall, they do the job well enough. Mineral wool costs more, often around $1.50 to $2.50 per square foot, but it handles moisture a little better and gives you better sound control. I like mineral wool for a shop wall where you want the room to feel quieter.
Rigid foam is a different animal. It works well when you need continuous insulation or when the framing is shallow and every inch counts. Polyiso and XPS both have their place, but in a garage wall I use them selectively, not as a one-size-fits-all answer. You still need to respect fire protection rules and finish the wall properly. Foam board without a thermal barrier is not a finish.
If the garage is attached and you live in a colder climate, don’t cheap out on the wall shared with the house. That wall deserves the best detailing, because it affects comfort inside the home too. In my own garage, the walls that mattered most were the ones adjacent to the kitchen and mudroom.
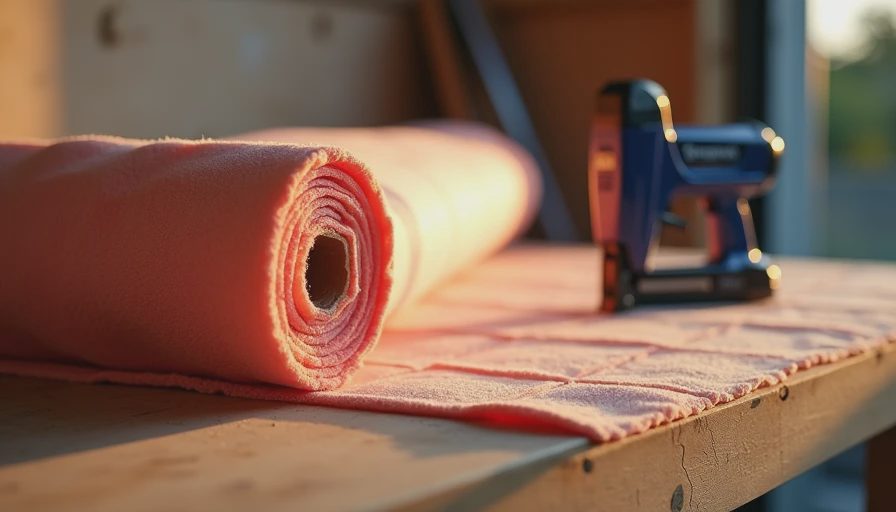
How I build the wall assembly
When I’m doing insulating garage walls from scratch, I usually start by air sealing the bottom plate, top plate, and every hole I can reach. Then I fit the insulation tight but not smashed. Fiberglass should fill the cavity without being compressed into a sad little pillow. Mineral wool can be trimmed a little oversize and friction-fit cleanly. If the wall is going to be finished, I like 1/2-inch drywall for most garages because it’s common, durable, and easy to repair later.
One thing I learned the hard way: if the garage floor slopes toward the door, keep the bottom of the wall finish out of splash range. Snow melt from tires and boots will find weak spots. A baseboard or trim detail that keeps drywall off the slab edge saves headaches later. I’ve had to replace lower drywall sections because a homeowner parked a wet mower or salt-covered bike too close to the wall.
If you plan to mount cabinets, a French cleat wall, or tool storage, think ahead before you close the cavity. Add blocking where you know the weight will land. A few scraps of 2x10 between studs are cheap insurance when you want to hang a cabinet full of cans and chargers later.
Don’t skip air sealing, fire safety, and finishing
This is where insulating garage walls turns from a simple project into a smart one. Garages are full of fumes, temperature swings, and hard-use storage. I never finish one without sealing the obvious leaks and paying attention to the wall that separates the garage from the house. That wall typically needs drywall for fire protection, and any openings around ducts, pipes, or wiring should be treated with the same respect you’d give a basement rim joist.
If you are using foam board or spray foam in a garage, verify the fire protection requirements for your setup before you cover it. Most homeowners are better off with batts or mineral wool behind drywall unless there’s a very specific reason to go another direction. A garage is not the place to get cute with materials you do not fully understand.
This is also the point where comfort improves more than most people expect. A sealed wall cuts the wind wash, keeps tools from sweating as badly in shoulder seasons, and makes the room less dusty because air is moving where you want it to move, not through the cavities.
What it usually costs, and where the money goes
For a standard two-car garage, insulating garage walls can land anywhere from a few hundred bucks in materials to a few thousand if you’re hiring out framing, insulation, drywall, and paint. If you DIY the wall insulation and finish only the visible walls, the material bill might be $400 to $1,200 depending on size and product choice. Add drywall mud, screws, tape, and trim, and the total climbs quickly. Labor is the big swing factor.
The real return is usability. A garage that stays closer to room temperature gets used more. You stop avoiding the space in winter. You can leave glue on the bench, keep batteries from freezing, and work without your hands going numb in twenty minutes. That matters if the garage is where you actually build, repair, or store things you care about.
If you want a simple rule from a guy who has been inside more garages than he can count: do the air sealing first, choose the right insulation second, and finish the wall so you do not regret opening it back up later. That order saves money and keeps the job from turning into a do-over. Back to the bench.
A quick homeowner checklist before you start
Before insulating garage walls, walk the space with a flashlight and a notepad. Look for moisture stains, cracked caulk, gaps around the ceiling line, and any signs that the slab edge is dumping cold air into the room. Check whether the garage has an attic above it, a living room above it, or a bedroom wall next to it, because those conditions change how careful you need to be with sealing and finish work.
Then decide what the garage is supposed to do. If it is only for parking, you might not need every wall finished. If you want a workout room, a winter project space, or a cleaner storage area, the walls matter a lot more. That one decision keeps you from overspending in places that do not help. I’ve seen homeowners wrap a garage in expensive materials and still complain the room feels cold because they never sealed the gaps or insulated the ceiling. Fix the shell first, then worry about cabinets, lighting, and paint.
If you want the short version, this is a high-value upgrade when the garage is part of daily life, not just a parking stall. Do it with your eyes open, use the right material, and finish the details that stop air movement. That is how you get a garage that feels intentional instead of improvised.