A good yard tool storage rack does more than get the shovel off the floor. It keeps wet steel from rusting, stops trimmer line from getting crushed, and gives you back a strip of wall you can actually walk past without turning sideways. I’ve rebuilt enough garages to know the floor is the worst place for long-handled tools, especially when a mower, bins, and winter salt are already fighting for space. If you want a garage that works like a shop instead of a junk drawer, start here. I’ve screwed this up so you don’t have to.
Why the floor is the wrong place
The floor looks easy until it isn’t. A rake leans against a drywall patch, somebody bumps it, and now the tines are under a tire or the handle is bent. A leaf blower on the concrete collects dust and road grit. A string trimmer gets knocked over and the spool cover cracks. When tools live on the floor, they get buried, stepped on, and forgotten. Then you buy a second shovel because the first one disappeared behind a storage tote.
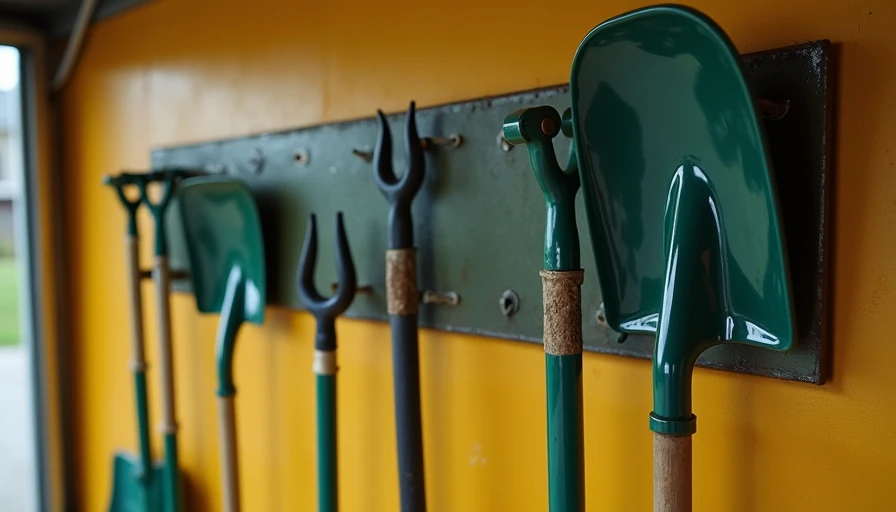
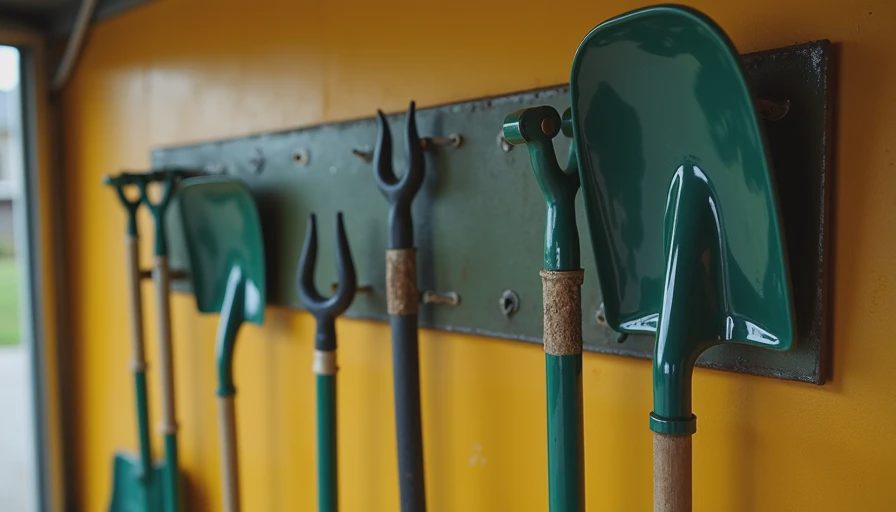
A rack fixes that by giving each tool a home with a clear outline, the same way a socket tray keeps you from losing a 10 mm socket every other week. If your garage gets damp in spring or sits unheated through an Ohio winter, getting steel handles and mower blades up off the slab matters too. Even a simple wall-mounted setup can make the room feel cleaner because the eye reads the wall as organized instead of cluttered.
How I choose the right yard tool storage rack
I look at the tools first, not the catalog photo. If you only own a few shovels, a bow rake, and a string trimmer, you do not need a giant system. A compact rail with clips or a basic steel cradle can be enough. If you’ve got a hedge trimmer, pole saw, backpack blower, and a couple of long-handled snow tools, you want more spacing and better support so the handles do not fight each other.
For most homeowners, the sweet spot is a mounted system that uses studs and spreads the load across the wall. Brands like Gladiator, Rubbermaid FastTrack, Proslat, and StoreWALL all sell versions of that idea. Gladiator tends to lean heavier-duty, FastTrack is simple and familiar, and slatwall systems give you a lot of layout flexibility if you’re willing to spend more. A good yard tool storage rack should hold the tools you actually own, not just the ones that look tidy in a brochure.
Material matters too. Powder-coated steel is usually the safest bet for long handles and dirty tools. Cheap plastic clips can work for light hand tools, but I would not trust them with a loaded snow shovel hanging all winter. If a rack claims a weight rating, read it as a real limit, not a suggestion. In the field, I like a system that can take 100 to 200 pounds across multiple studs when installed correctly, because that leaves a margin instead of living on the edge.
Wall-mounted, freestanding, or rail-based?
Wall-mounted is my first choice in most attached garages. It keeps the floor open for cars, bins, or a workbench, and it uses space that usually goes to waste. Rail-based systems are great when you want flexibility, because you can move hooks and brackets as seasons change. Freestanding racks make sense if you rent, have bad walls, or need something temporary for a basement or shed.
The problem with freestanding units is tipping and wasted footprint. They look neat in a showroom, then you load them with a long extension pole and a crooked shovel, and suddenly they need more depth than you thought. If you have the wall space, mount it. If you do not, pick a freestanding frame with a wide base and a real load rating, not the flimsy bargain version that wobbles when you grab a handle.
Installing it without ripping out drywall
This part is where people get lazy and later regret it. Find the studs, mark them, and anchor into structure. A lot of garage walls are 16 inches on center, but some newer builds stretch to 24 inches, so do not assume. If the wall is finished with drywall only, use the right lag screws or structural screws long enough to bite the stud, not just the face paper. When the wall is questionable or the spacing does not line up with your rack, a plywood backer board is worth the extra step because it gives you a stronger mounting strip and more placement options.
I also like to mock the layout with painter’s tape before I drill. Put the shovel heads low enough to grab, but not so low that the tips drag on the slab. Leave enough room between hooks so a snow shovel and a rake do not lock handles like a bad handshake. If you store gas tools, keep them where the fuel cap is easy to check and the cord or battery can be removed without fighting the rack.
A layout that actually works in a real garage
The best setup is usually near the service door or the side you use for yard access. That way the grass trimmer, blower, and shovel do not cross the whole garage every time you’re heading out back. I like tall tools grouped together on one section of wall, with short tools and hand pruners in a separate zone. The reason is simple: if everything hangs in one crowded cluster, you stop putting things back where they belong.
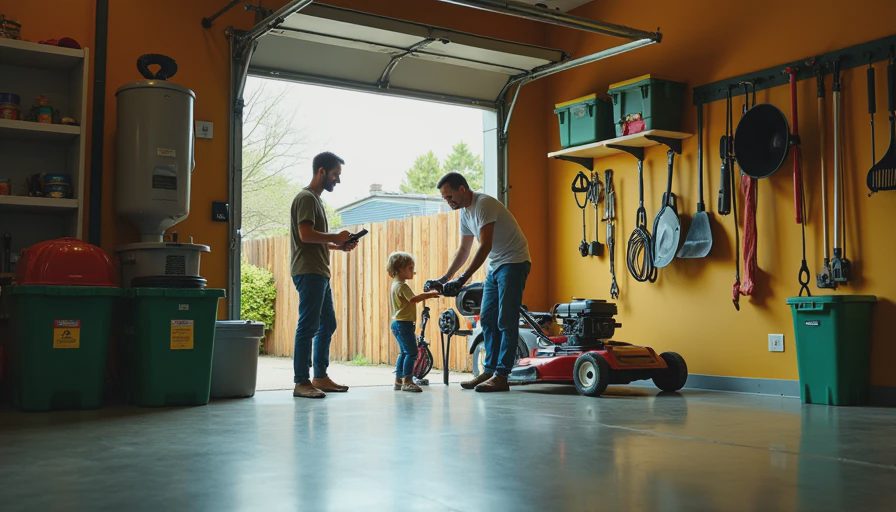
In a 2-car garage, one 4- to 6-foot run can handle most of the garden gear a normal family owns. If you are already planning a bench, keep the long-handled tools away from the work surface so dirty blades do not slap into your clamps or cords. This is also where a yard tool storage rack earns its keep. The wall starts doing real work instead of acting like a parking lot for whatever was in your hands last.
What I tell homeowners before they buy
Do not buy the cheapest rack just because it holds a rake in the product photo. Measure the handles you own, especially oversized snow shovels, pole saws, and backpack blowers with odd shapes. Buy enough width that tools are easy to remove with one hand. Expect a basic rack to run about $40 to $90, a nicer modular system to land around $150 to $400, and a slatwall setup to climb higher once you add hooks and panels. If you only need one wall section, that is still money well spent compared to replacing broken tools every season.
I also tell people to think about the next three years, not just today. If you buy a battery trimmer later, will the rack still work? If you add a snow shovel, can it fit without moving the whole setup? A little extra planning beats drilling new holes every fall.
If you want a yard tool storage rack that lasts, buy once, mount it to structure, and leave room for the tools you already know are coming. That is the difference between a garage that stays organized and one that slowly slides back into chaos. I’ve screwed this up so you don’t have to. Back to the bench.