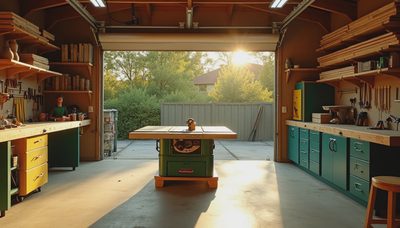
A miter saw table saw workbench sounds simple until you try to fit it into a real garage with a car, bikes, trash bins, and a stack of plywood that never seems to shrink. I have built versions of this setup in more than one attached garage, and the big lesson is always the same: the bench has to serve the shop, not the other way around. If you are trying to cut trim one day, rip sheet goods the next, and still roll a mower past it on Saturday, the layout needs to earn its floor space.
The best version is not a fancy island. It is a long, straight station with a miter saw centered on one run, a table saw that can feed and support long stock, and enough storage underneath to keep blades, clamps, and the usual pile of offcuts from taking over. I have screwed this up so you don't have to, and the fix usually starts with measuring the garage door swing, the parking space, and the width of a sheet of plywood before you ever cut a piece of framing lumber.
Designing a miter saw table saw workbench that fits a real garage
The first mistake most homeowners make is building the bench around the tool instead of the workflow. A miter saw wants long wings on both sides so trim and 2x material stay level while you cut. A table saw wants clear infeed and outfeed, plus room for a fence to travel without hitting a wall. If you put both in a tight corner, you will hate the setup by the second project.
I like to think in bays. One bay holds the miter saw and its support wings. The center bay can stay open for the table saw, or hold a rolling saw on a mobile base so it can slide into position when needed. If you are working in a two-car garage, a 12 to 16 foot run is usually the sweet spot. Shorter than that and sheet goods get awkward fast. Longer than that and you start stealing parking space for a bench that should be flexible.
When I build a miter saw table saw workbench for a client, I start by marking the floor with painter's tape. That tells you more than a sketch on graph paper. You can see where the garage door lands, where the side entry door opens, and whether a 4x8 sheet can pivot without gouging a drywall corner. That half hour of layout saves a weekend of rework.
Height, materials, and the kind of top that actually holds up
For height, I usually land between 34 and 36 inches, but the saws decide the final number. The top of the miter saw wings should match the saw bed closely enough that a board does not tip when you slide it through. If your table saw sits on a stand that is already set, build to that height and shim the other station to match. A dead-flat transition matters more than a perfect measurement.
For materials, 3/4-inch plywood is the right starting point almost every time. I frame the carcass with 2x4s or ripped plywood rails, then skin it with plywood and a durable top. I have used MDF once, and I regretted it the first winter. A damp board sat on the surface, the edge swelled, and six months later I tore the whole thing out. Plywood takes abuse better, and if you want a slick surface, a strip of melamine or hardboard on the top is fine as long as you know it will eventually get replaced.
A good bench does not need to be pretty, but it does need to be stiff. Fasten the frame every 16 inches, use a center cleat under long spans, and do not skimp on screws. A wobbly cut station turns a good saw into a frustrating one. That is not theory. I have watched trim work go from tight to sloppy because the bench flexed before the blade ever touched the board.
Dust, power, and the small details that make the setup pleasant
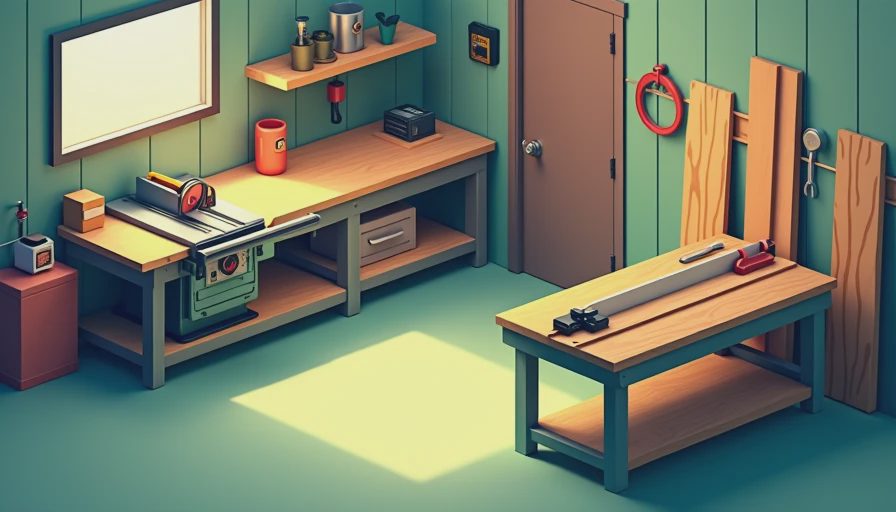
Dust collection is where a lot of garage shops fall apart. A miter saw throws chips like a wood chipper, and a table saw spreads fine dust across everything within ten feet. If you can, give each tool its own collection point. Even a shop vac with a good hose and a Dustopper-style separator beats letting dust pile up inside the saw and around your storage drawers. I like to keep the vac on a switched outlet so I am not reaching behind cabinets every time I make a cut.
Power matters too. Put the outlets where cords do not cross the cutting path. One outlet near the miter saw, one under the table saw zone, and at least one extra for charging batteries or running a task light. If you are already doing garage wiring, this is the time to add a dedicated circuit if the saws and a vac will run together. Nothing kills momentum like tripping a breaker in the middle of a trim job.
I also like a simple French cleat strip or shallow drawer bank under the bench. Keep your combo square, a stop block, spare blades, and a tape measure within arm's reach. The less time you spend hunting for a clamp, the more useful the bench becomes. That is the difference between a nice-looking shop photo and a station you actually use every week.
Storage and mobility without turning the bench into a science project
A miter saw table saw workbench works best when at least part of it can move. I am not talking about putting the whole thing on cheap casters and hoping for the best. I mean using a mobile base for the table saw, or building one fixed section and one rolling cabinet section so the layout can adapt when you need to park a car or pull in lumber.
If you store sheet goods, leave a vertical bay near the end of the run. If you keep trim and moulding around, add a shallow rack above the wings where stock can stay straight and visible. The goal is to keep your good material from leaning in a corner and developing a permanent bow. Once a board takes a set, you start making bad cuts to compensate for bad storage.
I have seen people overbuild drawers for every tool they own, then discover they no longer have room to break down plywood. Start simpler. One or two deep drawers, one open cubby for clamps, and a shelf for the vac is enough in most garages. Build the rest later if the shop actually earns it.
The mistakes I keep seeing, and the build order that avoids them
The biggest mistake is locking the bench to the wall before you test the saw positions. Second biggest is forgetting that garage floors are rarely dead level. If you build on a slope without shims, your fence alignment will wander and your crosscuts will not stay consistent. Third is using flimsy trim screws and expecting cabinet-grade stability. That never ends well.
The build order I prefer is simple. Mark the footprint on the floor. Set the saw heights. Build the frame. Check for level and straight. Skin the cabinets. Install the tops. Then mount the saws and fine-tune the wing height with shims. Do it in that order and you will spend your time cutting wood instead of chasing tweaks.
If your garage is already being turned into a real workshop, this is one of the first projects I would price out. A solid bench, decent lighting, and a clean floor make every other job easier. You do not need a showroom. You need a station that keeps material flat, dust under control, and your tools where your hands expect them.
I've screwed this up so you don't have to. Back to the bench.