The Reality of Old Garage Floors
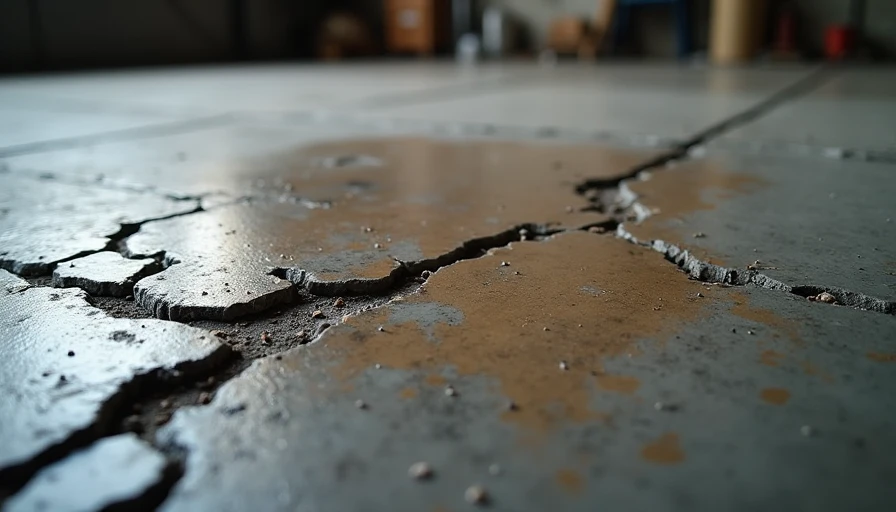
Most attached garages have floors that have seen decades of abuse — oil drips, winter salt, dropped tools, and temperature swings. By the time homeowners decide to upgrade, the concrete is often in rough shape.
After fixing countless tired slabs in remodel projects, I’ve developed reliable methods for dealing with the most common problems. Proper repairs are essential before applying any coating.
I’ve screwed this up so you don’t have to.
Diagnosing Common Concrete Issues
Oil and Grease Stains
These penetrate deep into porous concrete and prevent proper bonding of new coatings.
Cracks
Hairline cracks are normal. Wider or moving cracks need more attention.
Spalling
When the surface flakes or pits, usually from freeze-thaw cycles or chemical exposure.
Pitting and Popouts
Small craters from aggregate issues or poor original finish.
Step-by-Step Repair Guide
1. Thorough Cleaning
Start with the heaviest degreaser you can find. Scrub aggressively and pressure wash multiple times. For stubborn oil stains, use a poultice method with absorbent material and cleaner.
2. Crack Repair
Hairline cracks: Often can be filled during the coating process.
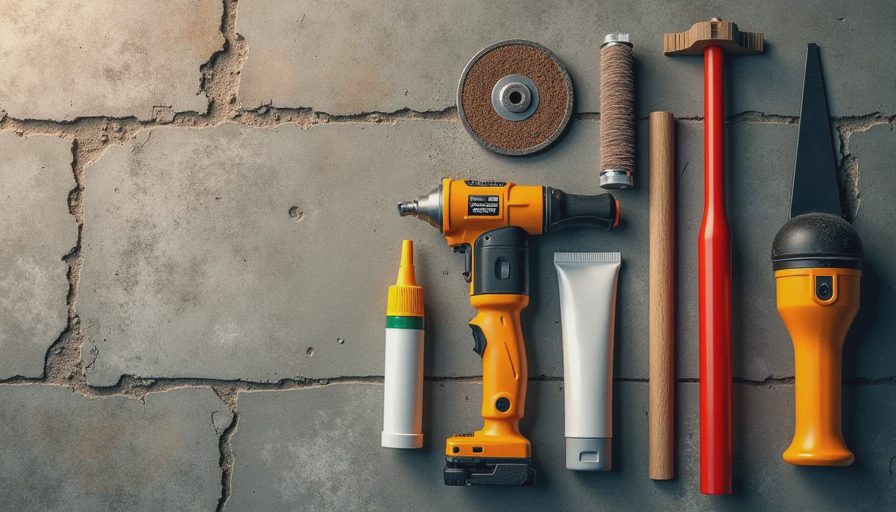
Larger cracks: Use flexible concrete crack filler or epoxy injection for structural cracks.
Moving cracks: Consider control joint fillers that allow movement.
3. Spalling and Pitting Repair
Remove all loose material with a chisel or grinder. Clean thoroughly, then apply a high-quality concrete patching compound. For larger areas, use polymer-modified repair mortars.
4. Surface Leveling
Use self-leveling compounds for significant depressions or unevenness. This is critical for coatings and tile installations.
5. Final Profiling
Grind or shot blast the entire surface after repairs. This creates the proper texture for new coatings and removes remaining contaminants.
Product Recommendations That Actually Work
Degreasers: Professional concrete cleaners (avoid simple TSP)
Crack Fillers: Flexible polyurethane or epoxy-based products
Patching Compounds: Two-part polymer repair mortars
Etchers/Profiles: Mechanical grinding beats acid etching in most cases
My Biggest Repair Lessons
One client’s garage had decades of motor oil buildup. We spent two full days on cleaning and still had to use a specialized oil-blocking primer before coating. The extra effort was worth it — the floor has held up perfectly.
Another project had severe spalling from salt damage. Proper removal of damaged concrete and quality patching made the difference between a 3-year floor and a 10+ year floor.
When to Replace Instead of Repair
Sometimes the slab is too far gone. Signs it might be time for a full overlay or new pour:
Extensive structural cracking
Severe heaving or settling
Multiple layers of old failed coatings
Major moisture vapor issues
Prep Before Any Coating
After repairs, always:
Test for moisture vapor transmission
Do a final mechanical profile
Vacuum and wipe until perfectly clean
Apply bonding primer if recommended by your coating system
Cost Considerations
Repairs can add $300–$1,500+ to your project depending on the extent of damage. It’s tempting to skip, but cutting corners here almost always leads to premature failure of the new floor.
The Payoff of Doing It Right
A properly repaired and prepped slab gives your new flooring the best chance at a long life. You’ll spend less time and money in the long run, and you’ll actually enjoy your upgraded garage instead of fighting recurring problems.
Final Advice Before Your Makeover
Take the time to fix the foundation. Address every stain, crack, and spalled area. Your future floor — whether epoxy, polyaspartic, or tile — will thank you.
I’ve screwed this up so you don’t have to. Repair it right the first time.
Back to the bench.