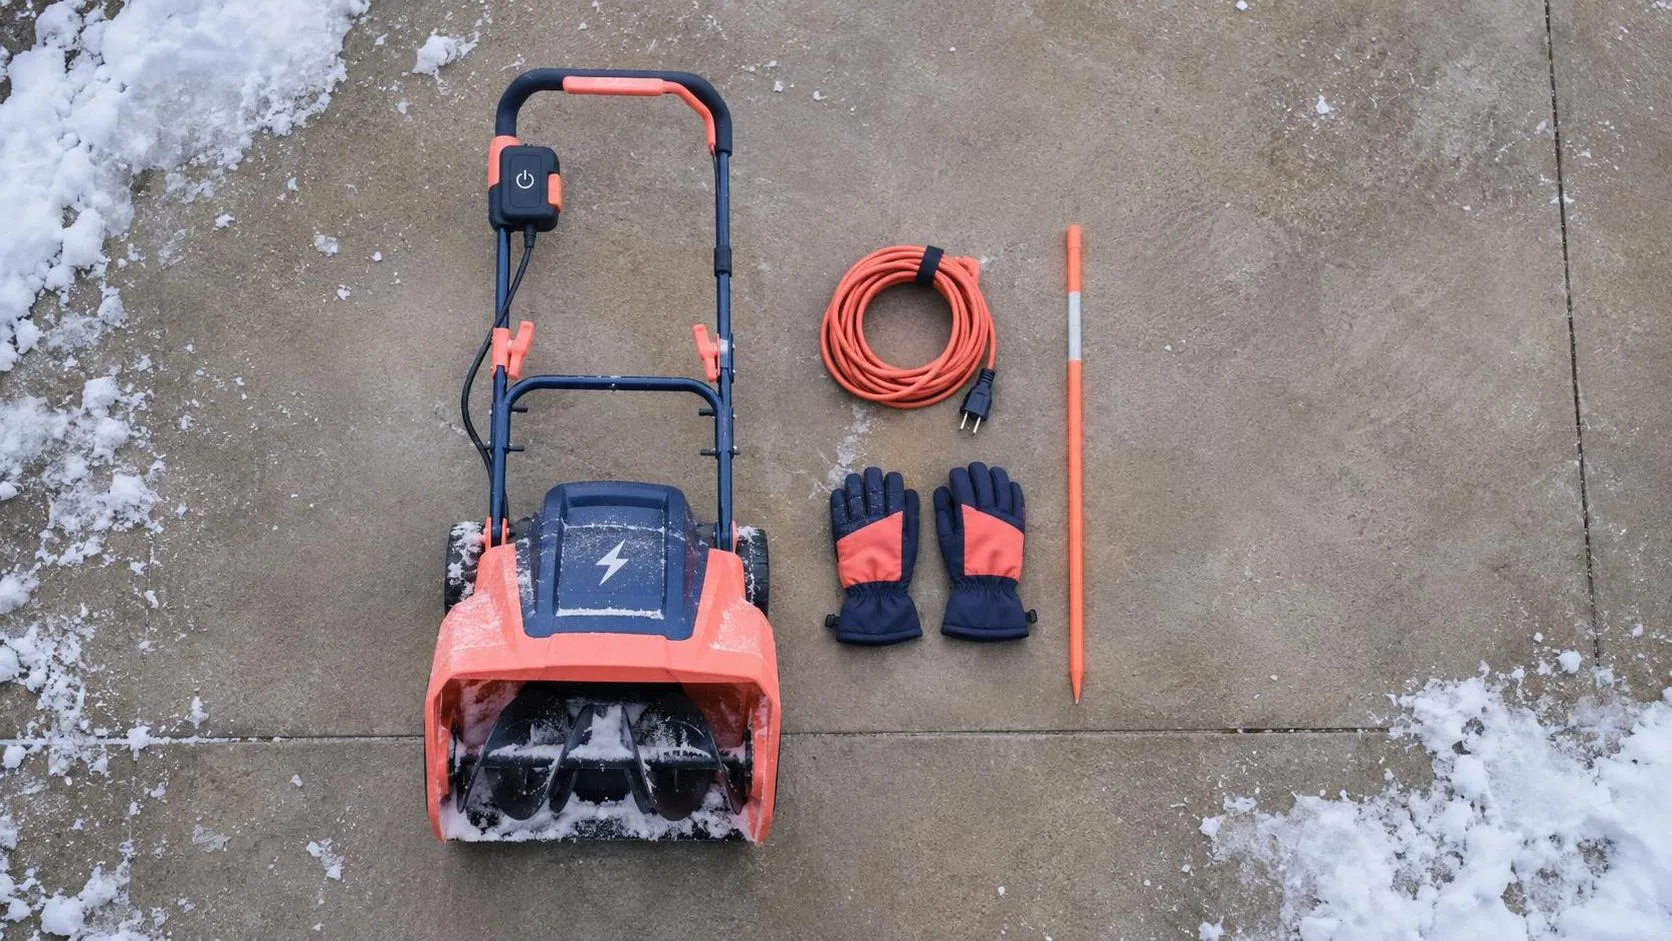
A corded snow blower makes sense for a short, reasonably flat driveway where you can reach the whole job from an outdoor outlet without dragging a long cord across the auger’s path. It skips gas storage and battery charging, but it is not the tool I’d pick for a long driveway or the frozen ridge a plow leaves at the street. Think of it as a convenient machine for keeping up with manageable snowfall, not a substitute for a heavy-duty two-stage blower.
Where the corded snow blower earns its space
The sweet spot is a paved driveway, a sidewalk, or a patio that can be cleared in short sessions. Start while the snow is still within the machine’s rated intake depth, and take narrower passes when it gets heavy. Waiting until the drift is taller than the intake makes a small job considerably less pleasant.
A corded snow blower usually costs less to maintain than a gas machine because there’s no fuel system, oil change, or spark plug to deal with. You still need to buy a suitable outdoor extension cord if you don’t already have one, and a long, heavy-gauge cord is not cheap. Factor that into the purchase rather than treating it as an accessory you’ll find in a junk drawer.
The other limit is traction. Many small electric machines depend largely on the operator to guide and push them. Wet snow, a steep grade, and a rough driveway can turn that into work. Check whether a particular machine is self-propelled rather than assuming the motor drives the wheels.
Measure the route from the outlet to the farthest corner you need to clear, including enough slack to turn. If that distance already calls for the maximum cord length allowed in the manual, I’d take a hard look at a battery or gas machine instead. Wrestling with the cord should not take longer than moving the snow.
Match the cord to the machine
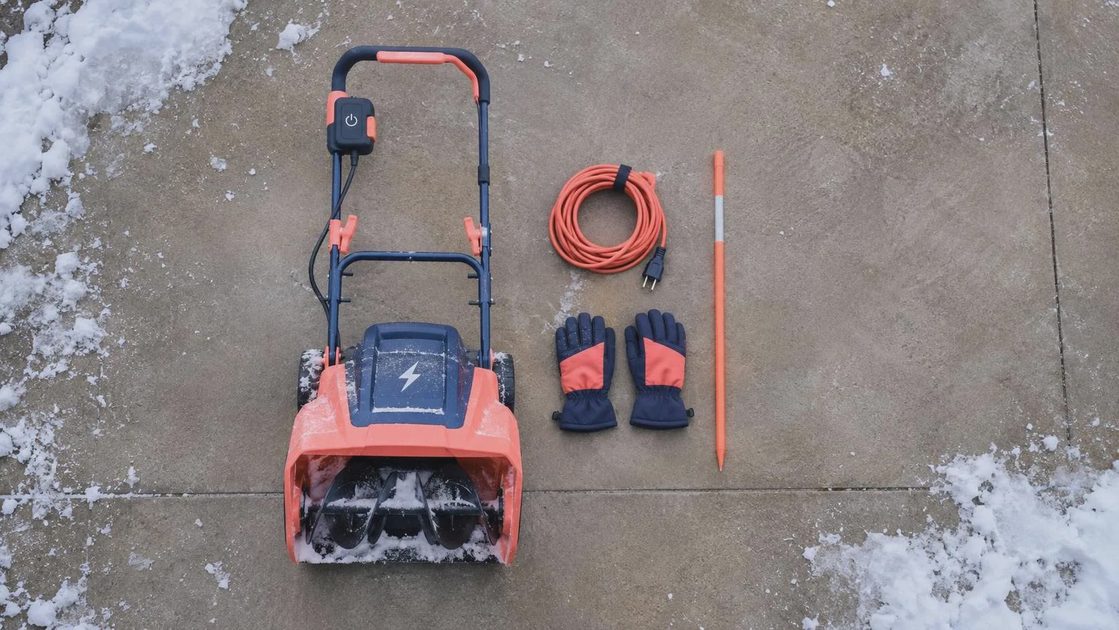
A corded snow blower is only as practical as its power supply. Before buying either the tool or the cord, check the blower’s amperage and the manufacturer’s extension-cord chart. The acceptable wire gauge depends on the machine and the cord length. A lower gauge number means thicker wire; don’t assume the thin cord that runs a shop light is adequate here.
Choose a cord rated for outdoor use and inspect it for cuts, crushed insulation, and damaged plugs before each session. Follow the manual’s maximum length and connection instructions. Avoid chaining multiple cords together: extra connections can come apart or sit in the snow, and the combined length may exceed the manufacturer’s limit.
Use a properly installed, GFCI-protected outdoor receptacle, and follow the tool’s instructions for keeping the connection out of standing water. Don’t bypass a tripping GFCI. Disconnect the machine and investigate the problem; an electrician can help if the cause isn’t obvious.
Plan your passes so the cord stays on the cleared side, behind you and away from the intake. Starting near the outlet and working outward can make that easier, though the right pattern depends on where the outlet sits. Stop and reposition the cord whenever the next turn would put it in the machine’s path. That small pause beats running over a live cable.
Clearing snow without fighting the tool
A corded snow blower works best when you let the auger take a reasonable bite. For a light snowfall, a full-width pass may be fine. In dense, wet snow, overlap more of the previous pass and move slowly enough that the chute keeps throwing. If the machine bogs down, back off rather than forcing it forward.
Point the chute where the wind won’t blow snow straight back at you, and avoid throwing toward people, cars, windows, or the street. Before the first storm, walk the area and remove extension cords, newspapers, doormats, loose stones, and anything else the auger could pick up. Mark low obstacles that will disappear under the snow.
The plow berm at the end of the drive is a different animal from the fluffy stuff near the garage. It can contain dense chunks and ice. Break it up with a shovel first, or leave that section for a more powerful machine. Don’t ram a small blower into a solid bank and expect the motor or scraper to thank you.

If the chute or auger clogs, switch the machine off, unplug it, and wait for all moving parts to stop. Use the manufacturer’s recommended clearing tool, never your hand or foot. Packed snow can hold parts under tension, so take a clog seriously even when the motor is silent.
Storage and upkeep in a garage
After clearing, unplug the corded snow blower and brush off packed snow. Let it dry in a spot where meltwater won’t run across a walkway or collect around an outlet. Check the manual before storing it folded or upright; handle and chute positions vary by machine.
At the start and end of the season, inspect the scraper, auger, fasteners, cord, and plug for wear or damage. Replace parts with the correct components for the model. A damaged power cord deserves repair or replacement according to the manufacturer’s instructions, not a quick wrap of tape and another winter outdoors.
Give the extension cord its own hook or reel, away from sharp tool edges. Coil it loosely after it dries rather than leaving it tangled under the blower. In a crowded garage, measure the machine with its handle in the storage position before buying; the footprint on the box may not tell you how much room it needs ready to use.
When to move up to another machine
Choose a battery blower if the cord route is the only thing standing between you and an easy clearing job. Check the battery system, included charger, and expected runtime for the particular model; a bare tool may not include either battery or charger.
For a long driveway, frequent deep snow, or a substantial plow berm, look at a larger two-stage machine. It takes more garage space and generally costs more, but its design is better suited to demanding work. If snowfall is occasional and the area is tiny, a shovel may still be the simplest tool on the wall.
The best setup is the one you can get out quickly and use safely before the snow piles up. Measure the driveway, inspect the outlet, and read the cord requirements before spending a dollar. Back to the bench.