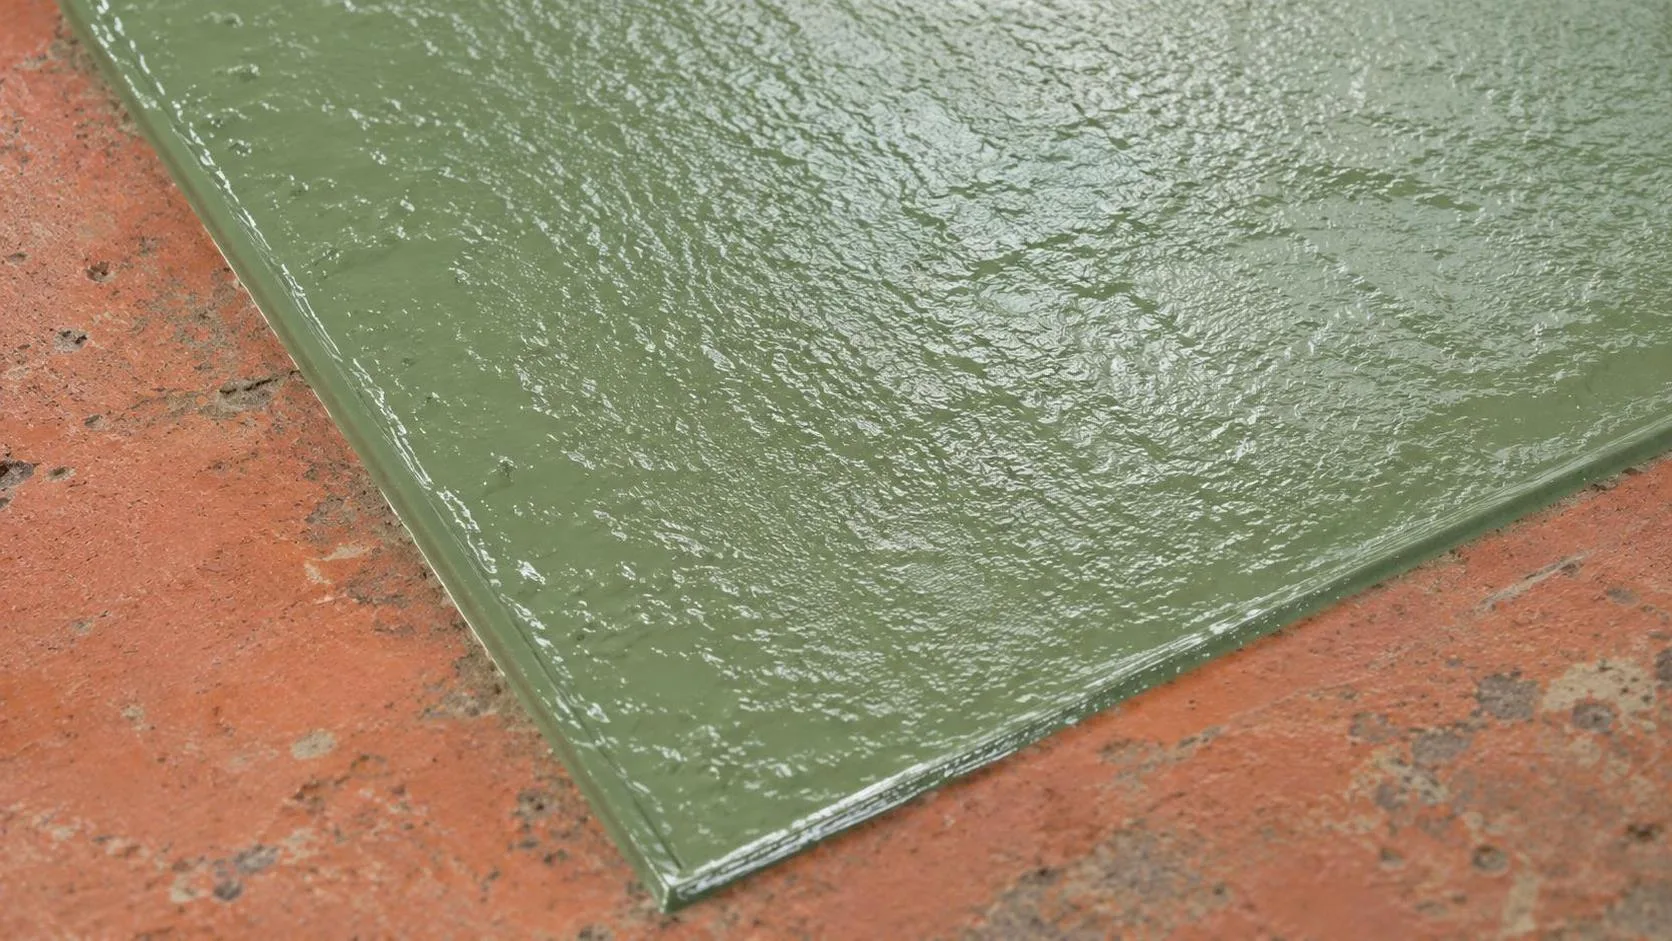
Metal epoxy can make a strong, useful repair on a cracked housing, a stripped screw hole, or two metal parts that need to stay put. It is not a substitute for welding on a safety-critical part, and the bond is only as good as the surface underneath it. For most garage jobs, start by deciding whether you need a gap-filling putty or a flowing adhesive, then check the label for the loads, temperature, and materials involved.
Pick the right kind for the repair
J-B Weld Original is a two-part adhesive worth considering for a nonstructural repair where you can mix and apply a paste. PC Products PC-7 is another paste-style option for filling and bonding when the product's instructions suit the job. J-B Weld SteelStik is a kneadable putty to consider when you need to build material up rather than spread a liquid mix. Check each product's current directions and ratings before buying; these are different formulations, not interchangeable tubes of magic.
Use a paste adhesive to join a loose metal bracket to a clean mating surface or fill a small void in a casting. Putty makes more sense when a chunk is missing and you need something that will hold its shape while it cures. For a close-fitting joint, make sure the adhesive can actually reach the surfaces being joined; a thick putty may not spread into a tight gap.
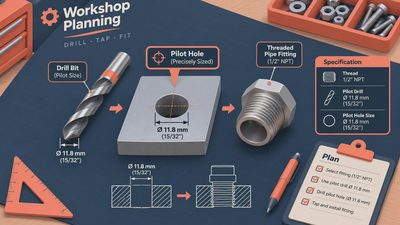
Some products contain metal fillers, but that does not make the cured repair equivalent to solid steel. A metal epoxy may be drilled, sanded, or tapped if its manufacturer permits it, but a repaired thread can still be weaker than the original. For a frequently removed fastener, a properly installed threaded insert or replacement component is often the better fix.
Know when to put the tube away
Do not rely on an adhesive patch for brakes, steering, suspension, vehicle lifting equipment, or any part whose failure could hurt someone. The same goes for a pressure vessel or a fuel-carrying component unless the manufacturer specifically approves the repair and the application is safe and legal. Even then, replacement or a qualified repair is often the smarter call.
Heat and chemicals matter, too. A product described as heat resistant may have different limits under continuous heat than under brief exposure. Check the technical data for the actual service temperature and for contact with oil, coolant, gasoline, or whatever else reaches the joint. Don't assume a cured patch is suitable just because it feels hard.
On exhaust components, for example, temperature cycling and vibration can defeat an ordinary repair adhesive. On a leaking casting, the liquid may also creep through a crack you cannot see or prevent the bond from forming. Stop the leak, clean and dry the area, and assess the whole part before treating the visible hole as the entire problem.
Prep metal epoxy surfaces before mixing
The usual failure starts before the cap comes off: oil in the joint, loose rust, or a shiny surface the adhesive cannot grip. Remove paint, corrosion, and flaking material until you reach sound metal. Roughen the bonding area with coarse abrasive, including a little beyond the damaged spot, then remove the dust.
Degrease with a cleaner compatible with the adhesive and the part. Follow both labels, provide ventilation, and keep flammable solvents away from ignition sources. Let the surface dry completely. A quick wipe over a greasy crack is not enough; contamination can remain inside it, so work carefully into the damaged area without weakening the part further.
Dry-fit the pieces before mixing. Figure out how you will hold them still and where squeeze-out will go. Mask nearby threads or moving parts, and keep the adhesive out of passages where a broken-off bit could cause trouble later. On aluminum, follow the adhesive maker's surface-preparation instructions rather than assuming bare-looking metal is ready to bond.
Mix, clamp, and give the repair time
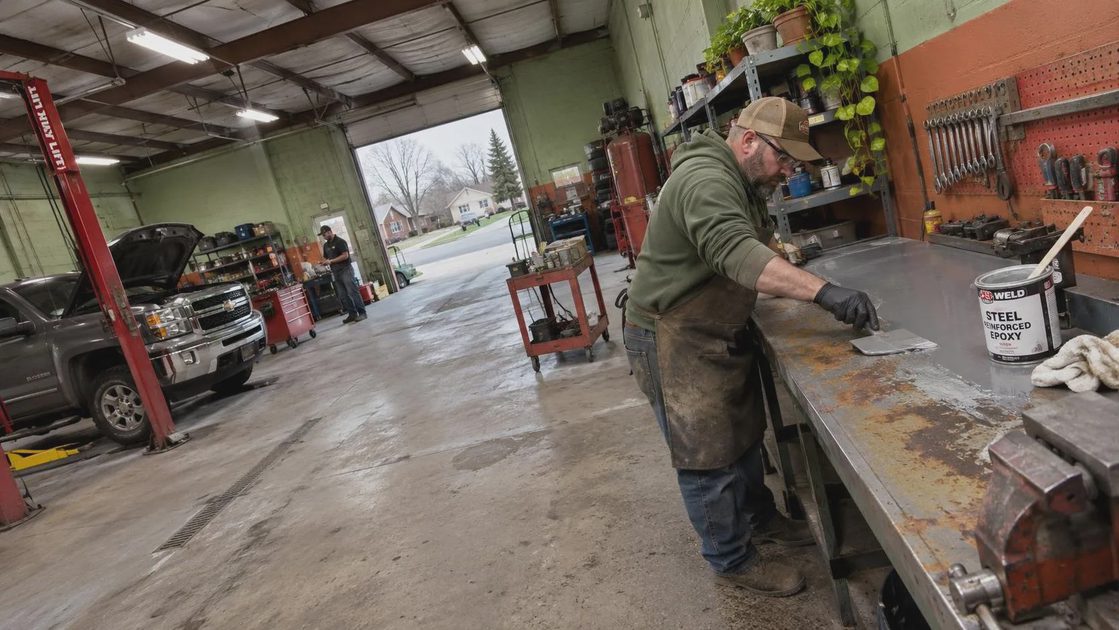
Most metal epoxy products use two components that must be combined in a specified ratio. Measure as directed and mix until the color and texture are uniform, scraping the mixing surface as you go. For a putty stick, cut off the amount needed and knead it according to the package directions. Wear the gloves specified on the label; uncured epoxy can irritate skin and cause sensitization.
Mix only what you can apply within the working time. Temperature affects both working time and cure, so check the product's instructions for the temperature of the garage and the metal itself. A cold casting can slow a repair even when the air feels comfortable. Don't aim a flame or an improvised heater at a solvent-cleaned part to speed things up.
Press adhesive into the prepared surface, assemble the joint, and secure it as directed. Clamping should hold the parts in position without squeezing out all the adhesive. For a patch, feather the edges onto sound, prepared material; don't leave a tall lump in the path of a moving part.
Setting time is not the same as full cure. A patch may feel firm long before it can handle drilling, heat, or service loads. Read the package for both times and leave the repair undisturbed until the stated cure conditions are met.
Check the finished repair
After curing, inspect the edges for lifting and make sure the parts are aligned. Sand or drill only if the product allows it, and wear suitable eye and dust protection. For a low-risk repair, bring the part back into service gradually and watch for movement, seepage, or cracking.
If a patch fails, don't just smear a second layer over the first. Remove the failed material, look for oil, flexing, or a wider crack, and decide whether the part needs a mechanical repair or replacement. The best garage fix is the one you can trust without wondering what is holding it together.
Back to the bench.