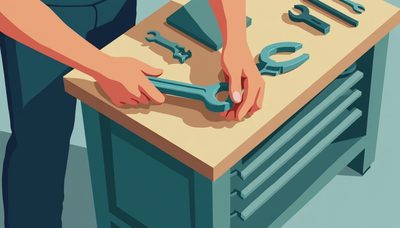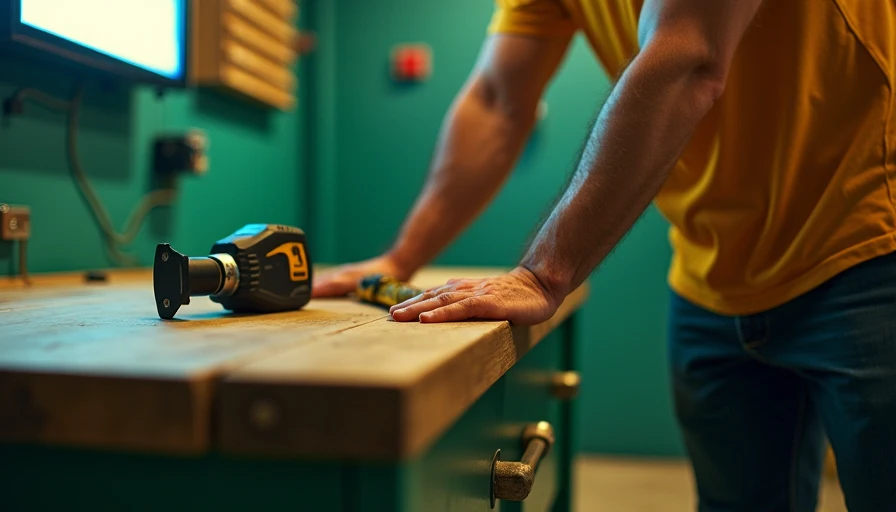
A diy workbench with wheels sounds simple until you load it with a vise, a planer, and a stack of offcuts, then try to push it across a gritty garage floor. I build these benches for homeowners who still want room to park a car, and the trick is the same every time: make it heavy enough to feel solid, but mobile enough to get out of the way when the garage has to do garage duty. That is the whole point of a rolling bench. It should roll when you want it to, then disappear into a corner and stop acting like a shopping cart.
The first mistake most people make is buying tiny casters. They look fine in the box and feel miserable on real concrete. A good setup uses 4-inch or 5-inch locking swivel casters, not furniture wheels, and the bench frame needs enough stiffness that the top does not wag side to side when you plane a board or crank a clamp. If your garage slab has cracks, old epoxy, or that rough broom finish most builders leave behind, bigger wheels are the difference between easy movement and a bench that drags like a dead appliance.
How I build a diy workbench with wheels that tracks straight
I start with a rectangular base made from 2x4s or 2x6s, depending on the size and the kind of work the bench will see. For a normal shop bench, 60 to 72 inches long and 30 to 36 inches deep is a sweet spot. That gives you room for an assembly project, a benchtop planer, or a small miter saw without eating the whole bay. I like a double-layer top: one sheet of 3/4-inch plywood for structure, then another layer or a hardboard skin on top so the surface can take abuse and still be replaced later.
The frame matters more than the top. Glue and screw the joints, keep the lower stretchers low, and use something with real bite, like 2-1/2-inch construction screws for the framing and longer structural screws where the casters or leg blocks need extra hold. If you mount the casters to thin wood, they will loosen. I put blocking under each wheel plate and through-bolt when I can. A caster rated at 300 pounds sounds like overkill until you add lumber, clamps, a bench vise, and the habit of leaning on one corner while working.
I learned that lesson the hard way on my own shop bench. I used bargain casters once because I was in a hurry. Six months later the wheels had flat spots, one brake barely held, and the bench would creep when I was trying to sharpen chisels. I tore it apart and rebuilt the base with heavier blocking and better hardware. Since then, I tell people to spend the extra money on the wheels first. Lumber is cheap compared with redoing the whole base.
Sizing a diy workbench with wheels for real shop work
Bench height is where a lot of home builds go off the rails. If the bench is too tall, hand work gets awkward fast. Too short, and your back starts talking to you by lunch. For a general-purpose garage bench, I like 34 to 36 inches from the floor to the finished top, including the casters. If you do a lot of hand planing or joinery, you may want it a little lower. If the bench is mostly for assembly, layout, and power tool support, a standard standing height works fine.
Weight distribution is the other thing people miss. Put the heavy stuff low. A bottom shelf made from plywood or a solid stretcher grid helps keep the bench planted and gives you a place for clamps, sandbags, or a box of fasteners. If you plan to mount a vise, place it over a leg or over the strongest corner of the frame, not in the middle of a weak span. That keeps the top from flexing when you tighten down. A good rolling bench should feel calm when you lean into it, not springy.
Make it useful instead of just movable
A bench on wheels earns its keep when it does more than roll. I like one locked-down outlet strip mounted to the back rail so cords stay out of the way, plus a real vise on one end and a clear work zone in the center. Dog holes are nice if you actually use clamps and holdfasts. If not, skip them and keep the top clean. This is one place where simple wins.
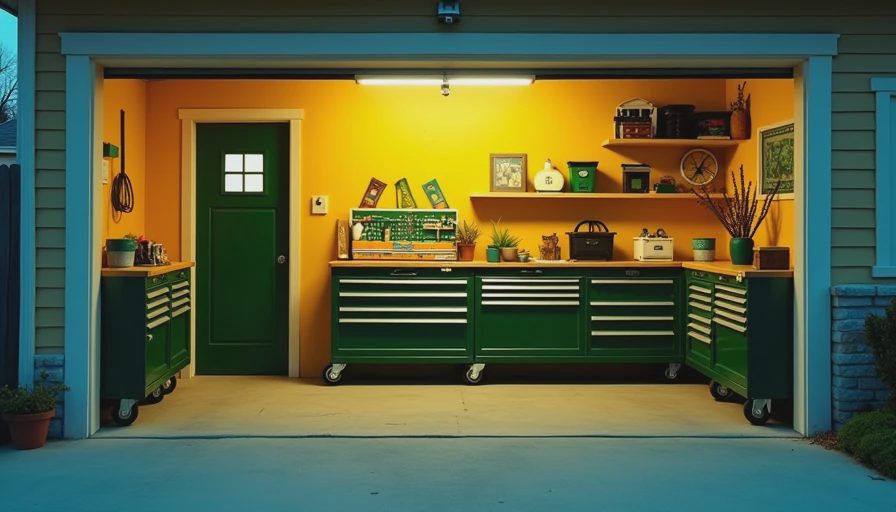
You can also build the bench to serve more than one job. I have one in my own garage that pulls double duty as an assembly table and a staging spot for mower repairs in spring. When I need floor space, I unlock the casters, push it against the wall, and the whole garage opens up again. That flexibility is why a rolling bench makes sense in a two-car garage that still has to function like a garage.
Finish, maintenance, and what the build really costs
For a garage bench, I keep the finish practical. A couple coats of polyurethane on the top helps glue squeeze-out and paint spills wipe up without soaking in. The base can be painted with leftover latex or a basic enamel if you want it to look decent, but I would not burn money on a fancy cabinet finish for something that will live next to a chop saw and a stack of plywood. The point is durability, not furniture showpiece shine.
Cost depends on size, but a solid DIY version usually lands between $250 and $450 if you buy ordinary construction lumber, decent plywood, and heavy-duty casters. If you add drawers, a butcher-block top, or premium hardware, you can push past $600 fast. For most homeowners, the smarter move is to build the base right, use good wheels, and upgrade the top later if the bench becomes a daily tool.
Once it is built, check the caster bolts after the first month and again after the first season. Garage floors move dust, grit, and moisture around all year, and hardware loosens when a bench gets used hard. If a wheel starts to squeak or drag, replace it before it starts chewing the floor. That is a lot cheaper than living with a bench that never quite rolls straight.
If you want the short version, build the frame heavier than you think, use better casters than your budget wants, and keep the height honest. That is how you get a bench that serves the shop instead of crowding it. I’ve screwed this up so you don’t have to. Back to the bench.