I've floored more than 40 attached garages over the years, and I've made plenty of mistakes with coatings. The first time I tried a cheap epoxy kit, I ended up tearing it out six months later because it peeled like sunburned skin. That's when I switched to self leveling epoxy floor paint — a product that actually bonds, fills imperfections, and gives you a showroom finish if you take the time to prep right. Let me walk you through what this stuff is, why it works, and how to apply it without repeating my screw-ups.
Why Self Leveling Epoxy Floor Paint Beats Basic Epoxy
Standard garage epoxy kits you buy at the big box store are usually a thin, two-part system that goes on like paint. They works fine on a perfect floor, but most concrete slabs have cracks, divots, or a slight slope. Self leveling epoxy floor paint is thicker — it has a higher solids content, often around 100 percent solids, so it doesn't shrink as it cures. It flows into low spots and levels itself to a smooth, mirror-like surface. Brands like Epoxy-Coat or Legacy Industrial make versions that you can pour and spread with a squeegee, then back-roll for a uniform coat. The result is a floor that looks like polished stone and holds up to hot tire pickup, dropped tools, and chemical spills. I've got this on my own garage floor, and after three Ohio winters of salt and snow melt, there's not a single chip.
How to Prep for a Self Leveling Epoxy Floor Paint Job
Prep is 90 percent of the outcome, no exaggeration. I've seen guys skip the acid etch or diamond grinding and wonder why their $500 self leveling epoxy floor paint job lifts in sheets. You need a clean, open-pored surface. That means grinding with a concrete grinder and a diamond cup wheel — rent one from Sunbelt or Home Depot for about $80 a day — and filling any cracks with a patching compound. After grinding, vacuum everything, then wipe the floor with a damp mop and let it dry. If you have any oil stains, use a degreaser first. The goal is to get the concrete back to a bare, gray state where water beads up instead of sheeting. I also run a moisture test with plastic sheeting: tape a 2×2 foot square of plastic to the floor, wait 24 hours, and if there's condensation underneath, you're not ready.
The Cost of Self Leveling Epoxy Floor Paint vs. The DIY Alternative
Let's talk numbers. A typical two-car garage (about 500 square feet) will need around 3 to 4 gallons of self leveling epoxy floor paint, depending on the brand and coverage. You're looking at $150 to $300 for the material alone — twice the cost of a standard epoxy kit. But here's the thing: standard epoxy often requires a primer coat and a top coat, and you might end up spending $100 to $200 anyway for a system that won't level itself. Add the rental grinder and a few tools like a paint roller with a long nap, a squeegee, and spike shoes (yes, you need spike shoes to walk on the wet epoxy without leaving footprints — about $30 on Amazon). Total out-of-pocket: around $350 to $600. Hiring a pro? You'll pay $3 to $6 per square foot, so $1,500 to $3,000. I've done both, and for the durability and look, the DIY route with self leveling epoxy floor paint is worth every penny if you're willing to put in the prep work.
Step-by-Step Application Process
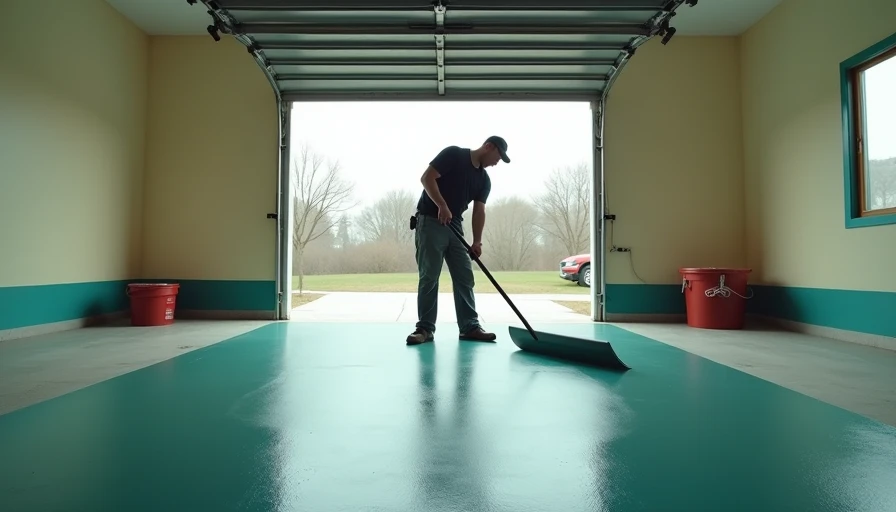
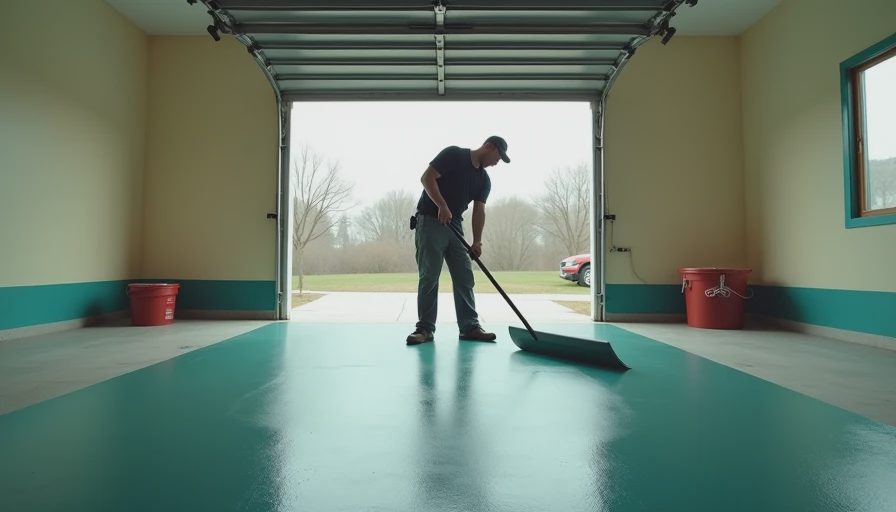
Start by mixing the resin and hardener according to the directions. Pour the mixed epoxy onto the floor in a zigzag pattern — about a quart per 25 square feet. Then spread it with a squeegee, working it into all corners. You'll need to back-roll immediately with a 3/8-inch nap roller to remove air bubbles and ensure even coverage. This is where the spike shoes come in: put them on before you start, so you can walk through the wet coat. The self leveling epoxy floor paint will flow for about 10 to 20 minutes before it starts to set, so work in sections. At the edges, use a brush to cut in. After the full coat, wait at least 12 hours before light foot traffic and 24 to 48 hours before parking a car. I like to apply a second coat if I want extra gloss or if there's a high-traffic area, but one thick coat often does it.
Common Mistakes With Self Leveling Epoxy Floor Paint
Mistake number one: not using a primer. Some self leveling epoxy floor paint systems include a primer step — if they don't, I always apply a bonding primer anyway, especially on garage floors that have been sealed or painted before. Mistake number two: applying in cold temps. Epoxy needs at least 60°F to cure properly. I've had jobs fail because I tried to rush it in a 50-degree garage. Use a space heater or wait for spring. Mistake number three: not cutting in edges carefully. The self leveling property works across open areas, but corners and against walls won't self-level if the coat is too thin. Pour extra there and work it in. And finally, don't skimp on the spike shoes. I once tried to walk around in bare feet — bad idea. The footprints didn't disappear, and I had to sand and recoat.
Final Thoughts: Is Self Leveling Epoxy Floor Paint Right for Your Garage?
If you're planning to use your garage as a workspace, park cars on it, or just want something that looks professional, self leveling epoxy floor paint is the best upgrade you can make. It's not a quick weekend project — plan three days from start to finish — but the result will last a decade or more. I've screwed this up so you don't have to. Start with a clean floor, use quality products, and don't skip the spike shoes. Back to the bench.