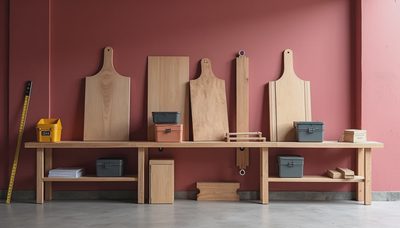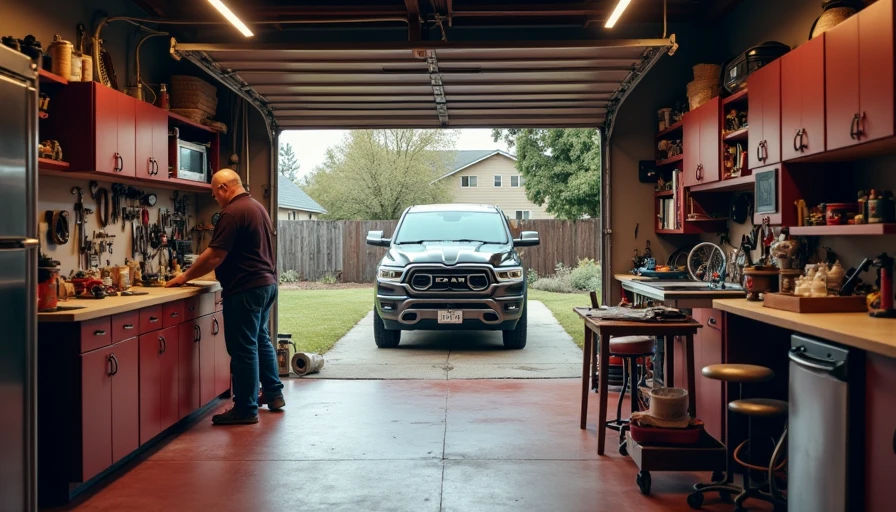
A garage workshop layout is where most people either get it right or spend the next five years stepping over extension cords and shuffling boxes every time they want to use a saw. I’ve been inside enough attached garages to know the pattern: the space starts as parking, turns into a dumping ground, and then slowly gets judged for not being a shop. The fix is not buying more bins. The fix is planning the space like you actually work in it.
Start by deciding what still has to happen in the garage besides woodworking or wrenching. If you need to park one car, keep that lane sacred. If you never park inside, you can push harder on benches and storage. A good garage workshop layout respects the door swing, the opener rail, the path from the side door, and the spots where winter salt and wet boots land. That sounds basic, but it is the part most people skip.
Start with the parking side and the work side
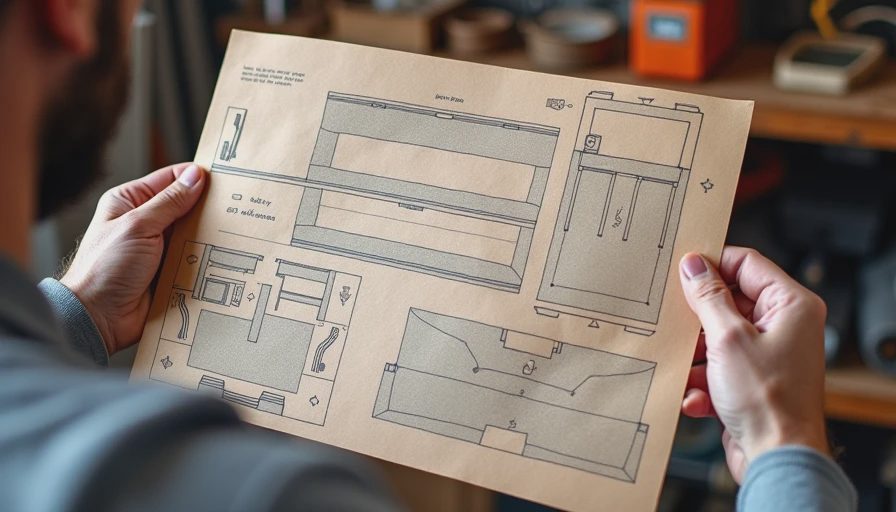
A good garage workshop layout starts with a simple sketch on graph paper or painter’s tape on the slab. Measure the full width, the overhead door track, the water heater if it lives in the corner, and the place where the stairs or utility door eat up wall space. Then divide the garage into zones instead of trying to make one wall do everything. One zone is for parking, one is for the bench, one is for long-term storage, and one is for gear you use every week.
In a typical two-car garage, I like leaving at least a 36-inch walkway where you need to move through with lumber, a mower, or a snow shovel. If you work on bikes, a mower, or a miter saw, give yourself more room at the bench end so you are not always rotating materials just to make one cut. The layout should feel lazy in a good way. You should be able to grab the drill, make the cut, and put the tool back without crossing the whole garage three times.
This is also where the floor matters. When I sketch a garage workshop layout for a homeowner, I usually talk about the floor before I talk about cabinets, because a bad slab changes everything. Cracks, oil stains, and moisture will ruin cheap paint-on coatings fast. A real floor prep job means grinding, patching, and using a coating that belongs on concrete, not just something that looks good in the can. For DIY work, a decent epoxy kit from Rust-Oleum or Quikrete might run $3 to $8 per square foot in materials. A pro-installed polyaspartic floor often lands higher, but it cures faster and usually holds up better in a busy garage.
If you have never done a floor, here is the rule I learned the hard way: the slab is not ready just because it looks clean. My own garage looked fine after I washed and painted it. Six months later, hot tire pickup and moisture sent it back to bare concrete, and I spent a weekend scraping instead of building. I’ve screwed this up so you don’t have to.
Build the bench around the tools you actually use
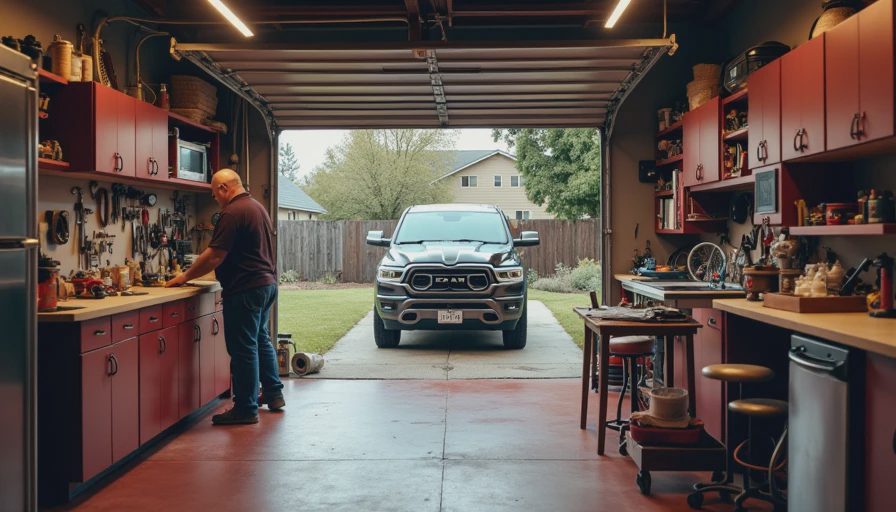
In a garage workshop layout, the bench should serve the tools, not the other way around. A 24-inch-deep bench is enough for hand tools, a vise, chargers, and a benchtop planer, but a miter saw station needs more width if you cut trim or lumber often. I like a bench height around 36 inches for general work, then a separate saw stand or outfeed surface if the shop leans toward carpentry. If you try to make one table do every job, you end up with clutter on top of clutter.
Put the bench where it gets natural light if the garage has it, and keep the wall above it for the tools you reach for every week. Pegboard still works. Slatwall systems from Gladiator or Rubbermaid FastTrack are better if you want to move hooks and shelves around as your needs change. For storage cabinets, a mix of open shelving and closed doors is smarter than all one or the other. Open shelves are good for glue, clamps, and coffee cups. Closed cabinets hide the rest of the life mess that every garage collects.
Think about reach, too. If you have to drag a compressor hose across the floor every time you use the nailer, the layout is wrong. I like hose reels, a shop vac parked close to the bench, and a home for chargers near an outlet strip. A small bench light over the vise and a magnetic strip for drivers sound minor until you use them every day. Then they become the things you notice when they are missing.
The same idea applies to tool flow. Saws should live near the material rack. Fasteners should live near the bench. Garden gear should not steal the wall where lumber belongs. Once the zones are set, the garage starts working like a shop instead of a storage unit with a power strip.
Light it, wire it, and beat the dust
Most garages are too dim to feel useful, which is why people stop working in them after one winter. A garage workshop layout gets a lot better when you treat lighting as part of the build, not an accessory. I like bright LED shop lights in the 4000K to 5000K range because they are easy on the eyes and they make hardware, pencil marks, and finish defects easier to see. In a two-car garage, two or three long LED fixtures or a grid of slim panels usually does the job better than one lonely bulb in the center.
Power matters just as much. If the bench will run a miter saw, sander, battery chargers, and a compressor, plan outlets before the wall is full of cabinets. A few extra receptacles along the bench wall cost far less than stringing cords later. Modern code usually wants GFCI protection in garage receptacles, so it is worth planning that into any remodel or electrical upgrade. If you use heavier tools, a dedicated 20-amp circuit can keep the breaker from tripping every time the saw and the vacuum start together.
Dust control does not have to be fancy, but it has to exist. A shop vac with a good separator, a broom that actually gets used, and a way to sweep chips toward one corner will keep the garage from turning into a gravel pit. If you do cabinet work or sanding often, a small ceiling-mounted air cleaner or a better vac setup earns its keep fast. Nobody enjoys cleaning, but a clean shop works faster and feels bigger.
A layout that survives real life
The best garage workshop layout is the one that still makes sense after a snowblower, three lawn chairs, a kid’s bike, and a half-finished project all show up at once. That is the test. Real garages do not stay pretty. They get borrowed, raided, and rearranged. So build yours with enough slack to absorb that mess without losing the shop.
If your garage is 20 by 20 or 22 by 22, do not try to cover every wall with cabinets on day one. Leave one wall flexible. Use a mobile cart for the tool you are experimenting with. Hang the seasonal stuff overhead, where a steel rack can handle totes and Christmas bins without stealing floor space. Keep the expensive, often-used tools at eye level and the rarely used stuff higher up.
On a recent remodel, a homeowner wanted everything enclosed. We ended up opening the center of the garage, moving the bench to one side, and keeping one full bay clear for a vehicle and yard gear. The space looked less crowded and worked better. That is the real trick: do less, but do it in the right places.
If you want help mapping your own garage, start with a tape measure, a rough sketch, and the tools you actually use in a normal month. That tells the truth faster than any inspiration photo. I’ve screwed this up so you don’t have to. Back to the bench.