How to Choose and Apply a Marble Epoxy Floor Kit for Your Garage
If you're tired of looking at a stained, cracked concrete garage floor, a marble epoxy floor kit is one of the best upgrades you can make. I've installed these kits in my own garage and in dozens of clients' garages over the years. They give you a high-end look without the price tag of real stone or a professional install. Here's what you need to know before you buy.
What Is a Marble Epoxy Floor Kit?
A marble epoxy floor kit is a two-part epoxy system that includes colored chips or pigments designed to create a textured, multicolor finish that resembles marble or terrazzo. Unlike plain gray or tan epoxy, these kits let you customize the look with different chip blends — think black and white for a classic marble, or blue and gray for a modern industrial feel. Brands like Rust-Oleum, Epoxy-Coat, and Legacy Industrial all offer marble-style kits. The chips are broadcast into the wet epoxy, then sealed with a clear top coat. The result is a floor that's tough, easy to clean, and actually looks good.
Why Consider a Marble Epoxy Floor Over Other Garage Floor Coatings?
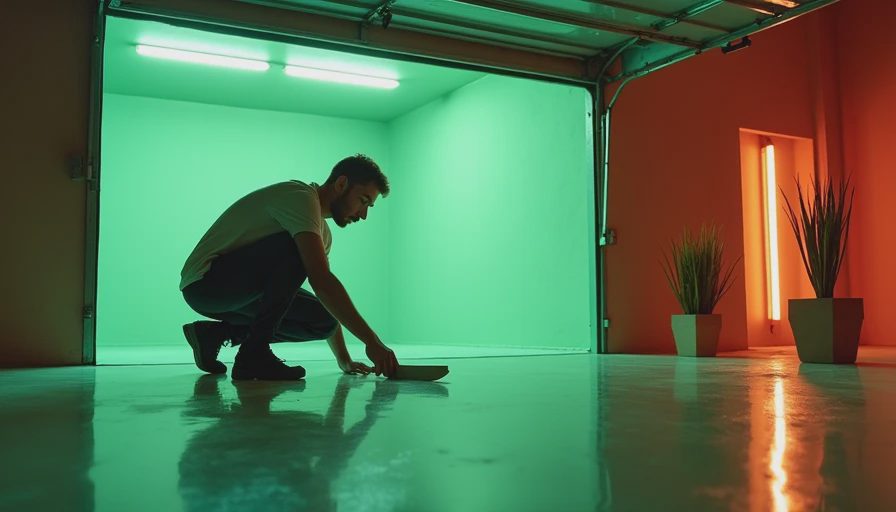
I've painted floors. I've used cheap acrylic sealers. They all fail within a year. A marble epoxy floor kit is a different animal. The thickness and adhesion of epoxy means it bonds chemically to the concrete, so it won't peel or flake like paint. The chips add texture that hides dirt and imperfections, and they also give the coating extra grip underfoot. Compared to a solid-color epoxy, marble epoxy hides tire marks and oil stains better. Compared to polyaspartic coatings (which are more expensive), epoxy is easier for a DIYer to apply and costs about half as much. If you're looking for something that balances durability, appearance, and budget, a marble epoxy floor kit hits the sweet spot.
How Much Does a Marble Epoxy Floor Kit Cost?
For a typical two-car garage (around 400 square feet), a good marble epoxy floor kit runs between $150 and $400. That includes the epoxy base and hardener, a bag of color chips, a top coat, and sometimes a concrete etchant. You'll also need a few tools: a paint roller with a thick nap, a squeegee, a chip spreader, and some mixing paddles. Total tool cost maybe another $40 if you don't already have them. Compare that to hiring a pro: $2 to $5 per square foot, which for a two-car garage comes to $800 to $2,000. I've seen plenty of homeowners pull off a great-looking floor with a $250 kit and a weekend of work. But here's the catch — you have to follow the prep to the letter.
Step-by-Step: Applying Your Marble Epoxy Floor Kit
I've screwed this up so you don't have to. The number one mistake is poor surface prep. Here's the process I use:
- Clean the floor thoroughly — degrease any oil spots with a concrete cleaner, then pressure wash.
- Etch the concrete with muriatic acid or a phosphoric acid etch to open up the pores. This step is non-negotiable.
- Patch any cracks with a concrete patching compound and let it cure.
- Mix the epoxy base and hardener exactly as the instructions say. Don't guess.
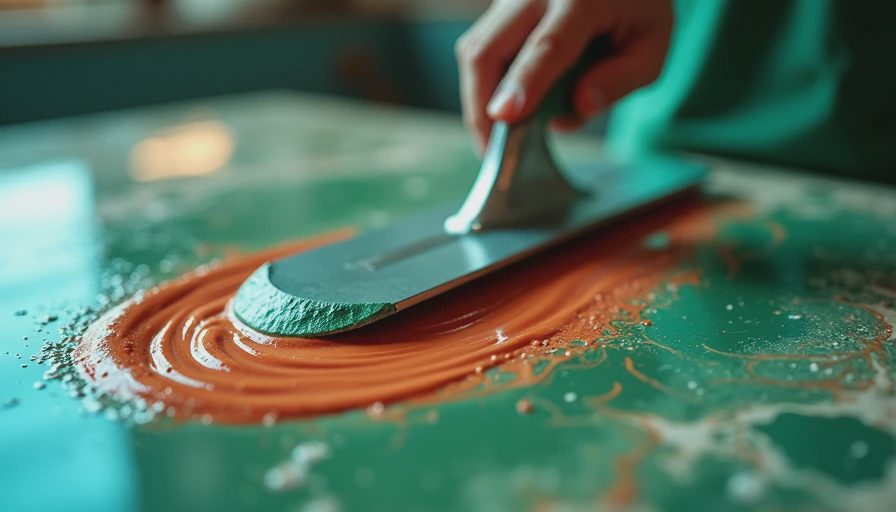
- Pour a line of epoxy along the back wall and spread it with a squeegee, then back-roll with a roller to even it out.
- Immediately broadcast the color chips by handful onto the wet epoxy. I like to do it in sections so I don't miss spots.
- Let the base coat cure overnight, then scrape off any loose chips.
- Apply a clear top coat with a roller. That seals the chips and gives the floor its final shine.
Each step matters. I've had to grind off a floor because I skimped on the etch — an extra hour of work saved me a redo.
Common Mistakes to Avoid with Marble Epoxy
Even with a good kit, things can go sideways. Here are the ones I see most often:
- Skipping the etch. The epoxy needs a rough surface to grab onto. Smooth concrete won't hold it.
- Not waiting long enough between coats. The manufacturer's recoat window is usually 12-24 hours. If you go too soon, the top coat can bubble. Too late, you'll need to sand.
- Using too thick a top coat. A thick top coat can pool and leave uneven patches. Thin coats are better.
- Forgetting to check humidity and temperature. Epoxy needs 50-80°F and low humidity to cure properly. I once laid a floor in a damp garage and the top coat blushed — turned cloudy. Had to grind and redo.
A marble epoxy floor kit is forgiving if you give it the conditions it needs.
Is a Marble Epoxy Floor Kit Right for You?
A marble epoxy floor kit is a solid choice if you use your garage as a workshop, a space for a project car, or just a cleaner storage area. The textured finish hides dust and footprints, and it's easy to sweep or hose down. But if you do heavy mechanical work — dropping tools, jacking cars, welding — the epoxy can scratch or chip with enough abuse. In that case, a commercial-grade polyurea or even garage tiles might be a better fit. For most homeowners though, a marble epoxy floor kit gives you the best bang for the buck. It's a weekend project that transforms the feel of the whole garage.
Back to the bench.