A workbench built in table saw is one of those garage ideas that sounds clever until you live with it. Done wrong, it eats your infeed space, blocks your clamps, and turns every rip cut into a shuffle. Done right, it gives you one flat place to cut plywood, assemble cabinet parts, and park a miter gauge without giving up half the bay. I built my first version in my own garage after tripping over a contractor saw for two winters straight, and the second version fixed the mistakes the first one made. The trick is not making the saw the centerpiece. The trick is making the bench support the saw while still acting like a real bench.
How a workbench built in table saw saves space without making the saw awkward
In an attached garage, floor space is the rarest material. A good built-in setup lets the saw live on the bench or tuck into it while the bench handles assembly, tool staging, and sheet-good support. If you are working with a DeWalt DWE7491RS, a Bosch jobsite saw, or a SawStop compact unit, the saw itself is not the hard part. The hard part is giving it room to breathe. I like to think in lanes: one lane for infeed, one for outfeed, one for the body of the saw, and one dead-clean area where clamps, squares, and a tape can stay put. Once those lanes exist, the bench stops feeling like a hurdle and starts feeling like infrastructure.
The measurements that matter before you cut the first panel
If you want the bench to work, measure the saw before you cut lumber. Most jobsite saws land around 34 to 36 inches high, and the bench top should meet that height or land a hair below it so panels slide instead of catching. Depth matters too. I like 24 to 30 inches for the bench surface, with 8 feet of clear infeed and outfeed if you expect to rip full boards. If you handle sheet goods, give yourself more runway or plan to roll the garage door open and let the driveway help. A 3/4-inch plywood top with a second layer or a hardboard skin stays flatter than cheap particleboard. Leave enough clearance for the fence rail, the handwheel, the blade guard, and the riving knife. If the saw gets buried in cabinetry, you will hate yourself the first time you need to adjust anything.
Build details that keep the bench from getting sloppy
Build the base like furniture that has to survive a little abuse. I frame mine with 2x4s, then skin the sides with 3/4-inch plywood so the cabinet stays square and does not rack when you clamp a board hard. If the bench needs to move, use real locking casters rated for the whole load, not the bargain-bin kind that wobble after a month. If the garage floor is not dead flat, add leveling feet under the cabinet and use shims only as a backup. A replaceable hardboard top is cheap insurance because sawdust and glue drips beat up a work surface fast. I also like a front edge that is solid wood or hardwood trim. It takes a hit from clamps better than raw plywood and gives you something to true against when the project is fussy.
Power and dust are not optional in a shop you want to enjoy
Dust collection and power are the part people skip until the first winter when fine dust gets everywhere. A jobsite saw can run fine on a 20-amp household circuit, but it should be one circuit with a clean extension path, not a daisy chain of cords that feeds the radio and the compressor too. Cabinet saws often want 240 volts, and if you ever upgrade, plan the outlet before the bench goes in. On the dust side, a 2.5-inch shop vac with a cyclone works for lighter use, but a cabinet saw likes a real 4-inch pickup if the machine is set up for it. Keep the cord and hose out of the infeed lane. Nothing ruins a long rip faster than snagging a hose on the edge of a sheet of plywood.

What I would build in a two-car garage
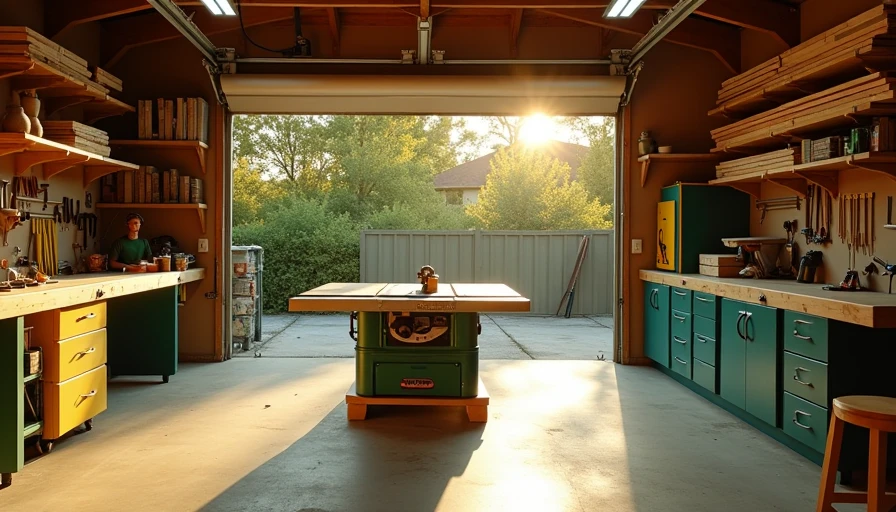
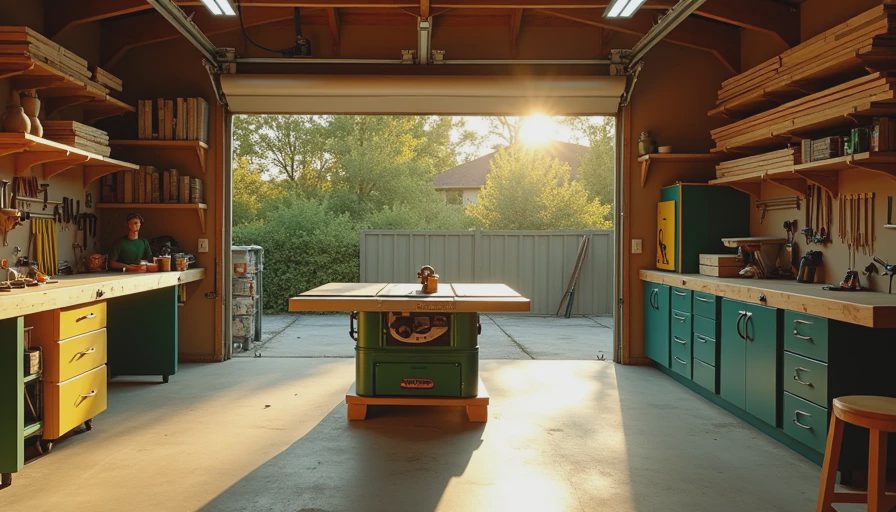
If I were laying out a suburban two-car garage, I would aim for an 8- to 10-foot bench on the longest wall and keep the saw where I can feed stock straight toward the open bay door. That leaves a real assembly zone on one side and a landing spot for sheet goods on the other. Under the bench, I would skip closed cabinets everywhere and mix storage types instead. One open bay for clamps, one for sleds, and one deep cubby for plywood beats a wall of doors that never quite closes right. This is also where a workbench built in table saw starts paying rent. The saw cuts, the bench assembles, and the storage below keeps the shop from turning into a pile on the floor. For a DIY build, I usually see $250 to $600 in lumber, screws, finish, and hardware before the saw itself. If you upgrade to maple or add drawer slides, the number climbs fast.
Mistakes I keep seeing and how to dodge them
The mistakes are usually simple. People make the bench too deep and lose the fence rail. They bury the saw so tight that blade changes turn into a half-hour chore. They ignore moisture from the slab, then wonder why MDF swells or finish peels at the edges. They forget that a saw needs service access from the back or side. And they lock the whole thing in place before they live with the layout for a week. I once painted my floor, then dragged a saw across fresh coating because I had not settled the bench location. I earned that annoyance. The better move is to mock it up with cardboard, drive a few screws only after the saw sits where it wants to live, and keep the path for long boards dead straight. I have screwed this up so you do not have to.
The best shop setup is the one you stop fighting. A workbench built in table saw should make ripping lumber easier, not turn every project into a traffic jam. If you have the wall length, the power, and a sane outfeed path, build it once and build it stout. You will notice the difference the first time you break down plywood without clearing the whole garage. Back to the bench.