The Great Garage Floor Showdown
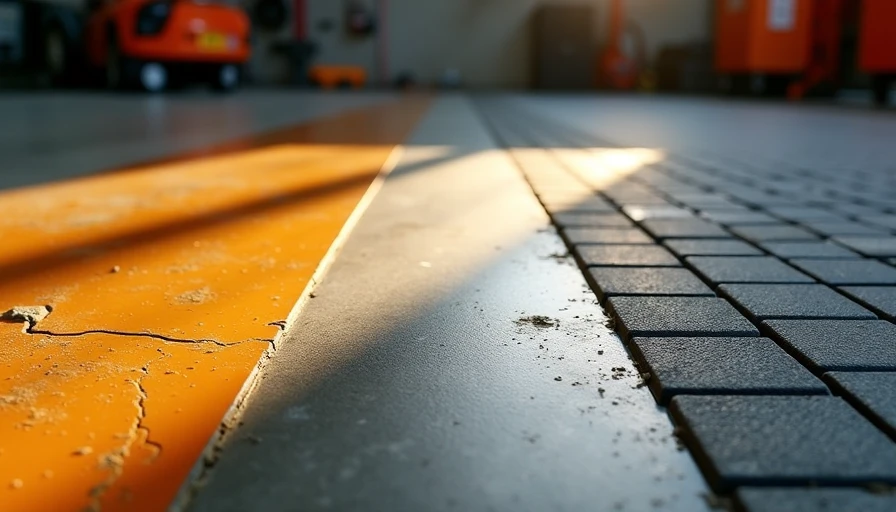
After my spectacular paint failure (yes, the one I wrote about last week), I went on a mission. I needed a floor that could handle real life — dropped tools, hot tires, oil spills, and Midwest temperature swings. So I dug into the three most popular options: epoxy, polyaspartic, and tile.
I’ve installed every one of them across 40+ garage remodels. Some performed like champs. Others… let’s just say they taught me valuable lessons I’m passing on to you.
I’ve screwed this up so you don’t have to.
What Each Option Actually Is
Epoxy is the classic choice — a two-part resin that cures into a thick, glossy coating. It’s been around forever and gives that showroom shine everyone wants.
Polyaspartic is the newer kid on the block. It’s also a polyurea-based coating but cures much faster and handles temperature extremes better. Think of it as epoxy’s tougher, quicker cousin.
Tile (usually interlocking garage tiles or glued porcelain/ceramic) gives you a modular, replaceable surface that can look surprisingly premium.
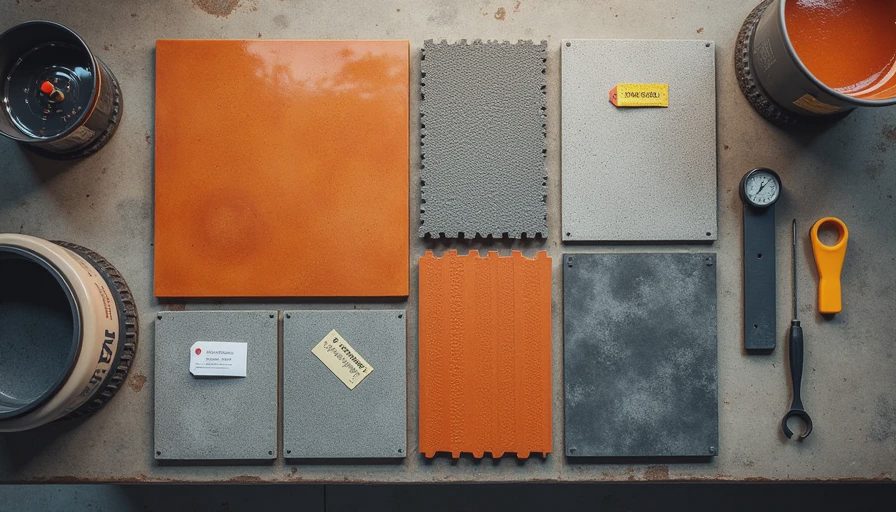
Head-to-Head Battle: Durability
This is where most homeowners get burned.
Epoxy looks incredible for the first year or two. Then UV exposure from windows or open doors causes yellowing and chalking. I’ve ripped out plenty of epoxy floors in garages with even moderate light exposure. In one client’s two-car garage, the center aisle turned from glossy gray to sickly yellow after 14 months.
Polyaspartic laughs at UV light. I installed it in a south-facing garage three years ago. Still looks nearly new despite daily abuse. It’s more flexible too, so it handles concrete movement better without cracking.
Tile wins for pure toughness against impacts. Drop a socket wrench? No dent. But the grout lines can collect dirt and oil if not sealed properly, and individual tiles can shift or crack under heavy use.
Installation Reality Check
Epoxy: Takes patience. Multiple days to install with long cure times. You’re out of the garage for at least 3-4 days. Prep is critical — same as I learned the hard way with paint.
Polyaspartic: Game changer. Many systems let you prep and coat in one day. Full cure in 24 hours. I can get a client’s garage back in service fast, which they love.
Tile: Easiest for DIYers. Interlocking tiles can be installed in a weekend with basic tools. Glued tile systems need more prep but still faster than coatings. However, leveling an uneven slab first can turn into a nightmare project.
Cost Comparison (Real Numbers)
Basic Epoxy kit (DIY): $300–$600 for a two-car garage
Professional Epoxy install: $1,800–$3,500
Polyaspartic (DIY or pro): $800–$1,800 for materials, $2,500–$5,000 installed
Interlocking Tile: $400–$1,200 depending on quality
Porcelain Tile glued system: $1,500–$4,000 installed
Polyaspartic costs more upfront but usually wins long-term when you factor in replacement costs.
Maintenance and Longevity
Epoxy needs occasional touch-ups and can be slippery when wet unless you add texture. It doesn’t handle hot tire pickup as well as the others.
Polyaspartic is incredibly low maintenance. Wipes clean easily. Extremely chemical and stain resistant. I’ve seen it hold up to battery acid spills that would destroy other coatings.
Tile is easy to clean but requires grout sealing every 1-2 years. Damaged tiles can be replaced individually — a huge advantage over coatings where a bad spot means grinding out and patching.
Real Client Stories
One suburban dad wanted the glossy look on a budget. We went epoxy. Eighteen months later he called me back because the floor was peeling near the garage door where snow and salt came in. Replacement job.
Another client — a serious woodworker — went with high-end polyaspartic. Three years later he still sends me photos of his clean shop floor. The guy actually enjoys working in his garage now.
The tile success story came from a family that uses their garage as a kids’ sports equipment storage zone. Dropped hockey sticks and basketballs haven’t left a mark, and when one tile got damaged, they swapped it in 10 minutes.
My Recommendation Based on Your Situation
Choose Polyaspartic if: You want the best balance of beauty, durability, and speed. This is my go-to for most clients who actually use their garage.
Choose Epoxy if: You’re on a tight budget and your garage stays dark with minimal temperature swings. Get the highest quality UV-stable version you can afford.
Choose Tile if: You want maximum flexibility, easy repairs, and don’t mind the grid pattern look. Great for heavy tool-dropping environments or rental properties.
Skip all three if: Your budget is under $400 and you just need basic protection — go with proper cleaning and a penetrating sealer instead.
Pro Tips From the Field
Always do a moisture test before any coating. I’ve seen beautiful installs fail because of vapor transmission from the slab.
Consider adding vinyl flake or quartz for better grip and hiding imperfections.
For tile, spend the extra on thicker, commercial-grade products. The cheap big-box store versions compress and look terrible fast.
Plan your control joints — coatings will crack if the concrete moves.
The Floor Is the Foundation
Everything else in your garage workshop — workbenches, storage systems, lighting — performs better when you’re not fighting a failing floor. I’ve watched clients go from frustrated to excited once they finally get the foundation right.
Don’t cheap out here. Your future projects deserve a solid base.
Wrapping It Up
After years of installing all three options, polyaspartic wins most head-to-head comparisons for real homeowners who use their garages. But the “best” choice depends on your budget, how you use the space, and how handy you are.
I’ve screwed this up so you don’t have to — now go make a smart decision.
Back to the bench.