The Alluring Promise of a Painted Floor
Every garage transformation video on YouTube makes it look so easy. Slap on some paint, wait a weekend, and suddenly your garage looks like a million bucks. I fell for it completely. After all, I’m the contractor who’s seen dozens of garages — surely I could nail a simple floor paint job in my own space.
I was wrong. Spectacularly wrong.
That weekend warrior enthusiasm led me to buy two five-gallon buckets of “premium” garage floor paint, roll it on like a champ, and admire my work while cracking open a cold one. Six months later I was ripping the whole thing out with an angle grinder and a heavy dose of regret.
What Went Wrong (And Why It Happens to Most of Us)
The biggest mistake wasn’t the product — it was my ego. I skipped proper prep because “I know what I’m doing.”
The concrete was filthy. Years of oil drips, tire dust, and winter salt had soaked in deep. I gave it a quick pressure wash and called it good. Big mistake.
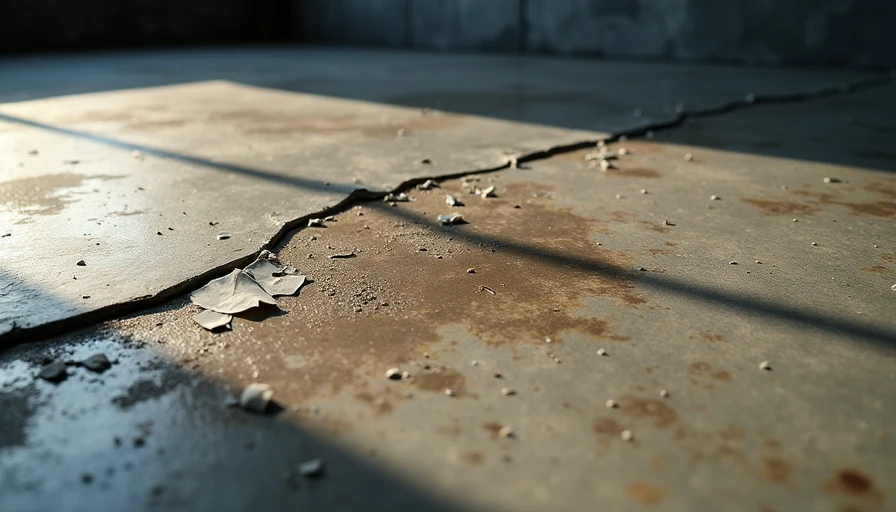
No etching. That smooth surface looked fine until the paint started peeling like old wallpaper in a humid bathroom. Moisture from the concrete slab pushed against the paint film, creating bubbles and delamination.
Wrong expectations. I wanted it to look like those fancy epoxy floors on Instagram, but I was using consumer-grade paint designed for light foot traffic, not the daily abuse of a working garage.
I’ve screwed this up so you don’t have to.
The Real Cost Breakdown
Paint: $180
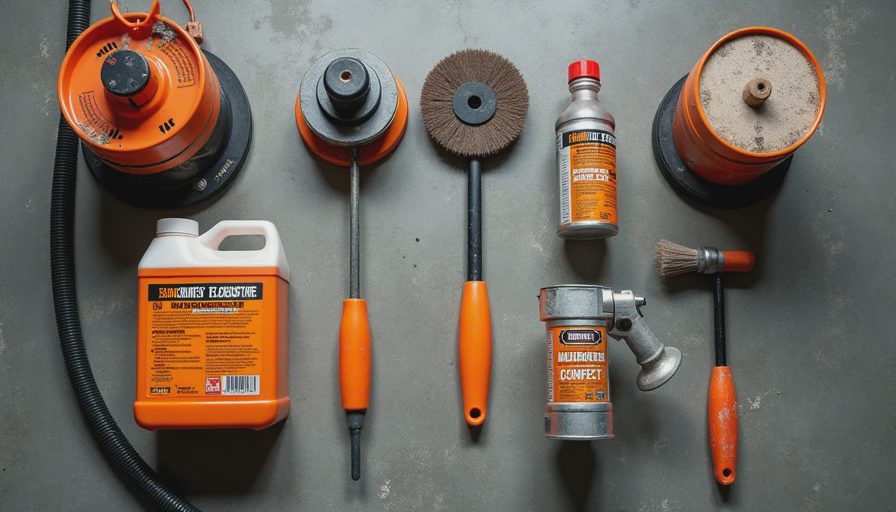
Tools & prep materials: $95
My time: One full weekend
Removal cost six months later: $650 in rental equipment + three weekends of cursing
Not exactly the budget-friendly upgrade I was hoping for.
Lessons From 40+ Professional Garage Jobs
In my remodeling work, I’ve installed everything from cheap paint to high-end polyaspartic systems. Here’s what actually separates the winners from the peeling disasters:
1. Surface Preparation Is 80% of the Job
You can’t skip this. Ever.
Start with a thorough degreasing using a proper concrete cleaner (TSP substitute or specialized degreaser). Then etch the surface with muriatic acid or a mechanical grinder. You want the concrete to feel like 80-grit sandpaper — rough enough for mechanical bonding.
Pro tip: If water beads up on the surface after cleaning, you haven’t prepped enough.
2. Choose the Right Product for Your Reality
Standard garage floor paint works okay for storage-only garages. But if you actually use your space as a workshop, gym, or project area, step up to epoxy or polyaspartic.
I eventually replaced my failed paint with a high-quality polyaspartic system. The difference after 18 months? Night and day. Still looks nearly new despite dropped tools, hot tires, and occasional oil spills.
3. Temperature and Humidity Matter More Than You Think
I painted in early spring when temperatures were “good enough.” The floor stayed tacky longer than expected, trapped dust, and cured unevenly.
Ideal conditions: 60-85°F with low humidity. Check the product specs and plan accordingly.
Better Alternatives Worth Considering
Option 1: High-Quality Epoxy
Great durability and that glossy showroom look. More expensive upfront but lasts years longer.
Option 2: Polyaspartic Coatings
My current favorite. Cures incredibly fast (you can walk on it same day), extremely durable, and handles temperature swings better than epoxy.
Option 3: Tile or Interlocking Mats
For maximum flexibility and easy replacement. Not as “pretty” but incredibly practical.
Option 4: Just Clean and Seal
Sometimes the smartest move is proper cleaning + a penetrating sealer. Honest and low-maintenance.
My Current Garage Floor Setup (That Actually Works)
After the great paint disaster of 2025, I went with a professional-grade polyaspartic system over properly prepped concrete. Eighteen months in and it still looks fantastic. Tools don’t stick, oil wipes up easily, and it handles the brutal Midwest temperature swings without cracking.
The difference wasn’t just the product — it was finally respecting the preparation process.
Practical Steps If You Still Want to Paint
If you’re determined to go the paint route (hey, I get it), here’s the checklist I wish I’d followed:
Remove everything from the garage
Thoroughly degrease multiple times
Etch or grind the surface
Vacuum and wipe until perfectly clean
Apply in ideal weather conditions
Add a second coat with anti-skid additive
Wait full cure time (usually 7+ days) before heavy use
Still, I’d recommend saving up for a better system unless your garage sees very light use.
The Bigger Picture: Your Garage Deserves Better
Your garage isn’t just a place to park the car. It’s potential workshop space, storage gold, and sometimes even a man cave or gym. Cutting corners on the floor — the literal foundation of everything — will haunt every future project.
I’ve seen it on job after job: clients who cheaped out on the floor end up frustrated with the entire space. Those who invested properly? They actually use their garage and love it.
Final Thoughts From the Bench
Don’t be like past-me. Take the time to do it right the first time. Your future self (and your tools) will thank you.
I painted my garage floor. Six months later I tore it out. Learn from my expensive mistake.
Back to the bench.