The Hard Truth About Floor Failures
I can’t tell you how many times clients have called me back six months after a “professional” floor install, frustrated by peeling, bubbling, or chipping.
Nine times out of ten, the problem wasn’t the coating. It was the prep work.
After 18 years in remodeling and fixing plenty of my own mistakes (remember my painted floor disaster?), I’ve learned that proper preparation isn’t just important — it’s 80% of the entire job.
I’ve screwed this up so you don’t have to.
Why Prep Matters More Than the Product
Concrete looks solid, but it’s actually quite porous. It holds moisture, oils, salts, and contaminants from years of use. Any coating you put on top has to bond with that surface. Skip proper prep and you’re basically painting over dirt.
The best products in the world will fail if the foundation underneath isn’t ready.
Step-by-Step Prep Process That Actually Works
1. Clear Everything Out
This seems obvious, but you need the entire floor completely empty. No excuses. Move every single thing out of the garage.
2. Initial Cleaning — The Heavy Lifting
Start with a thorough degreasing. I use a commercial concrete degreaser or TSP substitute. Scrub aggressively, especially in oil-stained areas. Pressure wash everything multiple times.
Don’t be lazy here. If water still beads up on the surface, keep cleaning.
3. Mechanical Profiling
This is where many DIYers (and some pros) cut corners.
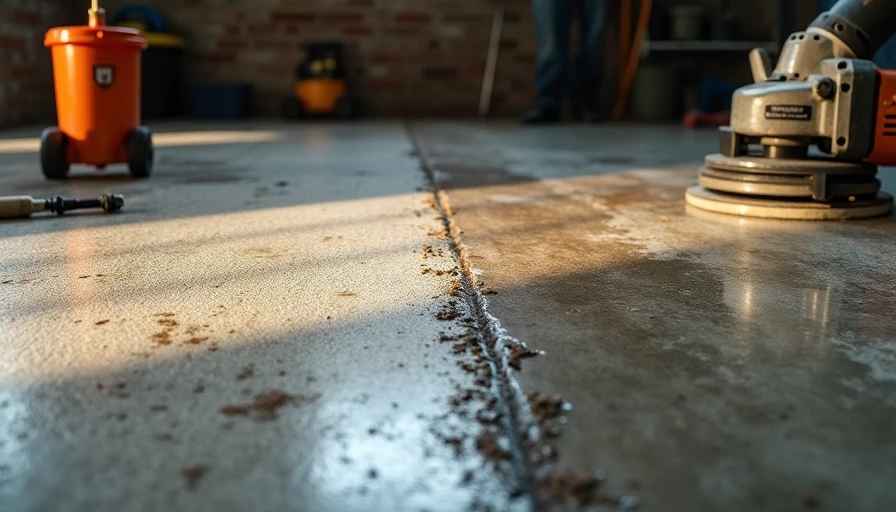
For best results, I recommend shot blasting or diamond grinding the surface. This creates the proper profile for mechanical bonding. At minimum, use an angle grinder with a diamond cup wheel to rough up the surface.
You want the concrete to feel like coarse sandpaper — 80-100 grit texture.
4. Acid Etching (If Grinding Isn’t Possible)
If mechanical profiling isn’t feasible, acid etching with muriatic acid can work. But it’s more dangerous and less effective than grinding. Follow all safety protocols and neutralize properly afterward.
5. Crack Repair and Patching
Fix all cracks, spalls, and divots before coating. Use appropriate concrete repair products. For moving cracks, consider flexible fillers.
6. Moisture Testing
This step is critical. Use a plastic sheet test or calcium chloride test to check for moisture vapor transmission. High moisture will destroy most coatings.
7. Final Cleaning and Vacuuming
After all the heavy work, vacuum thoroughly with a shop vac and wipe down with a tack cloth or isopropyl alcohol. The surface must be completely clean and dry.
Tools and Materials You’ll Actually Need
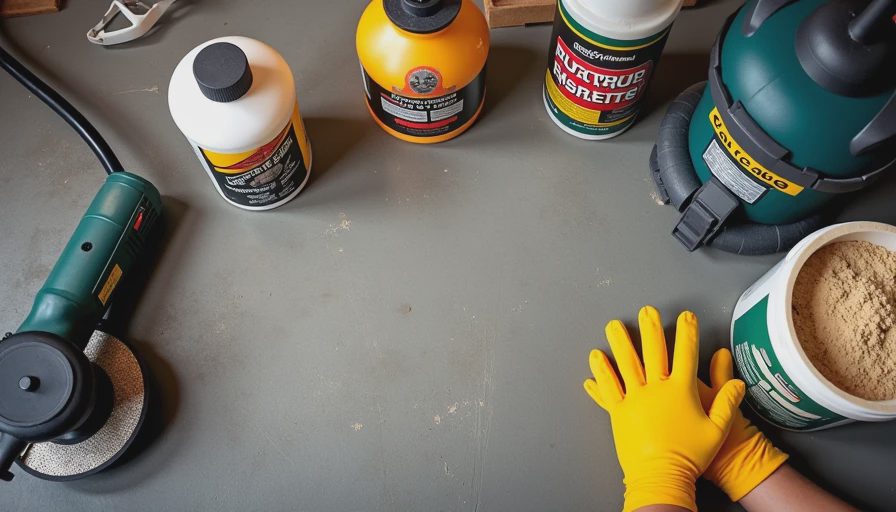
Heavy-duty degreaser
Pressure washer (3000+ PSI recommended)
Angle grinder + diamond cup wheel
Shop vacuum with HEPA filter
Concrete repair compounds
Moisture test kits
Personal protective equipment (this stuff isn’t optional)
Budget for these tools. Good prep tools are an investment that pays off in the final result.
Common Prep Mistakes I See Repeatedly
Rushing the cleaning process
Skipping mechanical profiling
Not addressing oil stains properly
Working in poor weather conditions (too cold, too humid)
Inadequate drying time between steps
Ignoring expansion joints
Any one of these can doom your floor project.
How Proper Prep Changed My Own Garage
After my earlier paint failure, I did it right the second time. Full mechanical grind, proper repairs, moisture testing, and then a quality polyaspartic coating. Eighteen months later, the floor still looks nearly new despite daily workshop use.
The difference was night and day.
Pro Tips From 40+ Garage Projects
Work in sections if doing it yourself
Plan for at least 2-3 full days for prep alone
Consider hiring a professional for the grinding step if you’re not comfortable
Document your prep process with photos — helpful for warranty claims
Test a small area first with your chosen coating
The Payoff of Doing It Right
When you prep correctly, the coating goes on beautifully, bonds properly, and lasts for years. You avoid the expensive and frustrating cycle of failure and replacement.
Your garage floor becomes a solid foundation for everything else — workbenches, storage systems, and future projects.
Don’t Skip the Boring Stuff
I get it. Prep work isn’t sexy. It’s dusty, sweaty, and time-consuming. But it’s the difference between a floor that lasts a decade and one that fails in months.
Invest the time upfront. Your future self will thank you every single day you walk into your garage.
Final Advice
Whether you’re doing epoxy, polyaspartic, paint, or tile, the prep rules are similar. Do it right and you’ll have a floor you’re proud of for years to come.
I’ve screwed this up so you don’t have to. Now go prep that floor properly.
Back to the bench.