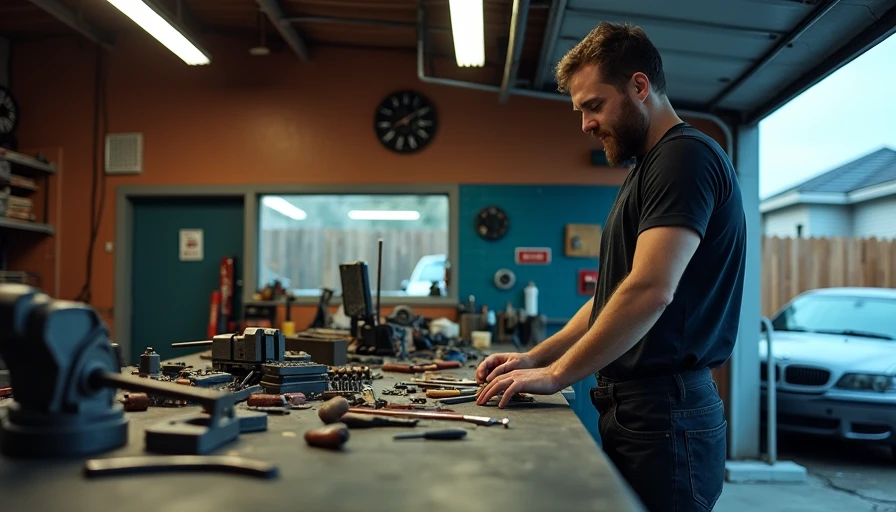
If you want a garage shop that gets used, the work bench top matters more than the paint on the walls. I have rebuilt enough benches to know the surface decides whether you clamp parts down, sharpen a plane, rebuild a carburetor, or just dump mail on it. In my own garage, I started with a cheap plywood top and figured I'd upgrade later. Six months later the edges were chewed up, the vise pulled the front rail out of square, and the finish looked like a dog had attacked it. I've screwed this up so you don't have to.
Choosing the right work bench top for garage use
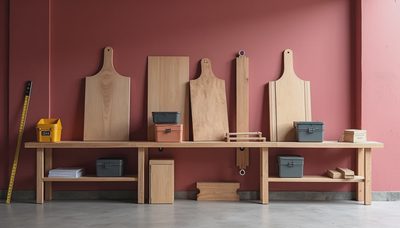
A work bench top made from 3/4-inch cabinet plywood is the usual starter move because it is cheap, flat, and easy to replace. A decent 4-by-8 sheet from Columbia Forest Products, PureBond, or a similar cabinet-grade ply usually runs about $60 to $100 in my area. If you laminate two layers, you get enough stiffness for most home shops without jumping into pricey hardwood. Maple is better when you want a surface that survives clamps and dropped wrenches, but it usually lands in the $8 to $12 per square foot range before finish. Butcher block looks great, and the maple versions from big-box stores feel solid, but you pay for it.
Use the task, not the catalog, to pick the top. If the bench is mostly for assembly, layout, and light hand-tool work, plywood with a hard finish is plenty. If you are pounding mortises, mounting a big vise, or working with metal, go thicker and give yourself real support under the front edge. A sheet of particleboard on wide-span framing is cheap twice: once when you buy it and again when it sags.
Build the frame first, then worry about the skin
If your bench has to hold a vise, a grinder, or a bench hook, the frame under it matters as much as the surface. I like 2-by-4 legs, a lower stretcher shelf, and crossmembers no farther apart than 16 inches. If the bench is longer than 6 feet, add a front rail or a center leg so the middle does not bounce when you lean on it. A 1-1/2-inch top feels right in a garage because it takes hardware screws better than a flimsy 3/4-inch sheet.
I also leave a small overhang on the front and both ends, usually 1 inch to 1-1/2 inches, so clamps bite cleanly. Back edges can sit flush to the wall if the bench is fixed in place. If you plan to bolt on a vise, route or cut a sacrificial backer under that area so the hardware has more meat to grab. That is the part most weekend builds skip, and it is the reason the vise starts racking after a season.
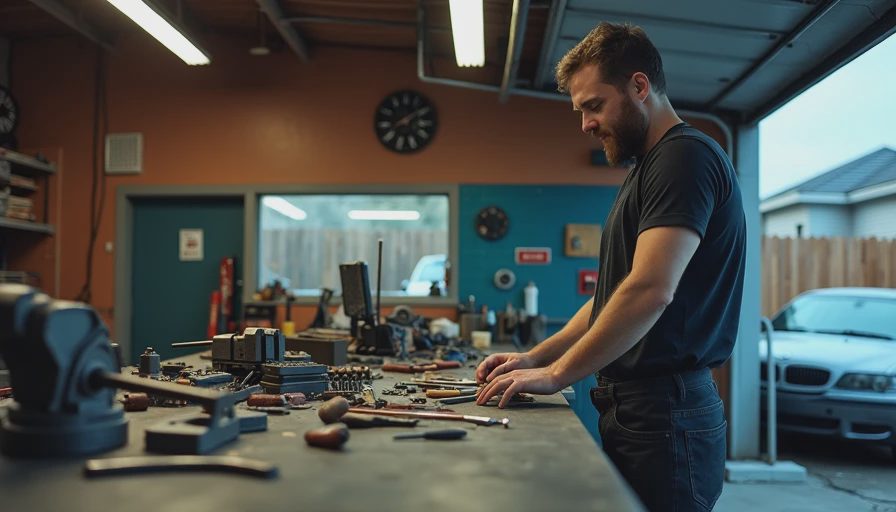
How to keep a work bench top flat through a full winter
A flat bench is not only about the wood you buy. Seal both faces and the edges if you are using plywood or hardwood ply, because one bare side will make the panel move. I like two or three thin coats of oil-based polyurethane or a hardwax oil on a bench that sees real use. On my own bench I once painted the top with porch enamel because I wanted it to look clean. Glue stuck to it, solvents softened it, and I ended up sanding it back to bare wood.
For a mixed-use garage, a satin polyurethane gives enough slip to move parts around without making the top feel slick. If you use laminate, trim the edges well and keep standing water off it. Heat from a soldering iron or a grinder can burn any finish, so a replaceable hardboard skin on top is cheap insurance. In Ohio, winter humidity swings are enough to cup an unsealed panel if the underside is left raw, and that is the sort of slow problem that shows up only after the bench is already loaded with tools.
Set the height and overhang before you cut wood
Most garage benches feel right somewhere between 34 and 36 inches high, but the right number depends on what you do most. If you spend the day at a hand plane or a carving vise, a little higher can save your back. If the bench is mostly for layout, assembly, or wiring, a lower surface gives you more leverage and keeps the work closer to your elbows. I built one at 39 inches because I thought it would be easier on my back. It turned out to be awkward for planing, so I cut it down and never missed the extra height.
Depth matters too. A 24-inch-deep bench fits a tight garage, but 30 to 36 inches gives you room for a miter saw tray, a drill press side station, or a toolbox that lives under the edge. Just make sure you can still reach the back wall and the outlets without climbing onto the bench like a kid at the counter.

Budget builds that still feel solid
You do not need a thousand-dollar top to get a bench that works. A bare-bones setup is a pair of stout sawhorses and a sheet of 3/4-inch plywood, and that gets you through the first month for under $100. It is not elegant, but it lets you build the real bench without overthinking the first cut. My best middle-ground build usually lands around $250 to $400: 2-by-4 framing, a doubled plywood top, and a replaceable hardboard skin. That is the sweet spot for most homeowners because it feels solid without eating the whole project budget.
If you want premium, maple butcher block or a laminated hardwood top can push the material cost into the $500 to $800 range fast, especially once you add finish and hardware. Brands like Husky, Seville Classics, and WorkPro sell ready-made benches that can save time, but they are only worth it if the frame, drawer slides, and top thickness match how hard you work. Spend money on stiffness and surface quality before you spend it on drawer count.
Common mistakes that cost you twice
The biggest mistake I keep seeing is building a pretty bench with a weak top. If the work bench top is oil-soaked, split, or bowed, you will fight it every time you try to clamp something square. Another mistake is fastening a vise or grinder through a thin top with no backer plate. The hardware loosens, the holes wallow out, and the bench starts to feel tired before it should. I have also seen people bury a nice top under a thick coat of paint, then wonder why glue and finish stains never come off clean.
If the surface is already wrecked, stop trying to save it with another coat of finish. Replace the skin, true up the frame, and make the next one easier to renew. That is how you build a bench that stays useful for years instead of looking good for one season. I've screwed this up so you don't have to. Back to the bench.