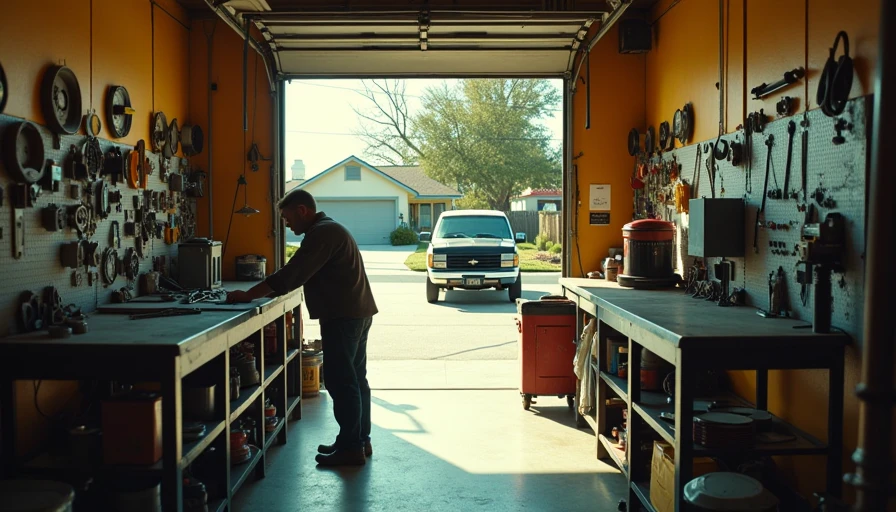
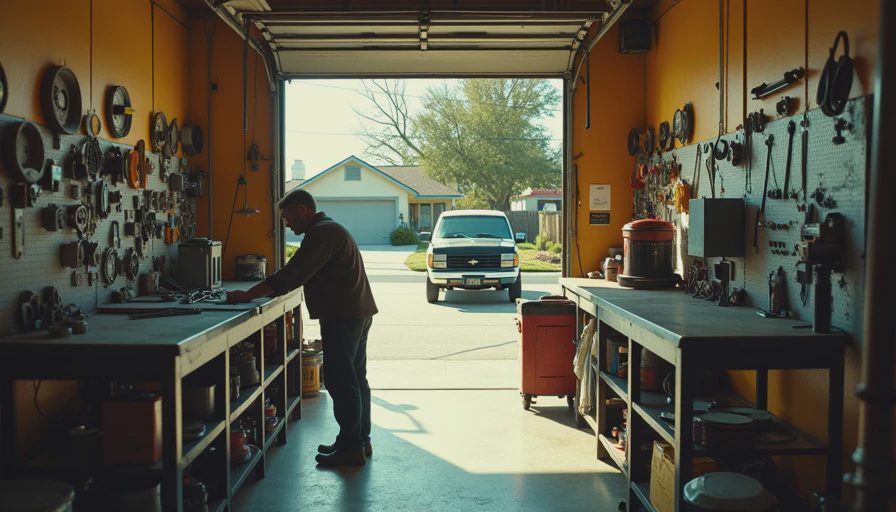
A good workbench changes how a garage feels. It gives every project a home, keeps tools from migrating across the floor, and provides a solid surface for repairs that your folding table cannot handle. I have built plenty of benches for homeowners and rebuilt my own more than once. The first workbench I made was too shallow, too low, and boxed in by storage cabinets. I've screwed this up so you don't have to.
The right design starts with the work you actually do. A homeowner who sharpens mower blades needs a different setup from someone assembling cabinets or restoring hand planes. Before buying lumber, measure the wall, note the location of outlets, and decide whether a car still needs to park nearby. A workbench that steals 30 inches of floor depth can turn a comfortable two-car garage into a frustrating one-car garage.
Choose the Right Workbench Height and Depth
Most garage benches land between 34 and 38 inches high. I use 36 inches as a starting point because it works well for general repairs, sharpening, small-engine work, and assembly. If you are tall, 38 inches can save your back. If you plan to use hand planes or do heavy pounding, a slightly lower surface gives you more leverage. Stand naturally with your arms relaxed; the surface should sit around your wrist when your elbow is bent comfortably.
Depth matters just as much. Twenty-four inches is enough for most tools and leaves useful walking space. A 30-inch workbench gives you room for a benchtop planer or assembly project, but it needs careful placement near the garage door and vehicle path. I rarely recommend going deeper unless the homeowner has a dedicated workshop bay. Leave at least 36 inches of clear working space in front, and more if you will open drawers or move sheet goods.
For length, six feet is a practical minimum. Eight feet is better if the wall allows it, especially when one end holds a vise and the other holds a sharpening station. Do not build directly against an awkward corner unless you can still reach the back edge.
Build the Frame for Real Loads
A workbench does not need expensive hardwood to be strong. A frame made from straight 2x4 lumber, structural screws, and properly supported legs will handle far more than most homeowners expect. Add a center stretcher on long benches, and attach the frame to wall studs when possible. That wall connection keeps the bench from racking when you clamp a board or swing a mallet.
For the top, two layers of 3/4-inch plywood create a stable surface at a reasonable cost. Construction-grade plywood works, but cabinet-grade sheets have flatter faces and fewer voids. I like a 1/4-inch hardboard skin on top because it can be replaced after glue spills, paint drips, and years of abuse. A 1/8-inch steel sheet is useful for welding or grinding, but do not place it over a wood surface unless sparks and heat are controlled.
A laminated hardwood top is attractive and pleasant to use, yet it can cost $250 to $600 depending on size and species. It is worthwhile for hand-tool work, not necessary for a general garage. Seal wood edges with polyurethane or paint so seasonal humidity does not cause swelling. Leave a small expansion gap where a top meets a wall.
Add Storage Without Making a Cave
The common mistake is filling every inch below a workbench with cabinets. That sounds efficient until you need to sit, pull out a long board, or retrieve a tool at the back. Use drawers for small items such as drill bits, layout tools, fasteners, and electrical testers. Keep bulky equipment on an open lower shelf where you can see it.
A bank of three or four drawers under one side is usually more useful than six shallow drawers. Heavy-duty slides rated for 100 pounds cost more, but they prevent sagging when a drawer holds sockets and cordless batteries. Put frequently used hand tools between shoulder and waist height on a pegboard or French cleat. Store seasonal items higher, not in the prime zone around the work surface.
If you need mobility, mount locking casters under a compact workbench. Use four casters rated well above the bench's total weight; a 600-pound combined rating is a sensible minimum for a loaded six-foot bench. Locking wheels still allow some movement under force, so a mobile bench is not as steady as one anchored to studs.

Plan Lighting, Power, and Safety First
A strong workbench under poor lighting is still a poor work area. Put a bright LED fixture over the bench, with the light positioned slightly forward so your head does not cast a shadow across the project. A 4-foot, 5,000K shop light is a practical choice for general work. Add an adjustable task light for fine soldering, sharpening, or wiring.
Outlets should sit above the surface, not behind a row of cabinets. I prefer a dedicated receptacle every 4 feet, with at least one circuit that can handle a shop vacuum or benchtop tool without nuisance trips. Keep cords away from the vise and clamp area. If you are adding circuits, have the wiring completed according to local requirements by a qualified electrician.
Do not ignore dust and fire safety. A small shop vacuum with a cyclone separator is useful for sawdust, while a Class ABC extinguisher belongs within easy reach. Grinding, welding, and solvent work need more separation from stored cardboard, gasoline, and oily rags. A bench should make work safer, not simply make the mess easier to organize.
Install the Vise and Workholding Correctly
A vise is where a workbench earns its keep. Mount it near the front corner, with the fixed jaw slightly beyond the edge so long boards can hang down. A 5- to 6-inch vise suits most home garages. Smaller vises save money but often flex when you try to hold a stuck fastener or a piece of pipe.
Through-bolt the vise with large washers and backing plates. Lag screws driven into the top alone can loosen after repeated hammering. Add dog holes if you do hand-tool work, but lay them out before installing a cabinet or backsplash. A simple row of 3/4-inch holes, spaced about 6 inches apart, works with many bench dogs and holdfasts.
A replaceable wooden jaw liner protects finished parts and gives you a surface you can drill into when necessary. Keep a few scraps of plywood nearby for soft-jaw work. These small details are cheaper than repairing a damaged cabinet door or freshly painted motorcycle part.
My Practical Build Sequence
Start by marking the finished height on the wall. Then locate studs, outlets, door swings, and the vehicle's safe parking line. Build the frame on the floor, check it for square, and attach it to the wall before adding the top. Install the lower shelf next, followed by drawers and the vise. Finish with lighting, power management, and a clear coat on the top.
Budget about $250 to $450 for a basic 6-foot plywood workbench, $500 to $900 for a bench with good drawers and hardware, and more for hardwood or custom cabinetry. Buy the best vise and drawer slides you can reasonably afford; replacing those later is more annoying than upgrading the top.
After a season of use, pay attention to what collects on the surface. If the same tools always sit in one corner, create storage for them. If projects regularly spread onto the floor, the top is too small or the layout needs a nearby assembly table. A workbench should evolve with your habits rather than remain a monument to the original plan.
Build it solid, light it properly, and leave enough room to work around it. The goal is not a showroom bench. It is a dependable place where a Saturday repair starts quickly and ends with the tools back where they belong. Back to the bench.